Potter DIY: “Harry Potter”-Themed Felt Bags
Thank you to Lindsay at CraftyLadyLindsay for this wonderful Potter DIY! Lindsay likes to read, sew, paint, and try just about anything. She records all of her crafting adventures on her blog for fans to read about. She has three daughters whom she loves to craft with and craft for, and this Harry Potter project was just one of those great crafting opportunities.
For many years, her family has dressed up all together, in a family theme, for Halloween. One year, Lindsay’s daughter told her that she wanted them to all be Harry Potter characters for the next Halloween – and she stuck to her word! She reminded Lindsay the whole year, until they all dressed up as Harry Potter characters that year. To complete their costumes, Lindsay had to make some awesome trick or treat bags to complement them. It was so much fun! Harry Potter will always be a favorite story in their house, and they love having these dress up clothes and bags to play with. There are so many themes in Harry Potter, ideas for felt bags are endless! And they make great gifts. Go ahead, give it a try!

What You’ll Need:
- Felt
- Scissors
- Iron & ironing board
- Sewing kit
- Freezer paper stencil (optional)
- Sharpie (optional)
Directions:
Step 1: Pick your felt colors! Lindsay decided to make the outside, front, and back black and the inside and sides purple. Any color will do, so get crafty!
Step 2: Cut two pieces into 9×9-inch squares of your first color of felt and two 9×9-inch squares of your second color. If you’ve chosen the entire bag to be one color, just cut four of the same color.
Step 3: Cut two long pieces of felt, 3.5” wide by 27” long. These pieces will be your bag’s bottom and sides.
Step 4: It’s time to come up with your design! If you are going to use lettering, begin with that by printing letters off of your computer in the size of your choice. Cut them out, trace them onto your felt, and cut them out of that. Once you’ve finished, iron them down to the front of your bag, and sew through them to ensure they are secure. Another option is to stencil the letters onto your felt using fabric paint.
NOTE: Make sure your iron is on low heat (felt can melt)!
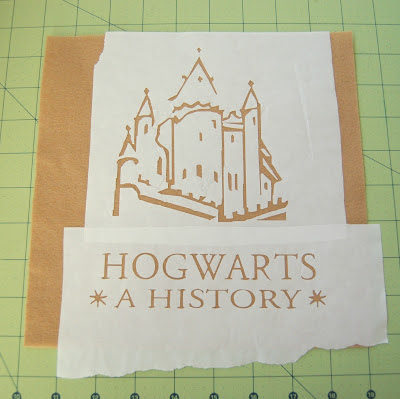
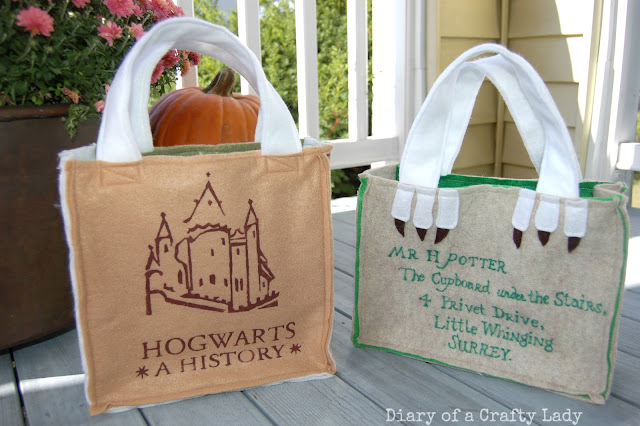
Some tips for the design: If you are going to use an image, you can use freezer paper stencils (Lindsay cut hers out with her Silhouette). You can then paint on the felt bag with regular acrylic paint for an enhanced effect:

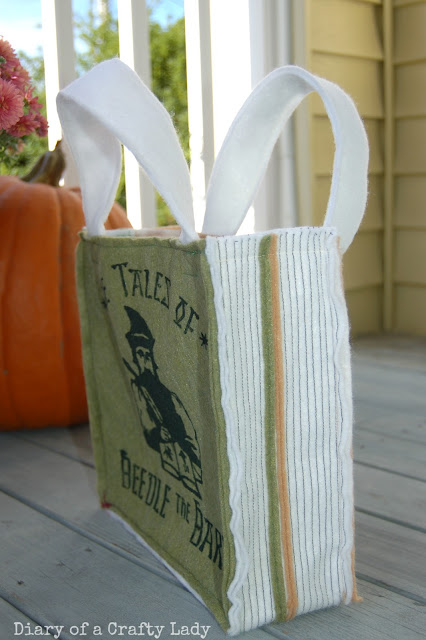
To get the book effect below, Lindsay stitched lines along one edge and the bottom to look like book pages:

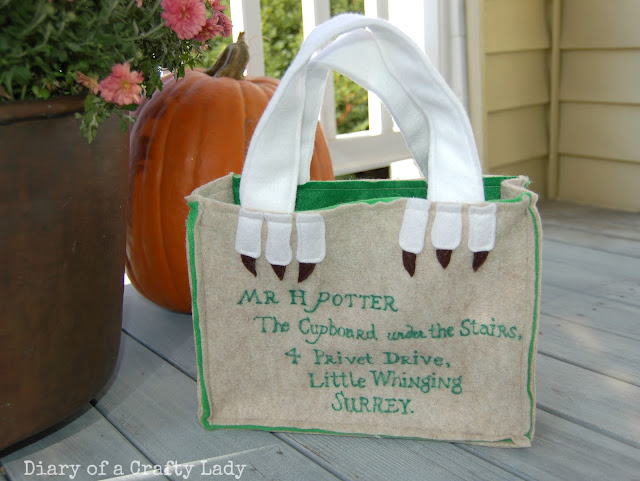
Don’t forget you can change the shape of your bag! Lindsay decided to make one of her bags look like the envelope that Harry gets at the beginning of Sorcerer’s Stone, inviting him to Hogwarts. She changed the shape of the bag slightly to make it a rectangle instead of a square:

She then found the image of the wording online, printed it out, and placed it behind the felt so that she could trace over the letters with a sharpie. Doesn’t it look awesome?

Check out our other projects on our main Potter DIY page!

