Potter DIY: House-Themed Scrunchies
Us Harry Potter fans love to display our House pride any way we can. Here’s an easy DIY for any beginner sewist detailing how to make your very own set of scrunchies in your House colors. Even better – these make the perfect, personalized, last-minute gift for the Harry Potter-loving scrunchie wearer in your life.

What You’ll Need:
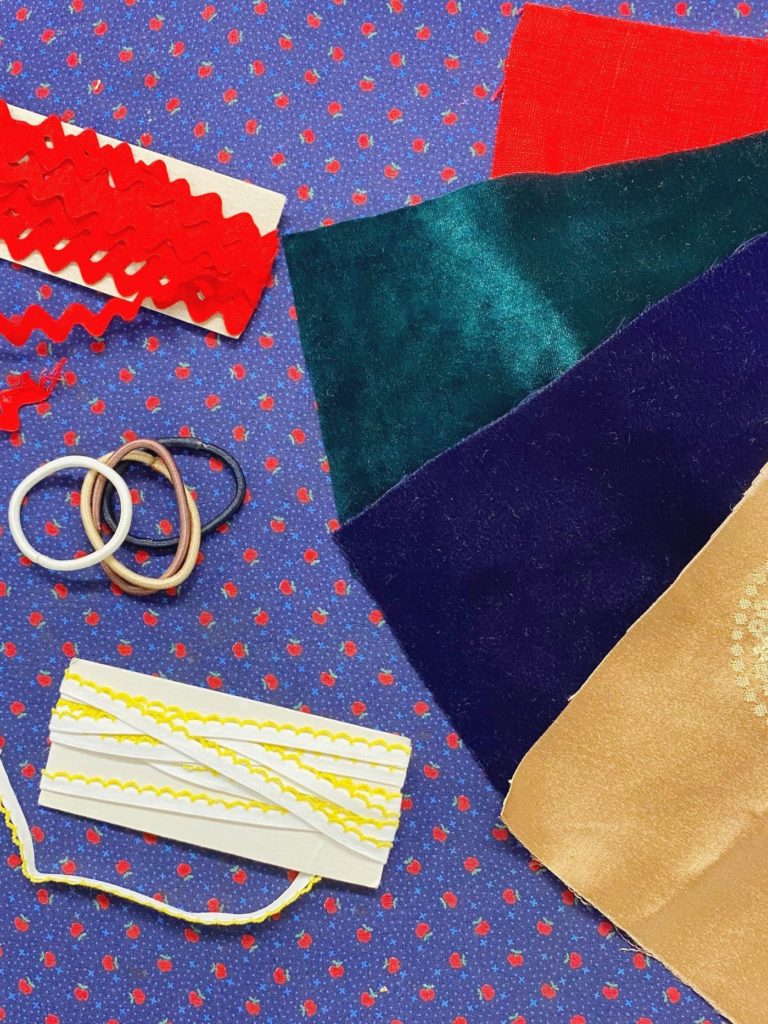
- Fabric in your House colors, cut to 20 x 6 inches for elastics with a 6-inch circumference
- Hair elastics
- Any trimmings you might want
- Iron and ironing board
- Sewing machine or needle and thread
- Pins
- Stitch ripper (though hopefully, you won’t need it!)
- Supplies and Trimmings
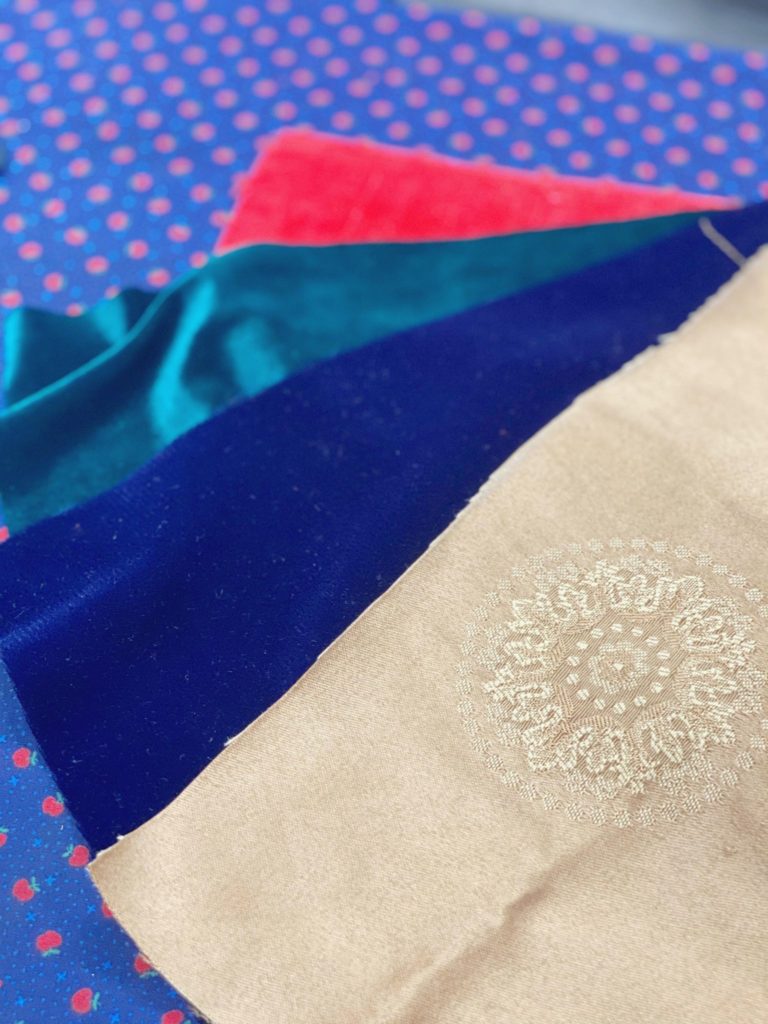
- House-colored fabrics
Directions:
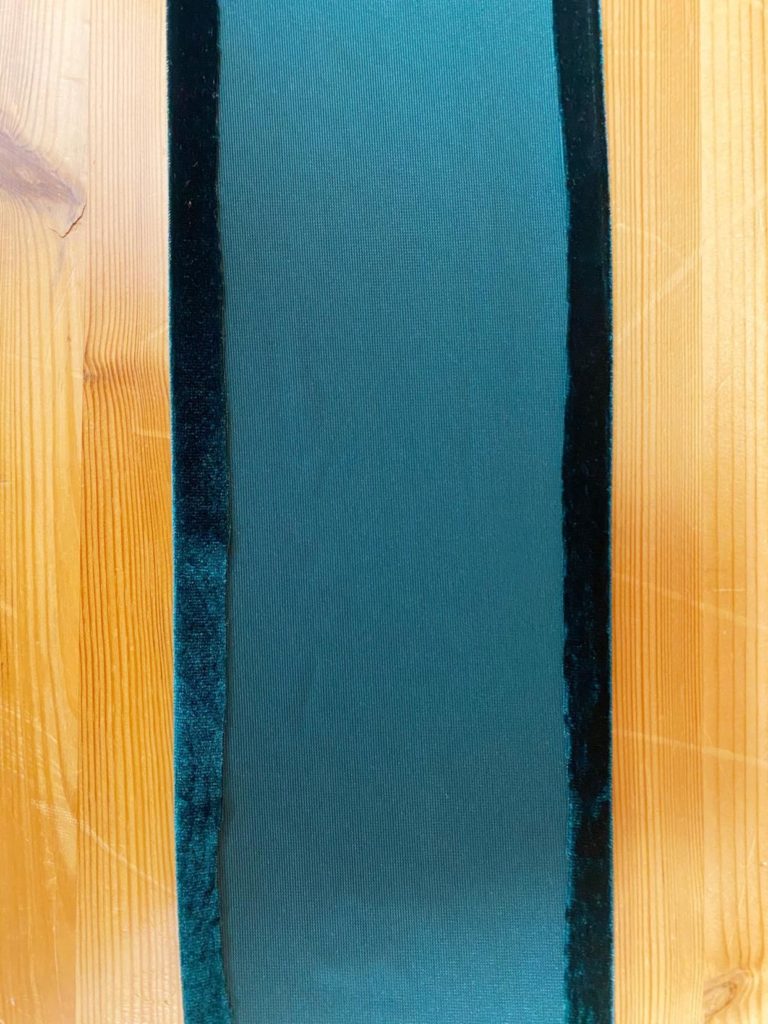
Step 1: For a regular hair elastic (with an unstretched circumference of 6 inches), cut your fabrics into rectangles measuring 20 x 6 inches. If you have a mini elastic (4-inch circumference), 15 x 6 works. For a big elastic (8-inch circumference), cut 25 x 8. Make sure you’re cutting straight along the grain, not on a diagonal, or you’ll have a hard time matching the sides evenly later. On your ironing board, press flat the seam allowances (5/8 of an inch) to the wrong side of the fabric on the long edges. Don’t press the short edges.
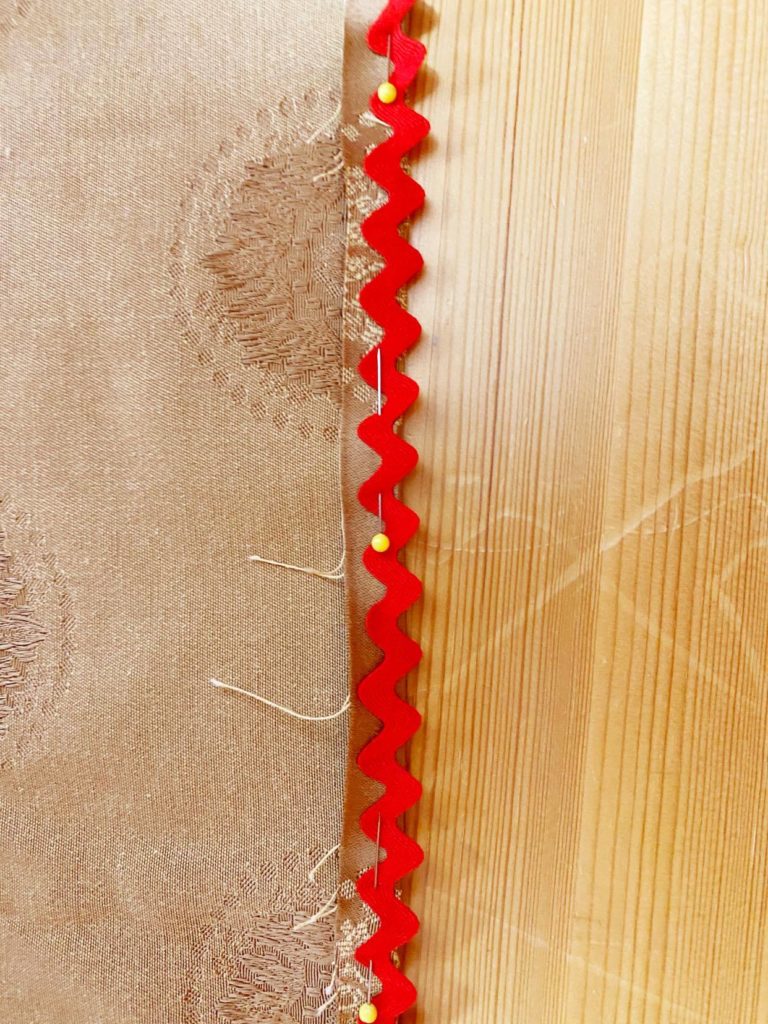
Step 2 (optional): If you’d like to add a fun trim like rickrack, pom poms, ribbon, piping, etc., now is the time. Cut a piece the same length as your fabric and pin it to the seam allowance on the inside, extending the details past the edge of the fabric (see the rickrack below). If you don’t want to add an extra line of visible stitching, leave it pinned for now and don’t sew until you’re adding the elastic in (step 5).
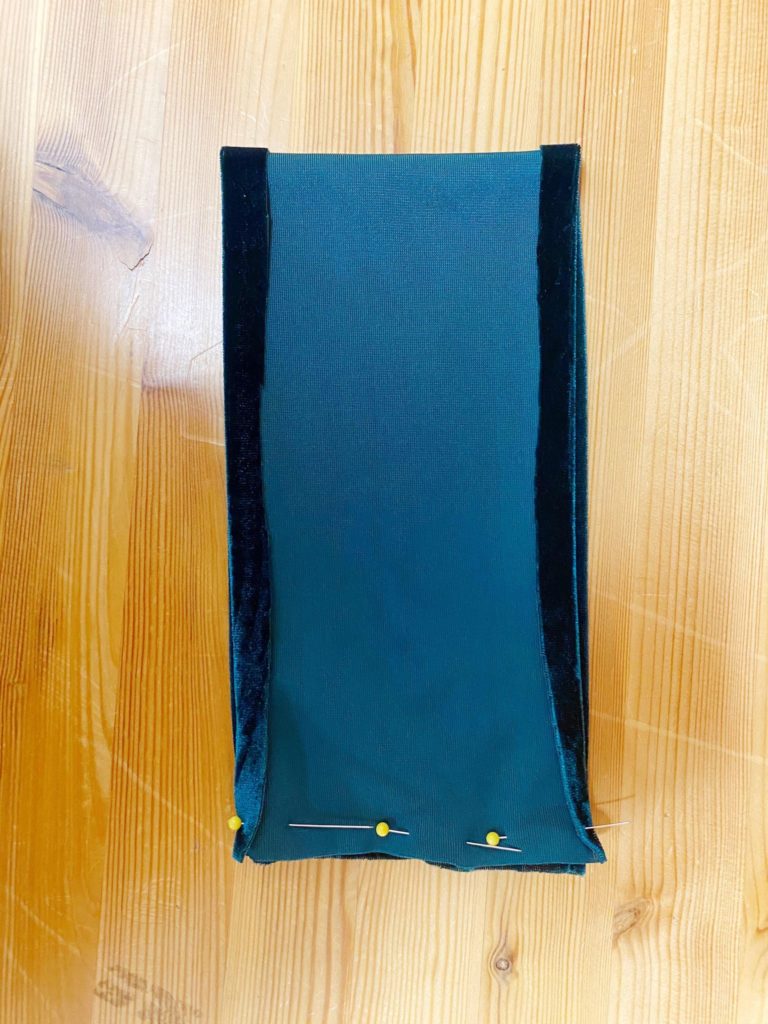
Step 3: Sew together the short ends of your fabric, leaving a narrow seam allowance (1/4 inch). You should now have a short tube of fabric. Keep in mind that if you’re using velvet (as the green one below is), you may want to hand sew this portion if you’re not used to sewing velvet on a machine. It can be tricky to manage!
- Press in seam allowances
- Pin and sew trim
- Pin and sew short ends
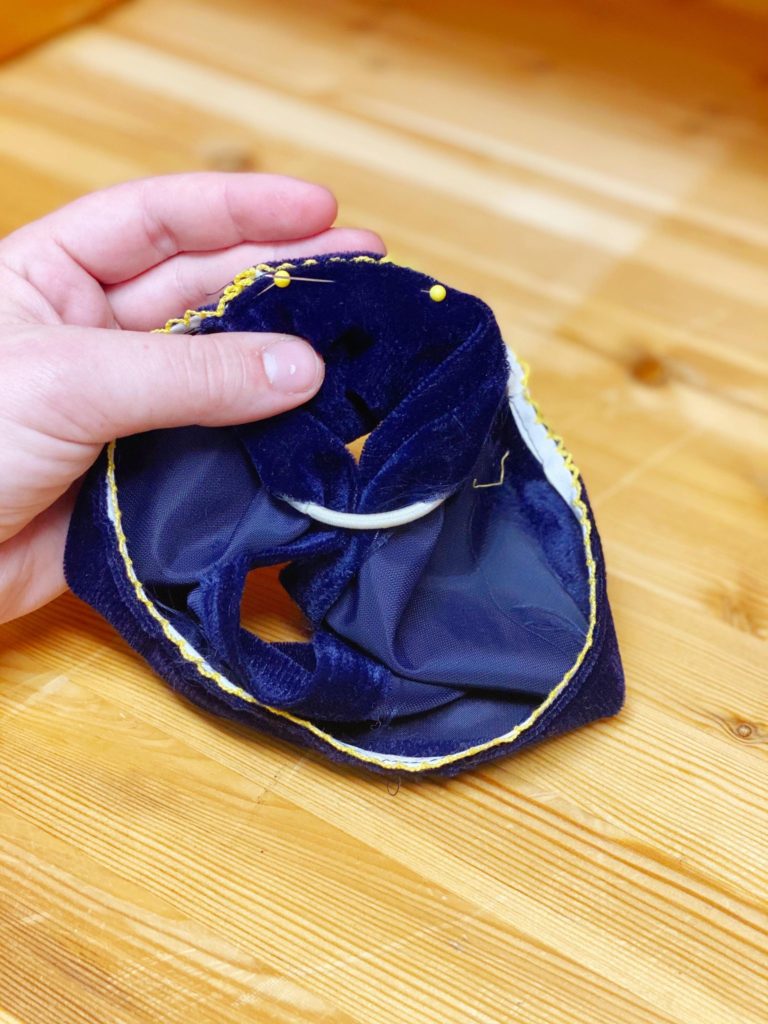
Step 4: Now for the tricky part. Grab your hair elastic and pull one side of your long seam allowance through the middle and pin it to the other side. Work your way around the circle until your elastic is fully encased in fabric. You may find that it seems as though one side of the fabric is longer – it isn’t. This is just because the other side is squished from going through the elastic. Distribute your extra ease along the whole edge and you’ll find it fits nicely.
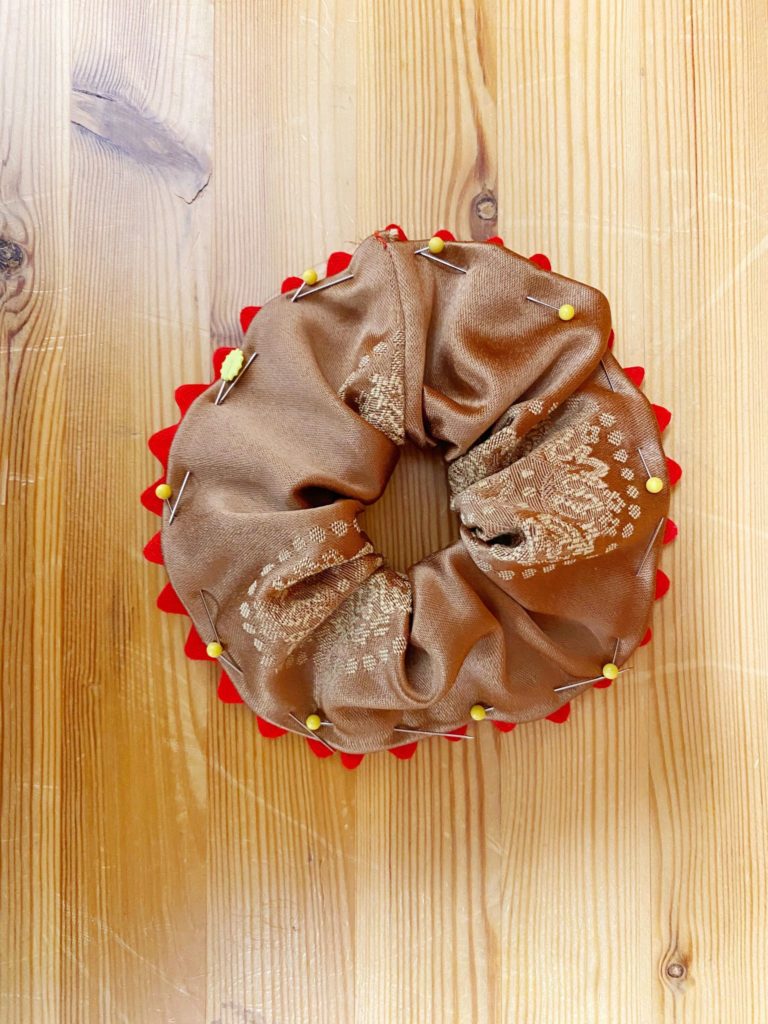
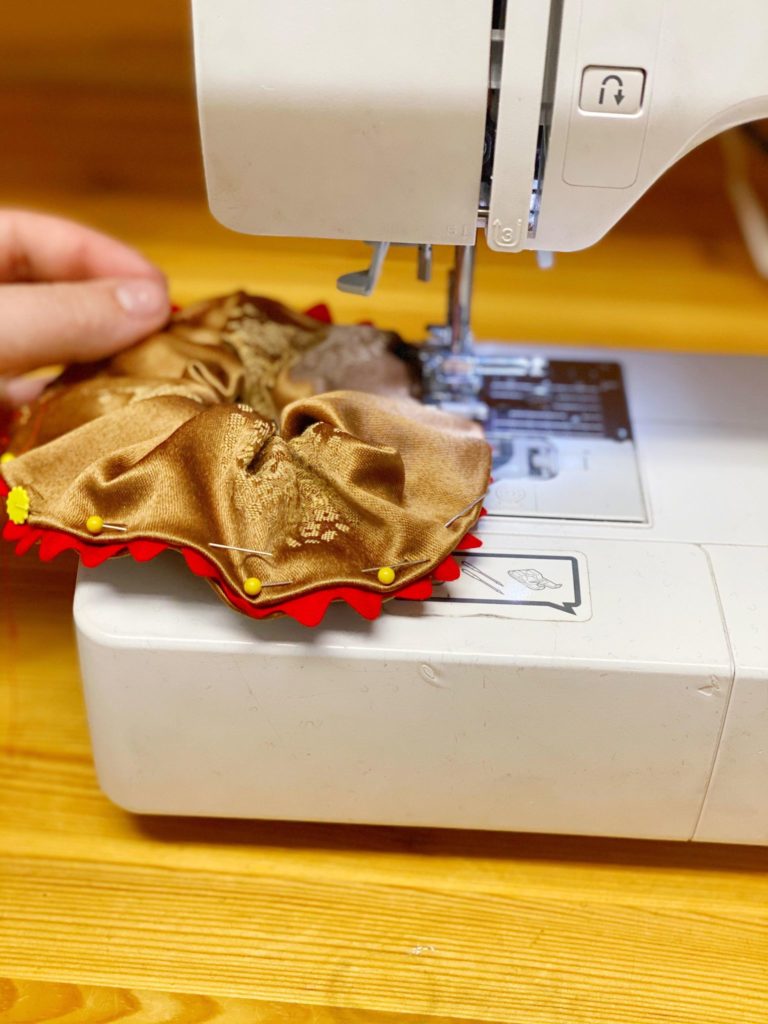
Step 5: Now to sew it up! Stitch as close to the edge of your trimming/fabric as possible, setting your machine to a basting stitch and removing pins as you go. Pull the inch or so of the fabric ahead of your needle flat so that you don’t end up with one layer bunching. You can use matching thread to your fabric or a contrasting thread for a different look. Backstitch where your stitch lines meet and trim the excess thread. If you’d like a more invisible look, whipstitch the edges together with matching thread. For a fluffier look (and if you didn’t use trim), move the seam edge to the inside of the elastic. For a scrunchie that holds its edge shape better, or if you used trim, keep the stitching on the outside.
- Pinning in the hair elastic
- Ready to sew
- Sewing it all together
There you go – you and your friends can now all sport your House pride wherever you go. Make yourself a sackful so you can wear a different one every day, or give these to your besties for the holidays this year!


