Potter DIY: Turn Any Knitted Sweater into a Weasley Jumper
Every Christmas, Mrs. Weasley makes her kids (and Harry) their very own knitted sweater, each customized with the first letter of their name. If you, like me, have always desperately wished you had your own but either couldn’t afford to buy one or are useless with a set of knitting needles (you’re in good company there), look no further. Below is an easy DIY for turning any knitted sweater into a Weasley jumper. Let’s get started!
What You’ll Need:
- A knitted sweater
- Yarn in the color you want your initial (not too fluffy)
- Extra yarn in a different color for marking (optional)
- A ruler
- Scissors
- A needle with a large eye, or a yarn needle
- Paper or fabric for cutting your template
- Pins
- Thimble (optional)
- Puppet pal friends for company (extremely optional but also extremely recommended)

Directions:
Step 1: Use your ruler to measure the center of your sweater front, going from armpit to armpit. Place a pin to mark the spot.
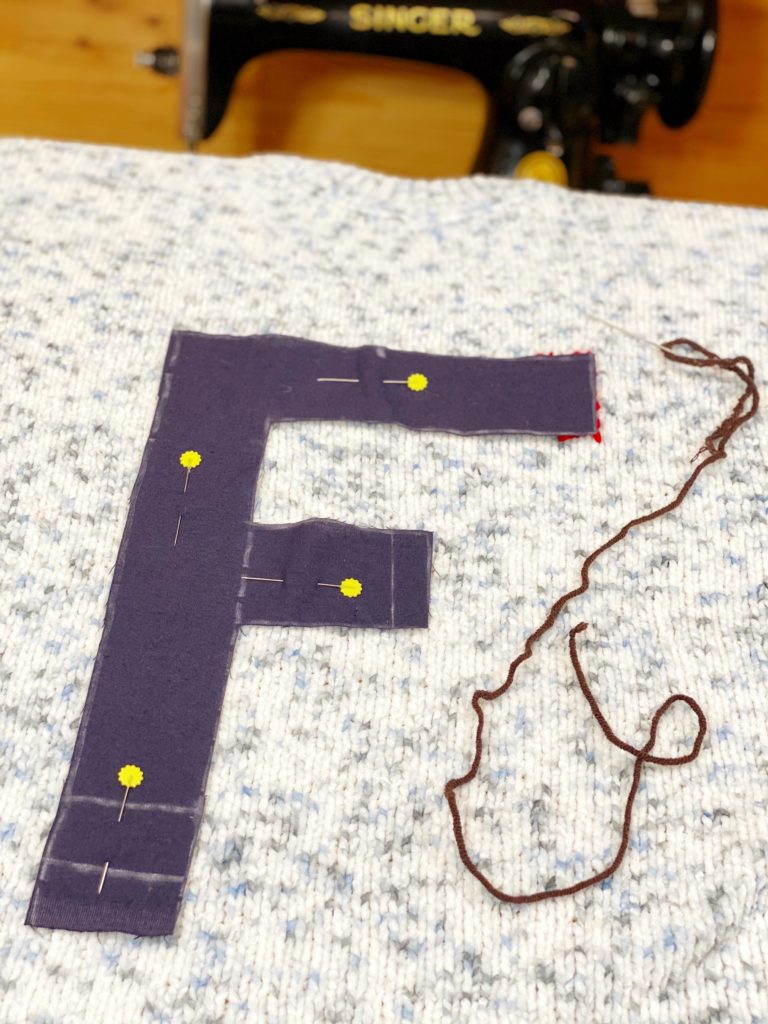
Step 2: Cut the letter you’ll be stitching out of paper (or scrap fabric if, for some reason, you have no paper at hand but lots and lots of fabric) in the rough size you’d like it to be. Pin it down to your sweater front, centering over the pin you used to mark the middle. Now’s the time to adjust the size and placement, so make sure you get it where you’d like it. I think next time I would have done a slightly smaller letter, but live and learn!
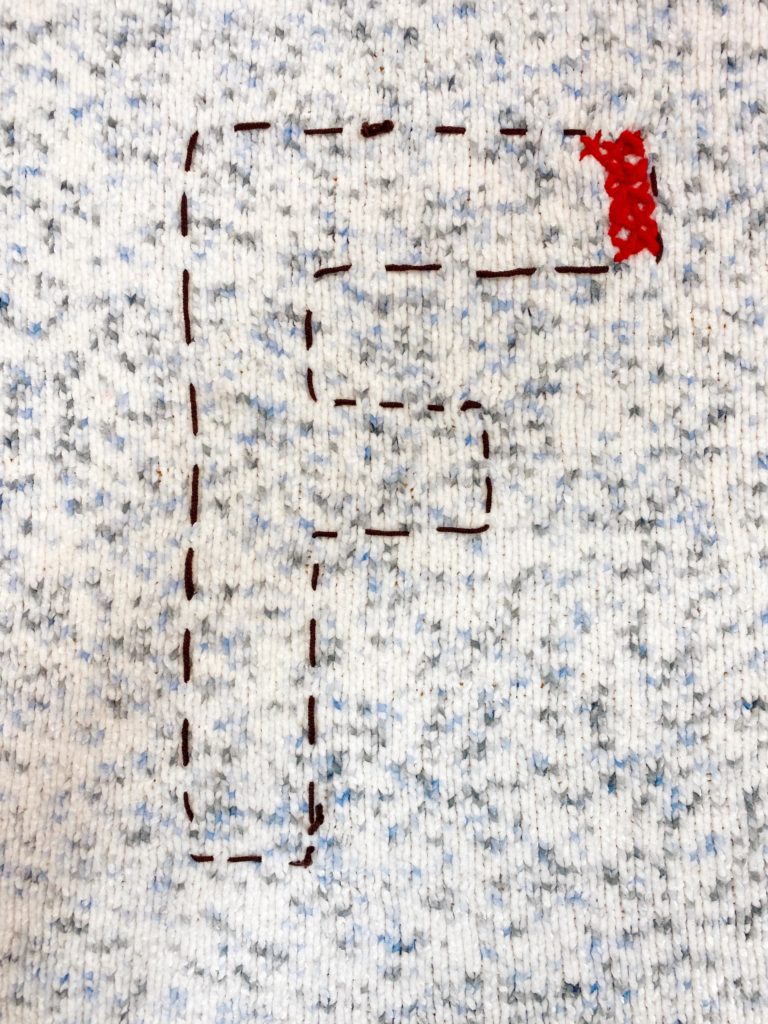
Step 3: Using a different color of yarn if you have it, stitch the outline of your letter into the sweater. It’s handy to place a piece of cardboard or a placemat between the layers of your sweater so you don’t catch the back when you’re stitching into the front and end up with something unwearable where you have to go back and do a ton of unpicking. When you’ve successfully outlined your shape into only one layer, remove the template.
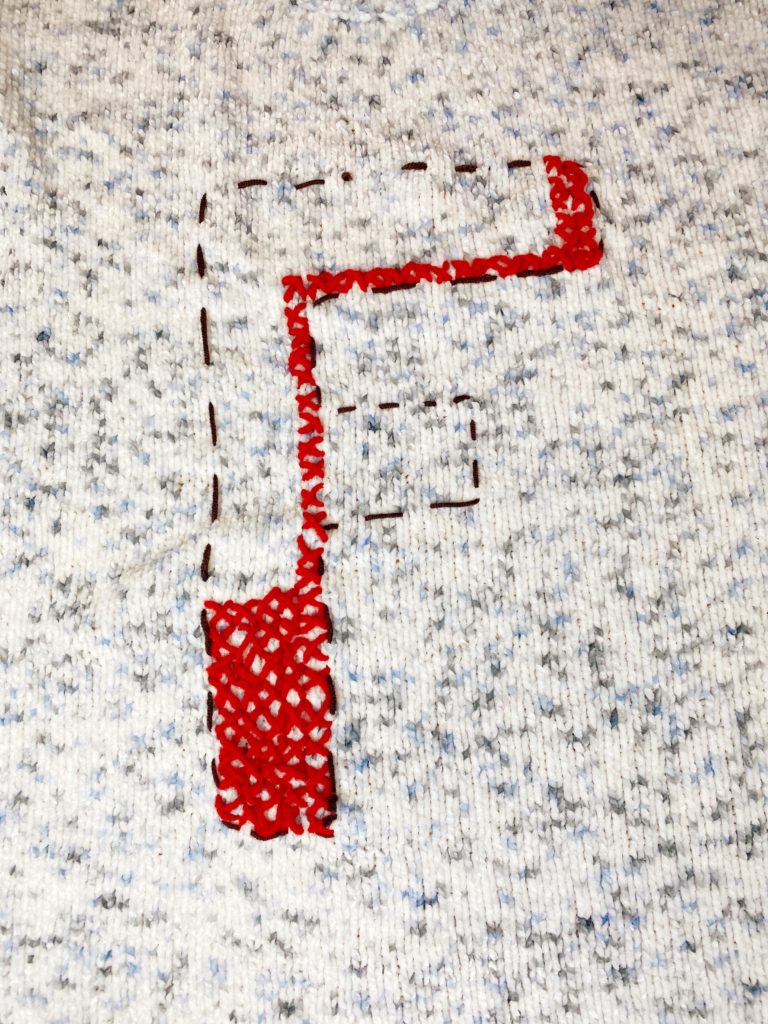
Step 4: Using the knit lines of the sweater as a grid, begin filling in your outline using cross-stitches. If you’ve never done these before, don’t despair; it’s quite easy and this is a forgiving project if your stitches (like mine) don’t end up being all the exact same size. If you’re an old hand, skip the following paragraph, and get stitching.
- Make one diagonal stitch
- Make a second diagonal stitch, finishing the X
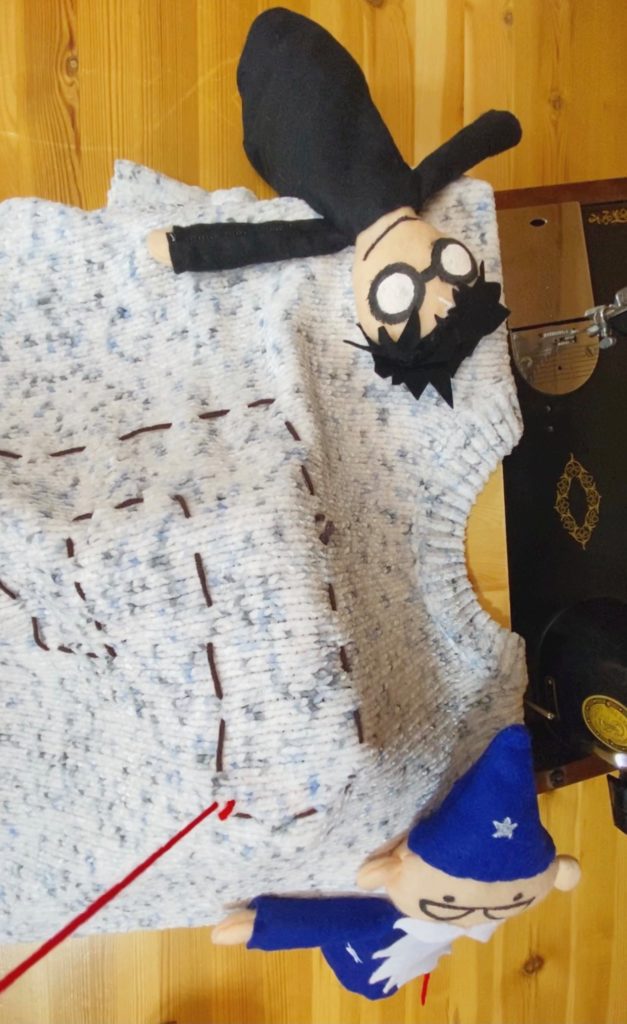
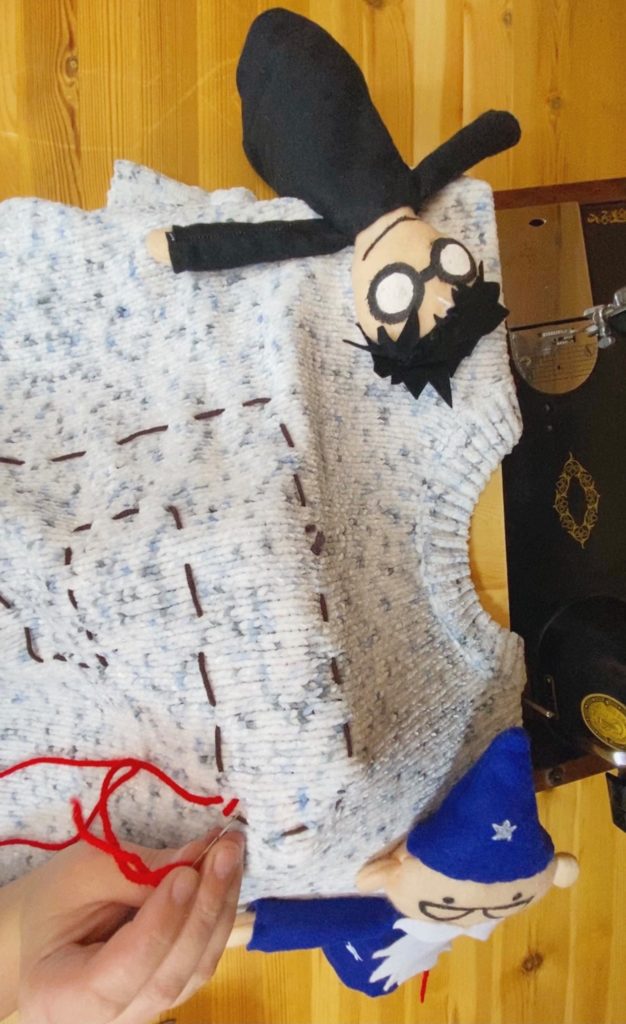
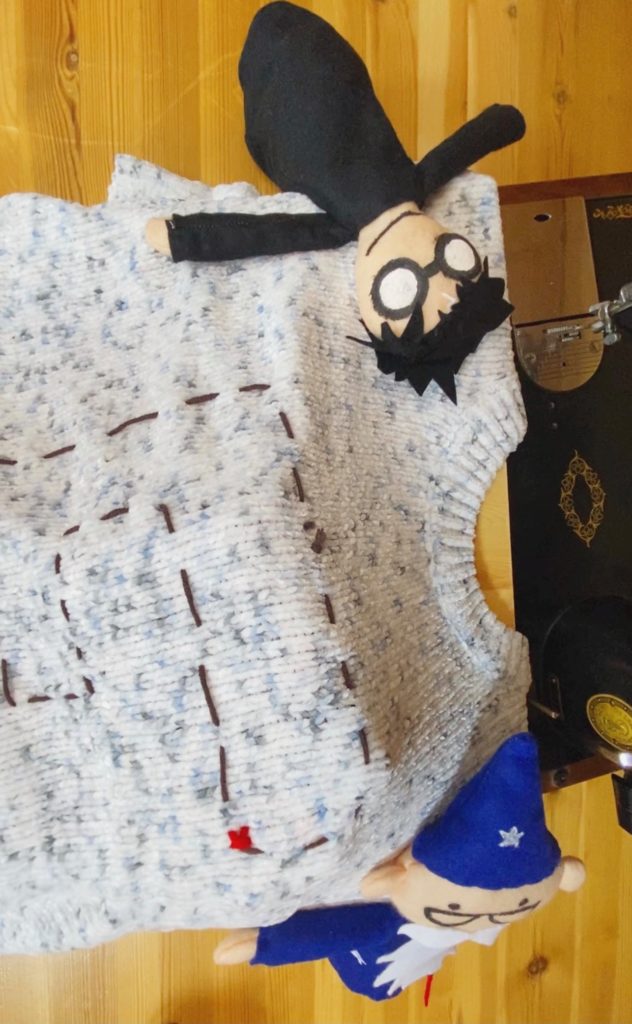
Cross-stitch basics: Cut a piece of yarn about as long as your arm and tie a knot in one end. Thread the other end through the eye of your needle and only pull a little through (see the threaded yarn in the picture top left for an example). Starting from the inside of your sweater, poke the needle up and pull it through until the knot catches. Make a diagonal stitch across several lines of knitting on the sweater (depending on how chunky a knit you’ve got and how small you’d like your Xs to be) and pull the yarn through, being careful not to pull too tight, or it will bunch up your sweater. Poke the needle up below the end of your last stitch and make another diagonal line to form an X, ending the same number of knit stitches above your starting point to make it symmetrical. Keep making stitches until you’ve got a line of Xs, then move over and start the next line. When you run out of yarn, tie a knot on the inside, snip off the extra thread, and start again.
- Pinning the template to the sweater
- Outline of the letter stitched on the sweater
- Progress with the cross-stitch
Step 5: Using the sweater’s knitting as a grid, continue making Xs within your template until you’ve filled it in completely. If you make a mistake, just unthread your needle and pull out the Xs until you’re back to a spot where you’re happy with it.
Step 6: When your letter is completely filled in, snip the yarn you used for the outline and undo the stitches.

All done! Make sure to hand-wash this sweater rather than popping it in the washing machine, so you don’t accidentally lose all your hard work if a knot comes undone. This makes the perfect gift for the wannabe-Weasley in your life or a fun thing to make for yourself. Happy Christmas!


