Potter DIY: Make Your Own “Potter” Sleep Mask
Getting a good night’s sleep can be rough, especially if you’re lying there, staring at your ceiling and counting down the hours left before your alarm goes off. Eye masks can be a super useful tool for skipping the late-night anxiety, whether you need to block out sunlight, your partner’s computer screen, or streetlights outside your window. So if you must wear one, why not turn yourself into your favorite Harry Potter character while you’re doing it?
What You’ll Need:
- Paper and pen
- 2 pieces of 3/8-inch elastic per mask, cut to 13 inches each
- Scissors
- Sewing machine/needle and thread
- 3 pieces of felt per mask (or two pieces of felt and one piece of silk or satin)
- Craft paint (black, red, etc.) and a paintbrush
- Red yarn
- Hot glue gun or fabric glue
- Something to trace
- The pattern with seam allowances
- Cutting out the felt
Directions:
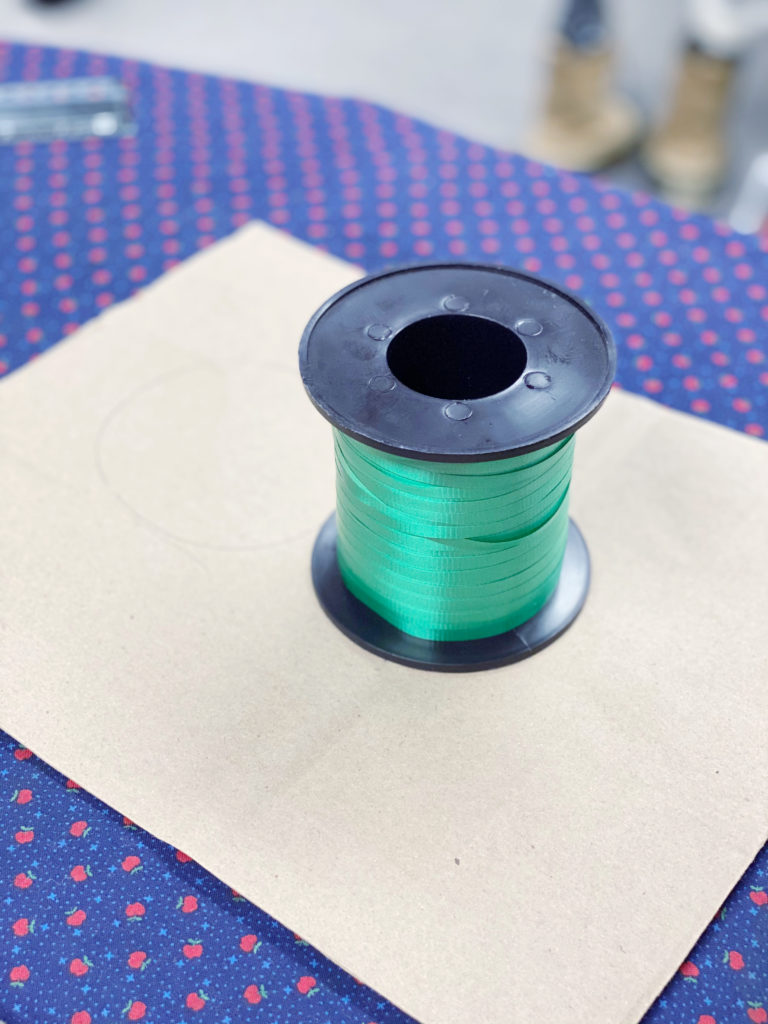
Step 1: First things first – you’ll need to make a pattern so that all your pieces are the same size and so when all your friends demand that you make them one, you won’t have to start from scratch. Grab a piece of paper and something medium/large and circular. The ribbon spool that I used was 4.25 inches in diameter, so something around that size will work.
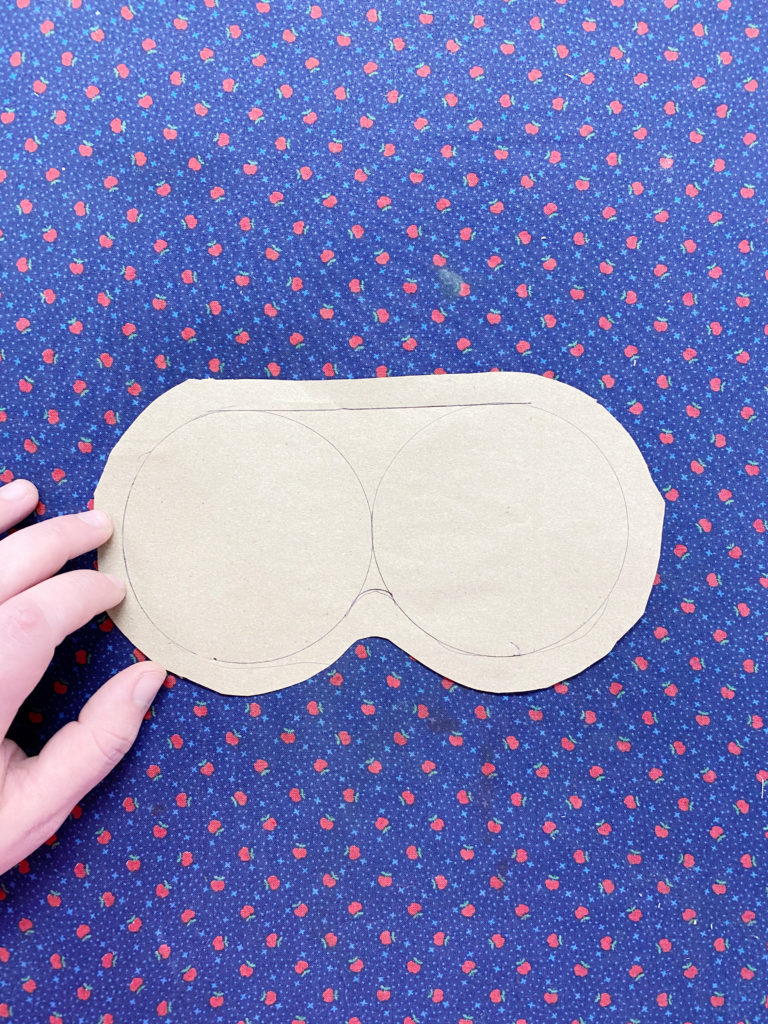
Step 2: Trace your circle twice, close enough together that they touch slightly. Connect the top of the circles with a straight line, and freehand a curve to connect the bottom parts (this is where your nose will go).
Step 3: Cut out your pattern, leaving 1/2-5/8 of an inch border for seam allowances.
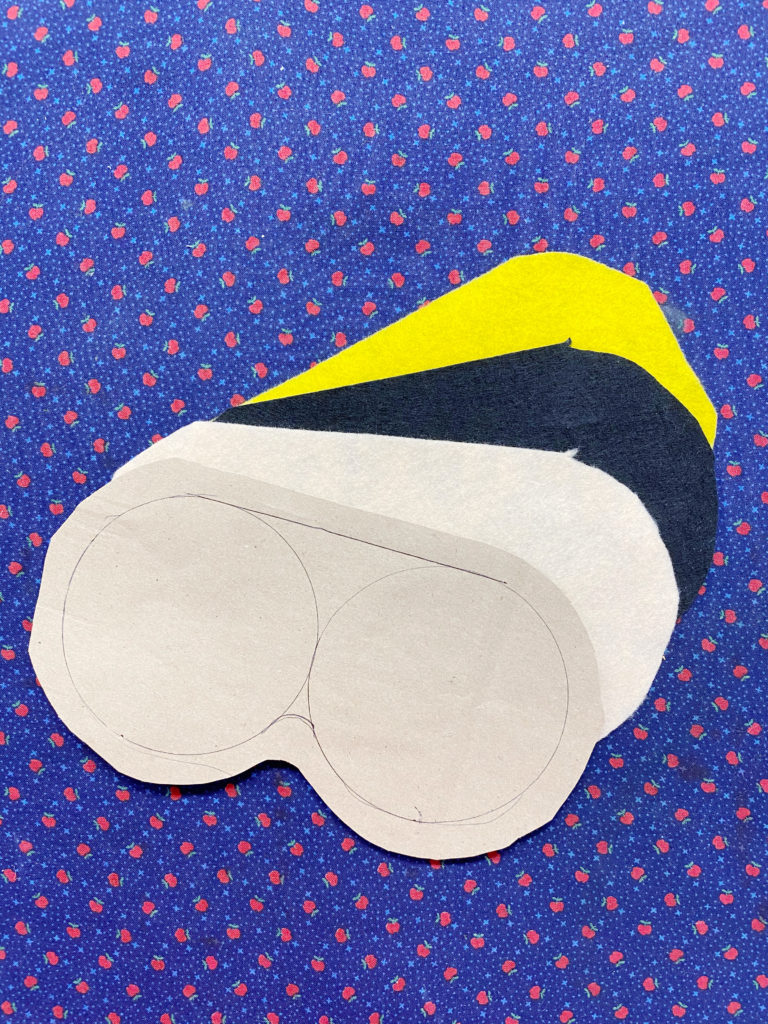
Step 4: Next, trace your pattern onto your 3 layers of felt and cut them out. I used a beige felt for the face (but feel free to use whatever skin tone you prefer), a black layer to block any light leakage, and yellow and blue on the inside for House colors. I made these with felt on the inner layer, but after sleeping with one, I would recommend using a silkier fabric like satin or silk.
- Making Harry’s glasses
- Painting on felt
- Finished faces
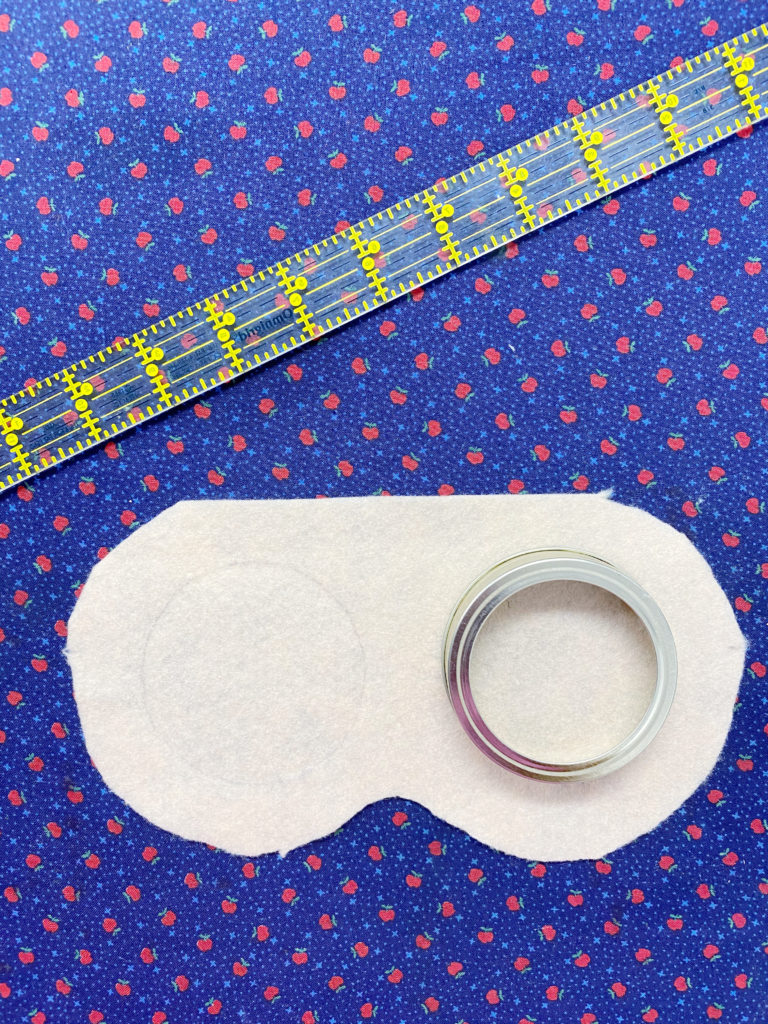
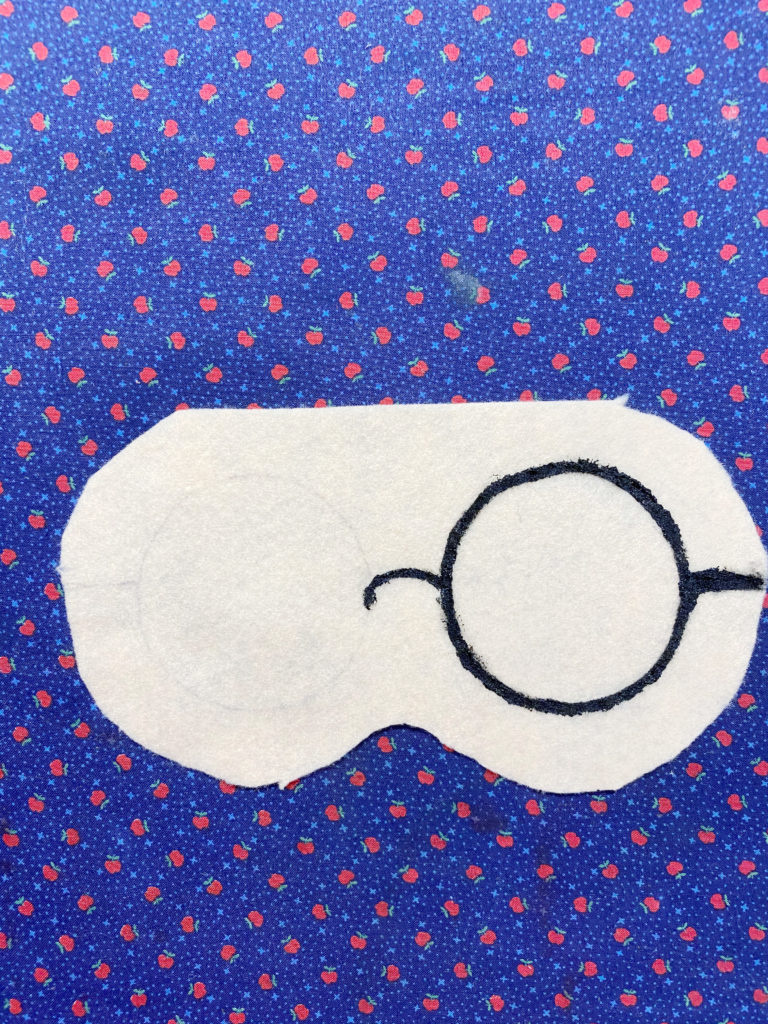
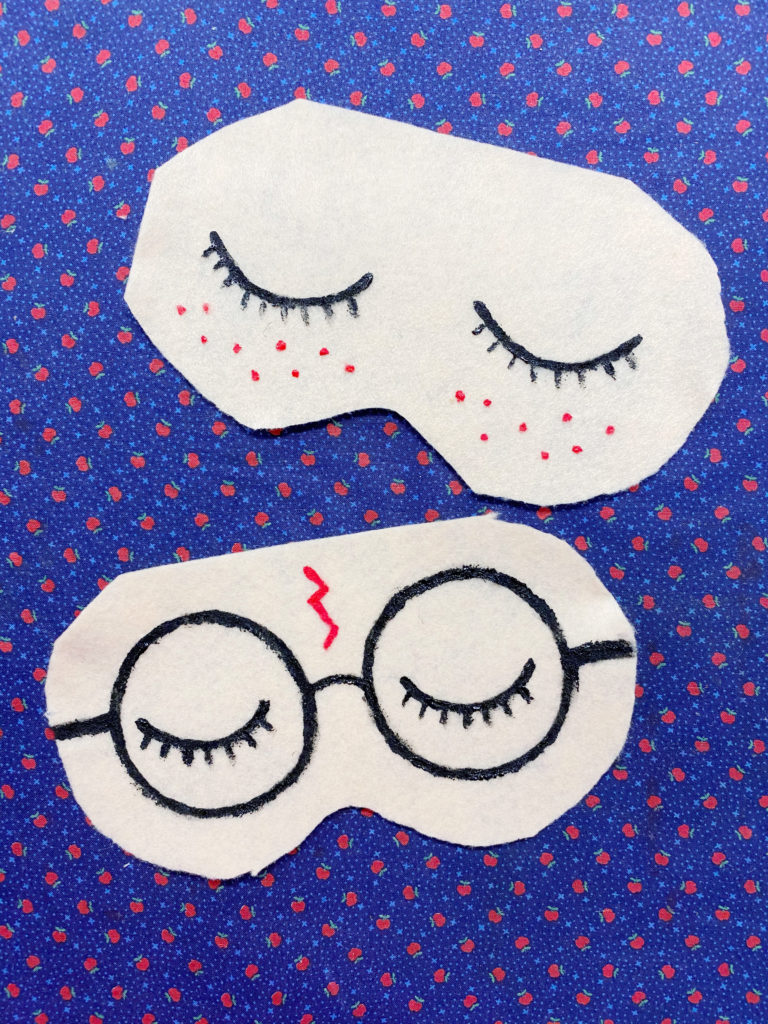
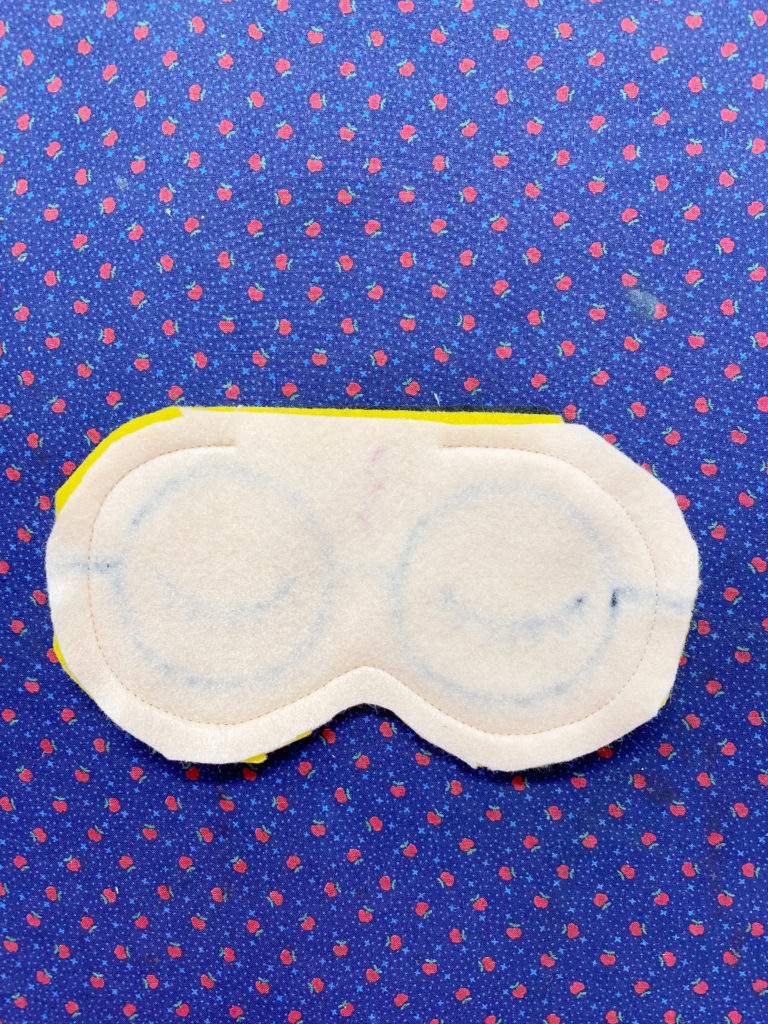
Step 5: Now – to make your faces! The outer 1/2-5/8 of an inch will be lost to the seam, so make sure to stay away from the edges. For Harry, I used a jar lid ring to make his glasses shapes. Depending on what character you’re doing, you can play around with these details using different colors of paint and other accessories.
I would recommend drawing anything in pen and then painting over them afterward. Paint can be a little tricky on felt since it’s fuzzy, so make sure to do two layers of paint, letting it dry in between each layer. Once your faces are done, make sure to let them dry completely before moving on to the next step.
- Pinning your elastics
- Pin together all the layers
- Trim and flip
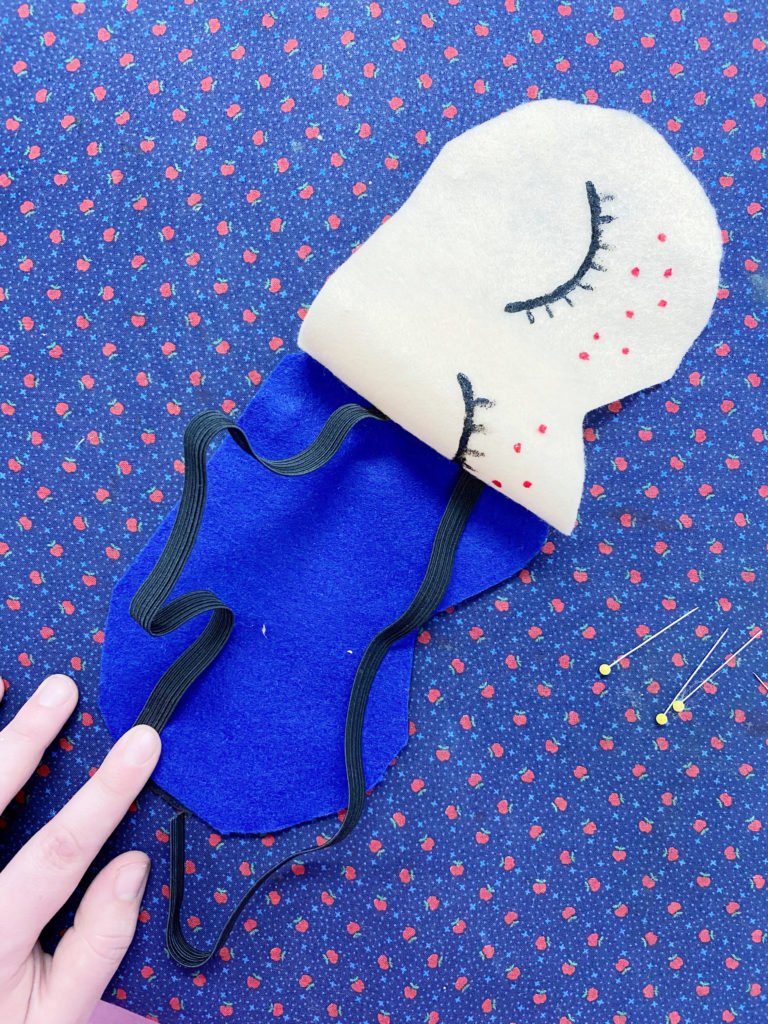
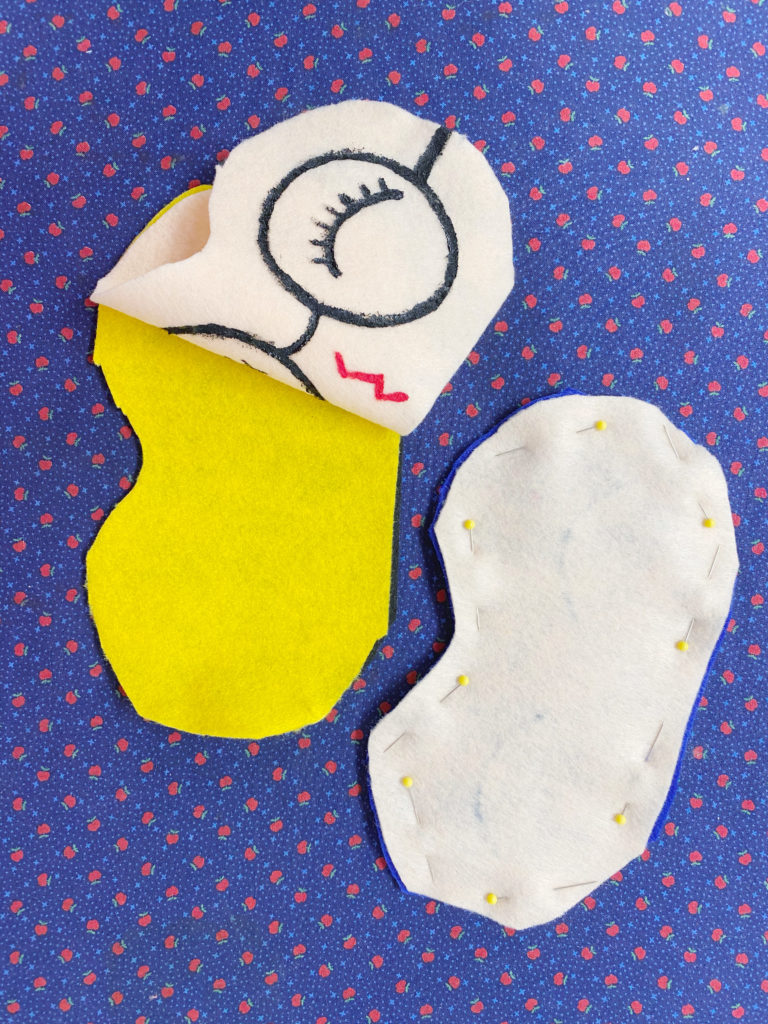
Step 6: We’ll be flipping these inside out once they’re sewn, so place the faces face-down on your House-colored felt (or silk/satin) with the black barrier below the House colors. Your stack of fabric should be the upside-down face layer, the elastics, the House color layer, and the black layer.
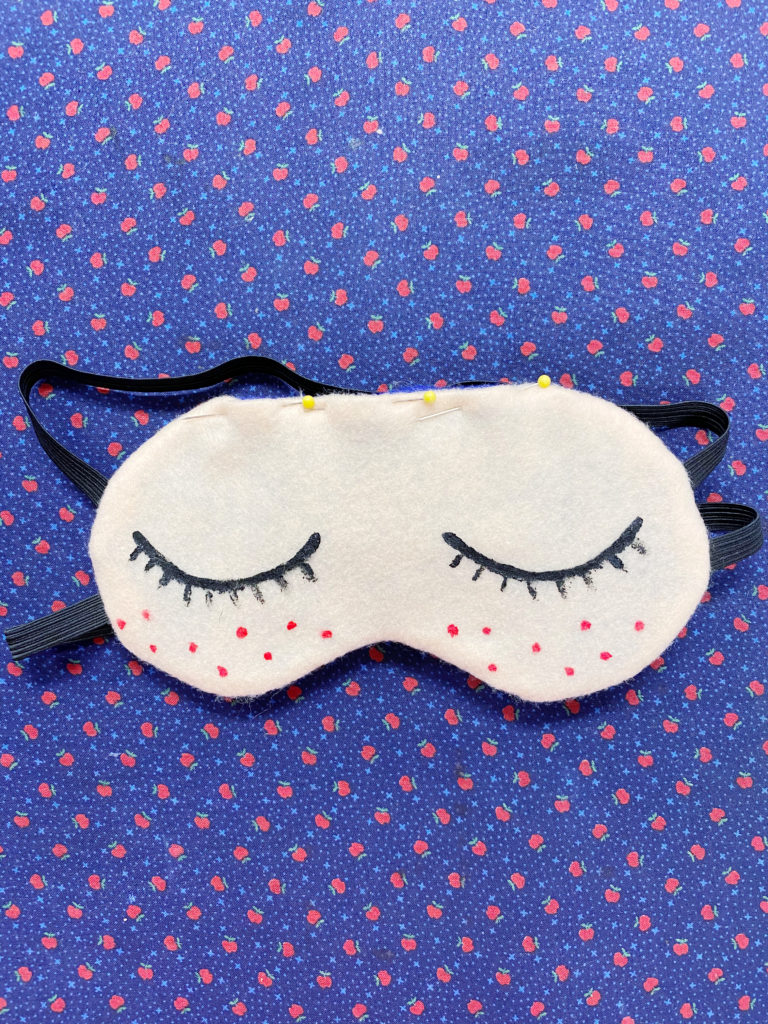
Before you pin it all together, you’ll want to make sure that your elastics are in place so they’re sewn into the seams. Pin them just above and below the halfway point on the mask sides. It’s important to use two pieces rather than just one so that the mask doesn’t get squished across your eye line while you’re sleeping.
Step 7: Pin together all the layers, catching the elastics as you do, and leave the top, flat section open. Stitch the layers together using a basting stitch on your sewing machine, or using a running backstitch and needle and thread. Make sure to backstitch at the ends, leaving a gap of 2-3 inches at the top. It’s important you don’t make this too small. Trim the seams.
- Prepping to sew
- Hand sew the opening
- Adding details
Step 8: Carefully pinch the face fabric from the inside and pull it through the gap. Be careful not to pull too hard, because you don’t want to pull it out of shape. Use something sharp (like the tip of your scissors) to carefully push all the seams open from the inside.
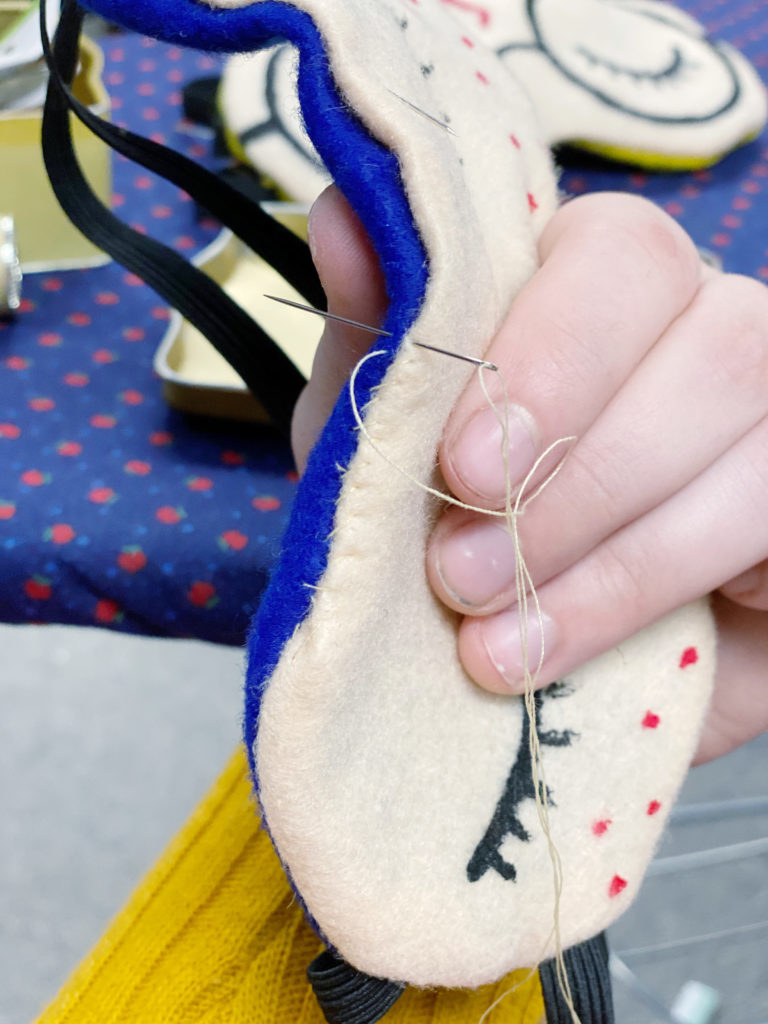
Step 9: When your mask is turned, the elastic ends should be hidden between the inner layers. Turn the edges of the gap at the top of the mask to the inside and pin them shut. Thread a needle with matching thread and whip stitch the section shut, making your stitches as invisible as possible.
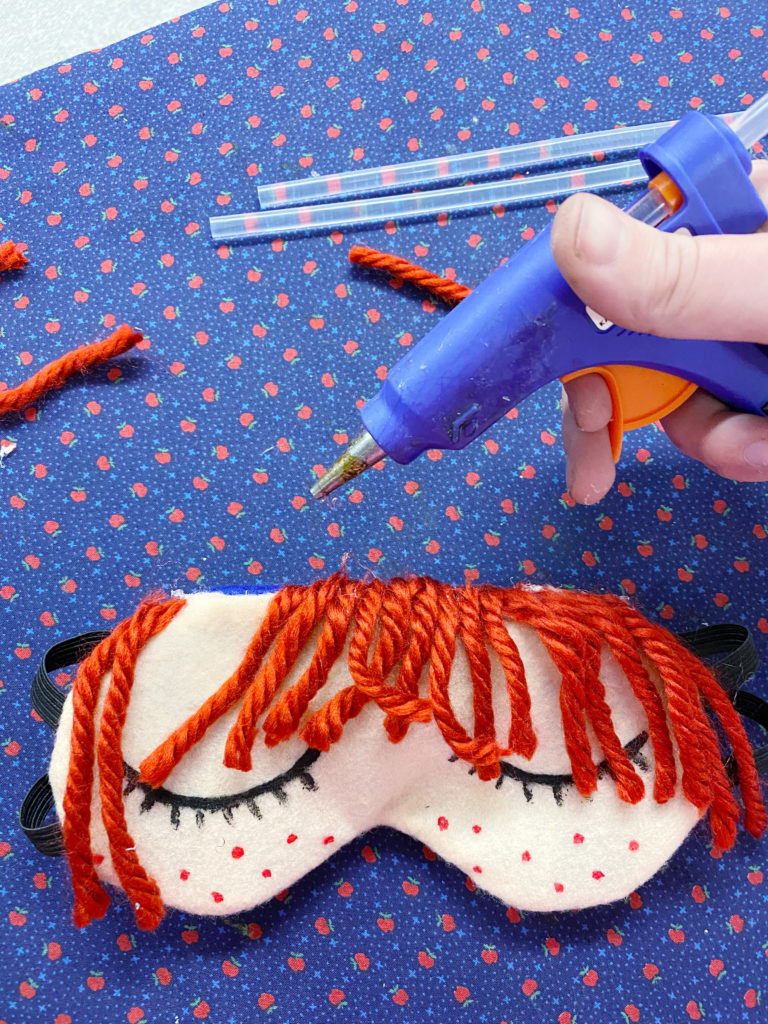
Step 10: And now for the best part of all – adding Ron’s hair! Cut a bunch of short pieces from your yarn, ranging from 2-4 inches in length. Using a hot glue gun or fabric glue, attach these to the top of your Ron mask at the seam. When it’s all attached, glue one long piece over all the glued ends to conceal any messiness.
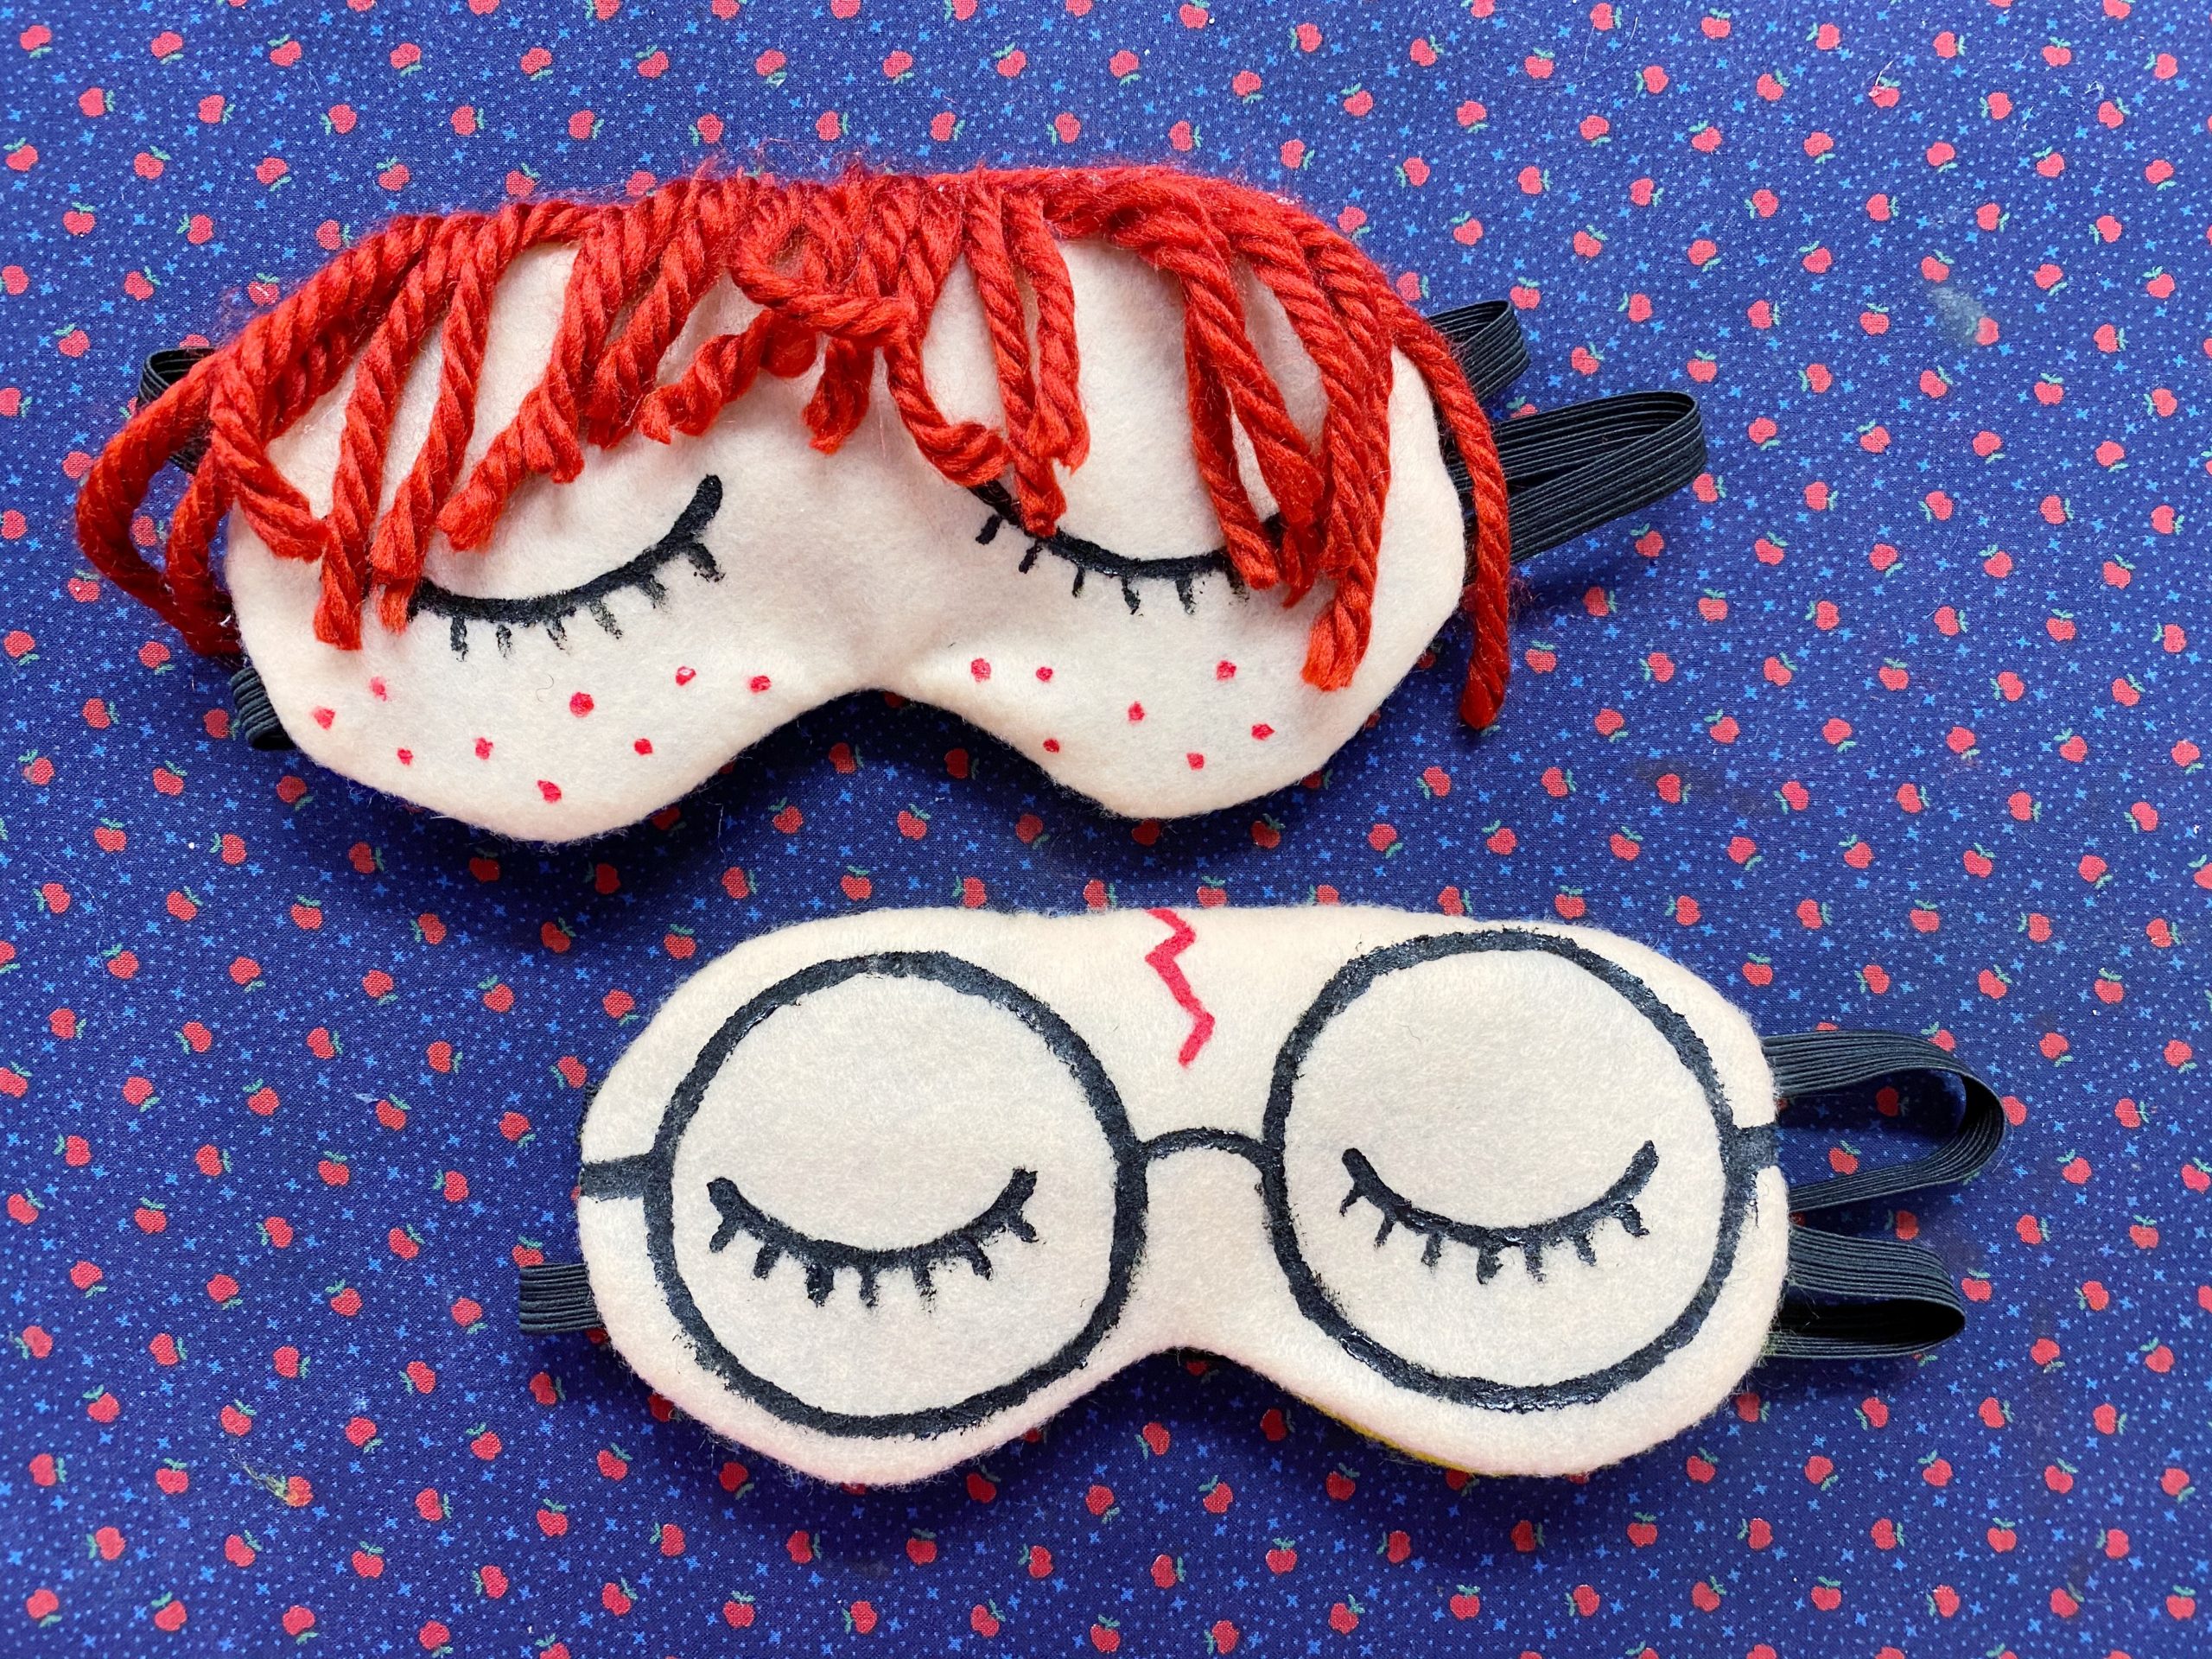
That’s it – you’re done! Now, get a good night’s sleep and dream that you’re at Hogwarts, acing your Defense Against the Dark Arts exam and getting ready for Quidditch tryouts.

