Potter DIY: Christmas at Hogwarts iPhone Screen
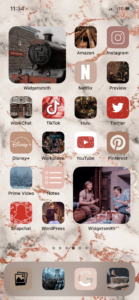
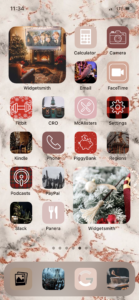
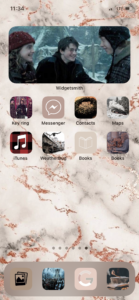
Themed iPhone home screens have become a major trend lately. With so many Harry Potter themes seen all over Instagram, Etsy, and Pinterest, it’s become clear that a Christmas at Hogwarts theme is beyond necessary. This process is actually very easy and free. This DIY will have you creating your own icons in a simple and personalized way. I change my iPhone home screen for every season, so with the holidays upon us, I decided Christmas at Hogwarts is the perfect route to go. If you have wanted to design your iPhone home screen and want to give it some festive magic, then be sure to check out this DIY.
What You’ll Need:
- iPhone with iOS 14 update or higher
- Shortcuts app
- Widgetsmith app
- Easy access to Google/Pinterest (I use Pinterest)
- Canva app (optional)
Directions:
Step 1: Arrange the apps on your home screen to how you will ideally want them arranged once you’re done, and write down a list of the apps.
Step 2: Delete all of your apps from your home screen. Your home screen should be completely empty.
Step 3: Find a picture of the color white from Google/Pinterest to set as your wallpaper (this will provide a blank canvas).
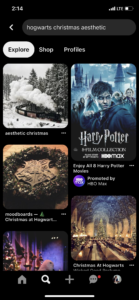
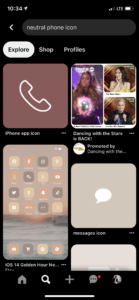
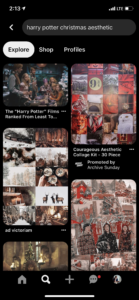
Step 4: On Google/Pinterest, type “Harry Potter Christmas aesthetic.” Download as many photos as you have apps on your list, plus any photos you want for decor on your screen. Tip: Try to find photos that sort of line up with the app abilities. For example, a picture of a Hogwarts letter would go well for a messaging or email app. Also, feel free to type “Christmas cozy aesthetic” if you would like to add a few generic holiday photos to your screen. Another option is to search Christmas colors if you would like to have a couple of apps with solid icons.
Optional Step: Use the Canva app to create a blank Instagram post template, upload your pictures to the app, and use the elements tab to search app icons to place over your image. I used to do this with solid icons but now choose not to since I use actual photos. This is based on personal preference of needing to see the icon or the name below the icon being enough to identify your desired app.
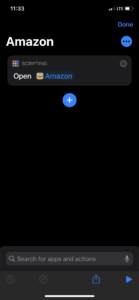
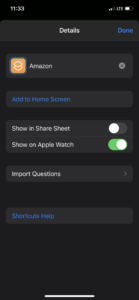
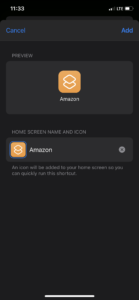
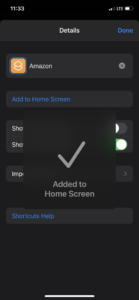
Step 5: Opening the Shortcuts app on your phone, select the + button in the upper right corner, select “add action,” select “Scripting,” “Open App,” “Choose,” and choose the app you would like to add. You will then tap on the three dots in the upper right-hand corner, type the name of the app in “Shortcut Name,” and click “Add to Home Screen.”
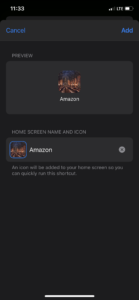
Whatever name you enter in the “Home Screen Name and Icon” box will be the name displayed for the app on your home screen. Clicking on the icon box will allow you to choose a photo from your photos. Select your photo, crop it to your desired size, type in the name, and select “Add.” This will add the icon to your home screen. Continue to do this for the rest of your apps.
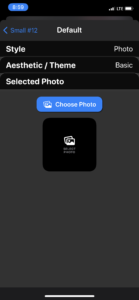
Step 6: After you have all of your apps added, you can now add bigger photos for decor – these are done with the Widgetsmith app. Open the app and add a small, medium, or large widget. Then select “Photo” under “Style” and click “Selected Photo.” You will then choose the photo you want to add, click the arrow back in the top left, and click save.
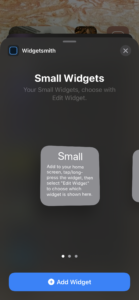
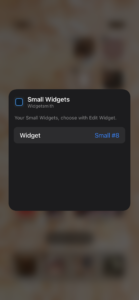
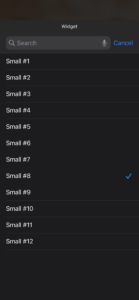
Step 7: Once you have your widgets created, go back to your home screen and hold down on one of your icons until your apps are vibrating, allowing you to edit your screen. You will then click the + in the top left, then scroll down to the Widgetsmith app and select it. Scroll to select your widget size and click “Add Widget.” If you need to select a specific small, medium, or large widget, tap on the photo and select the appropriate one.
Step 8: After your widgets are added, you can arrange your apps and photos how you want until you are satisfied.
Step 9: The final step is to select a background. If you have chosen photos on a majority of your icons, a busy wallpaper will make your screen too crowded upon viewing. I suggest searching for a marble or tie-dye background with the appropriate color pallet. You can choose a busy wallpaper for your lock screen instead. Once your wallpapers are set, you are all done!

