Potter DIY: Collage Wall
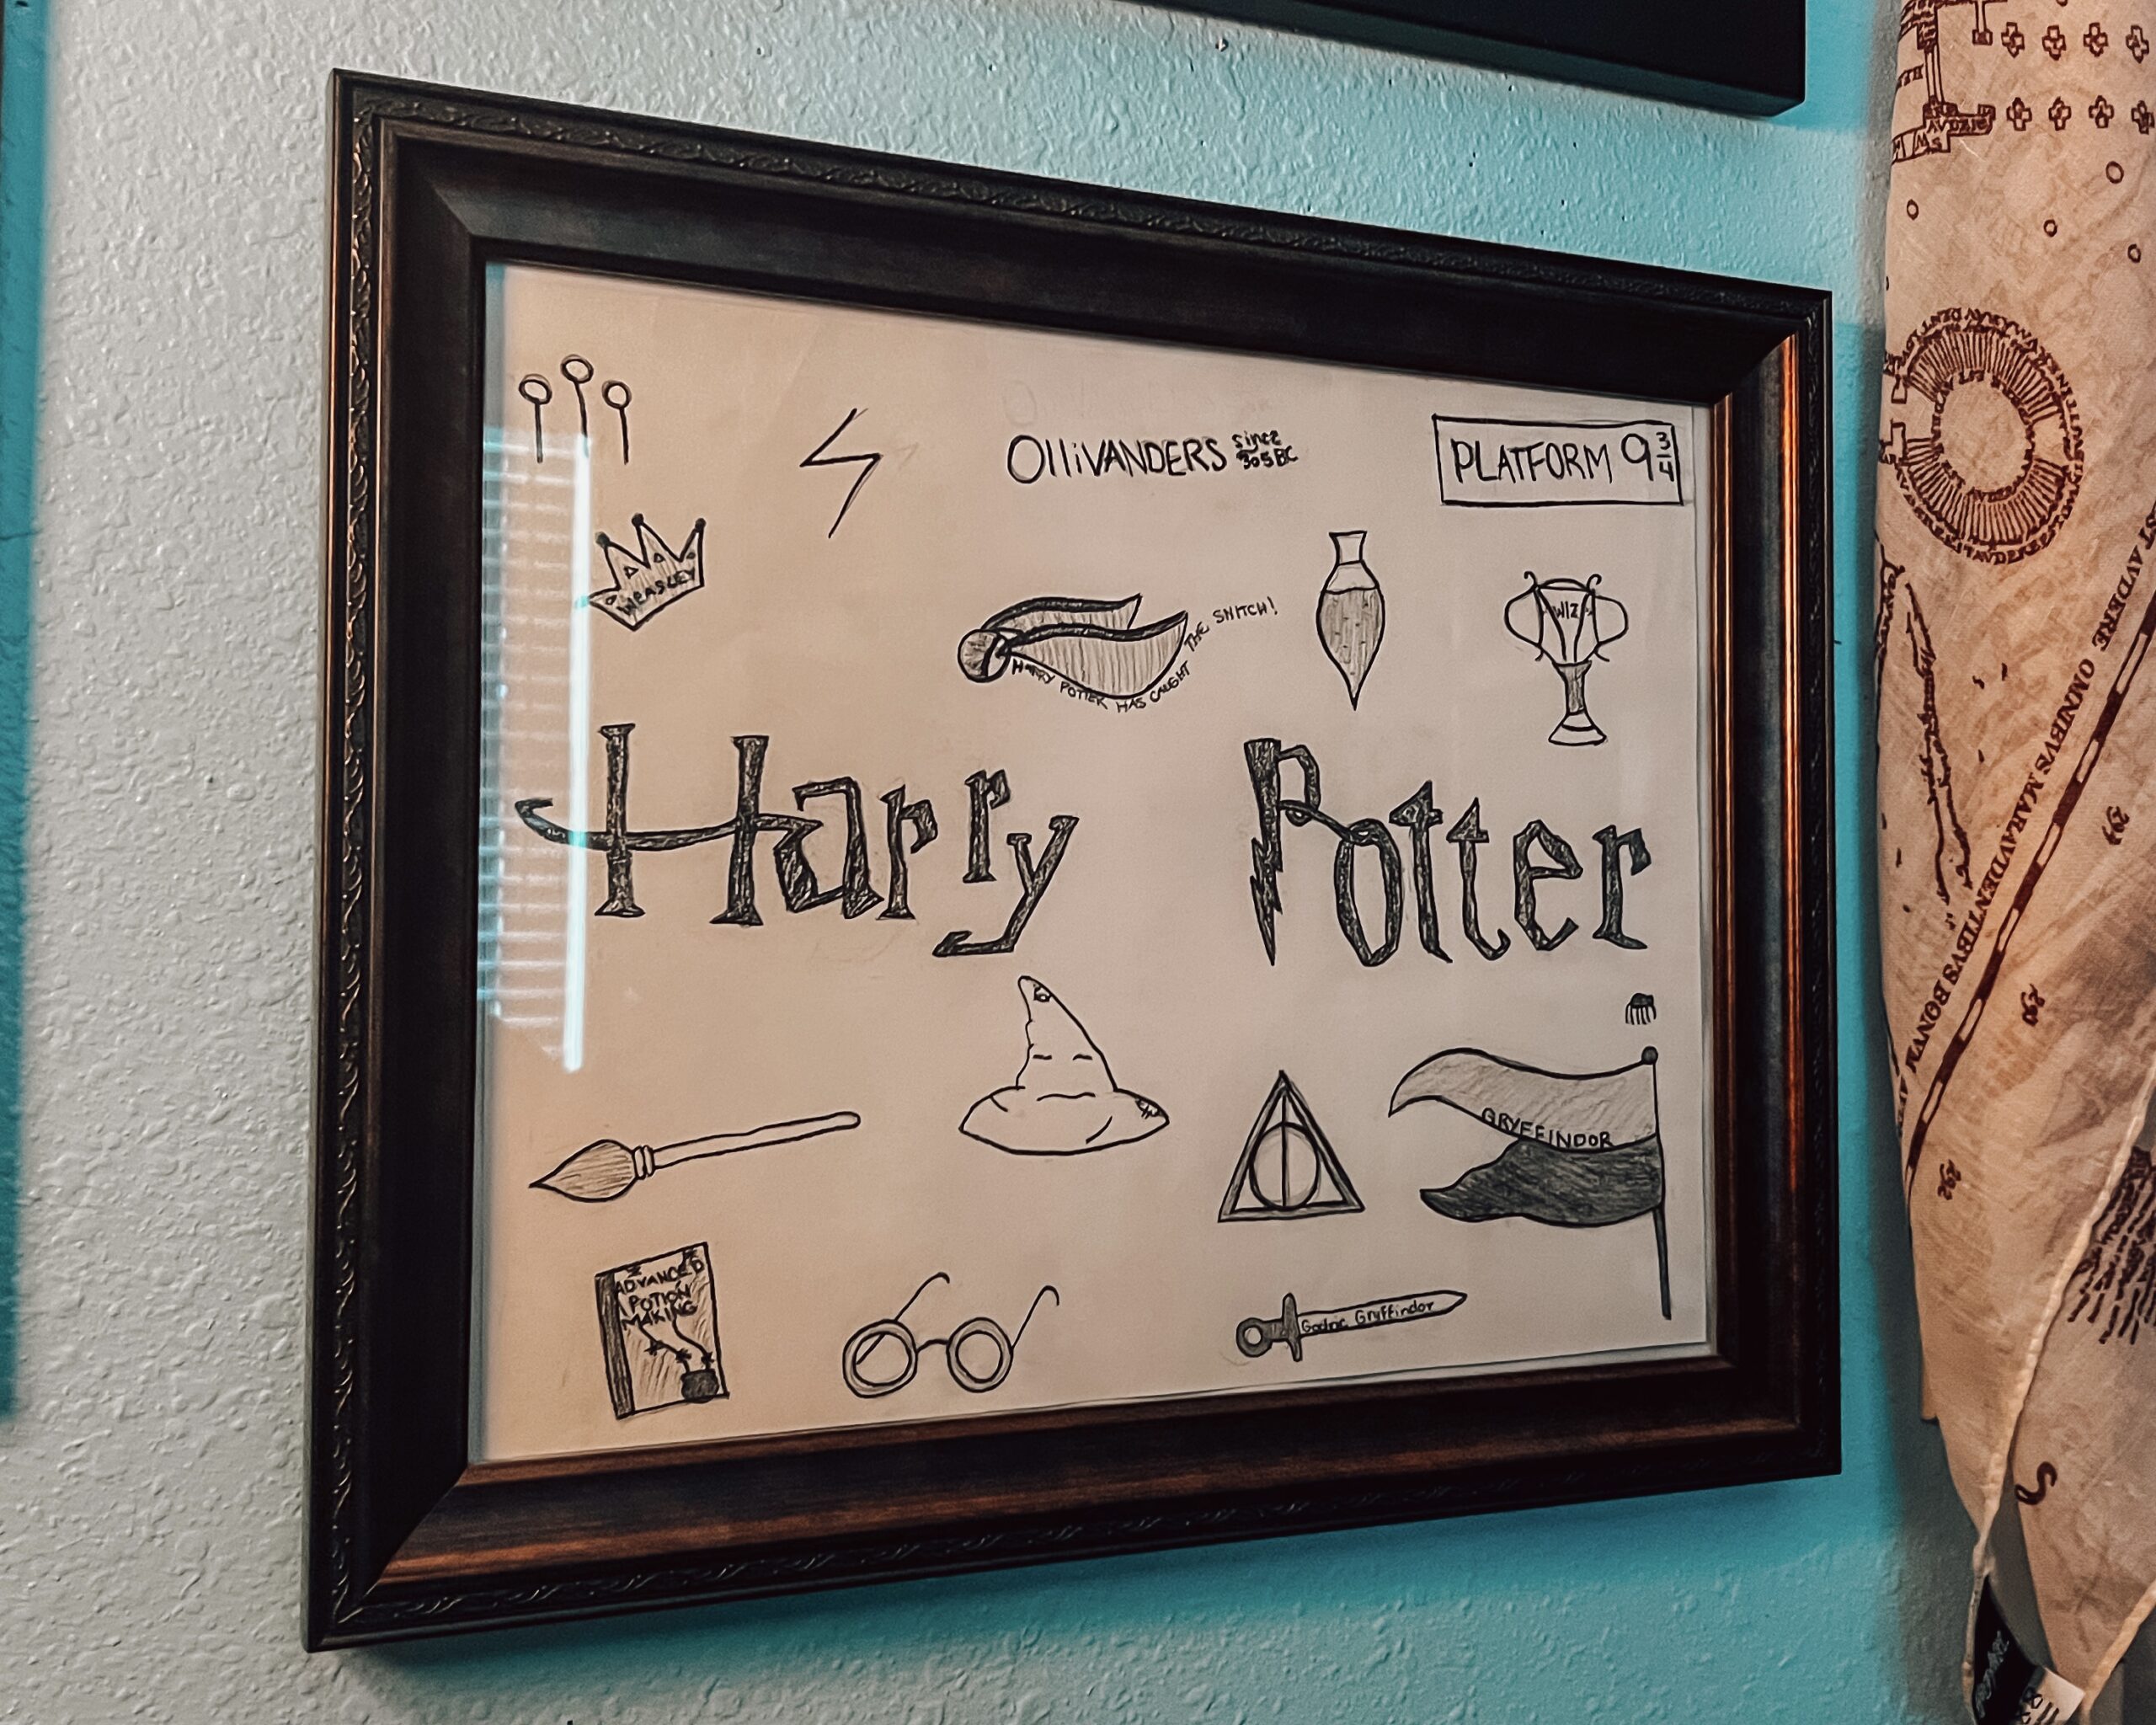
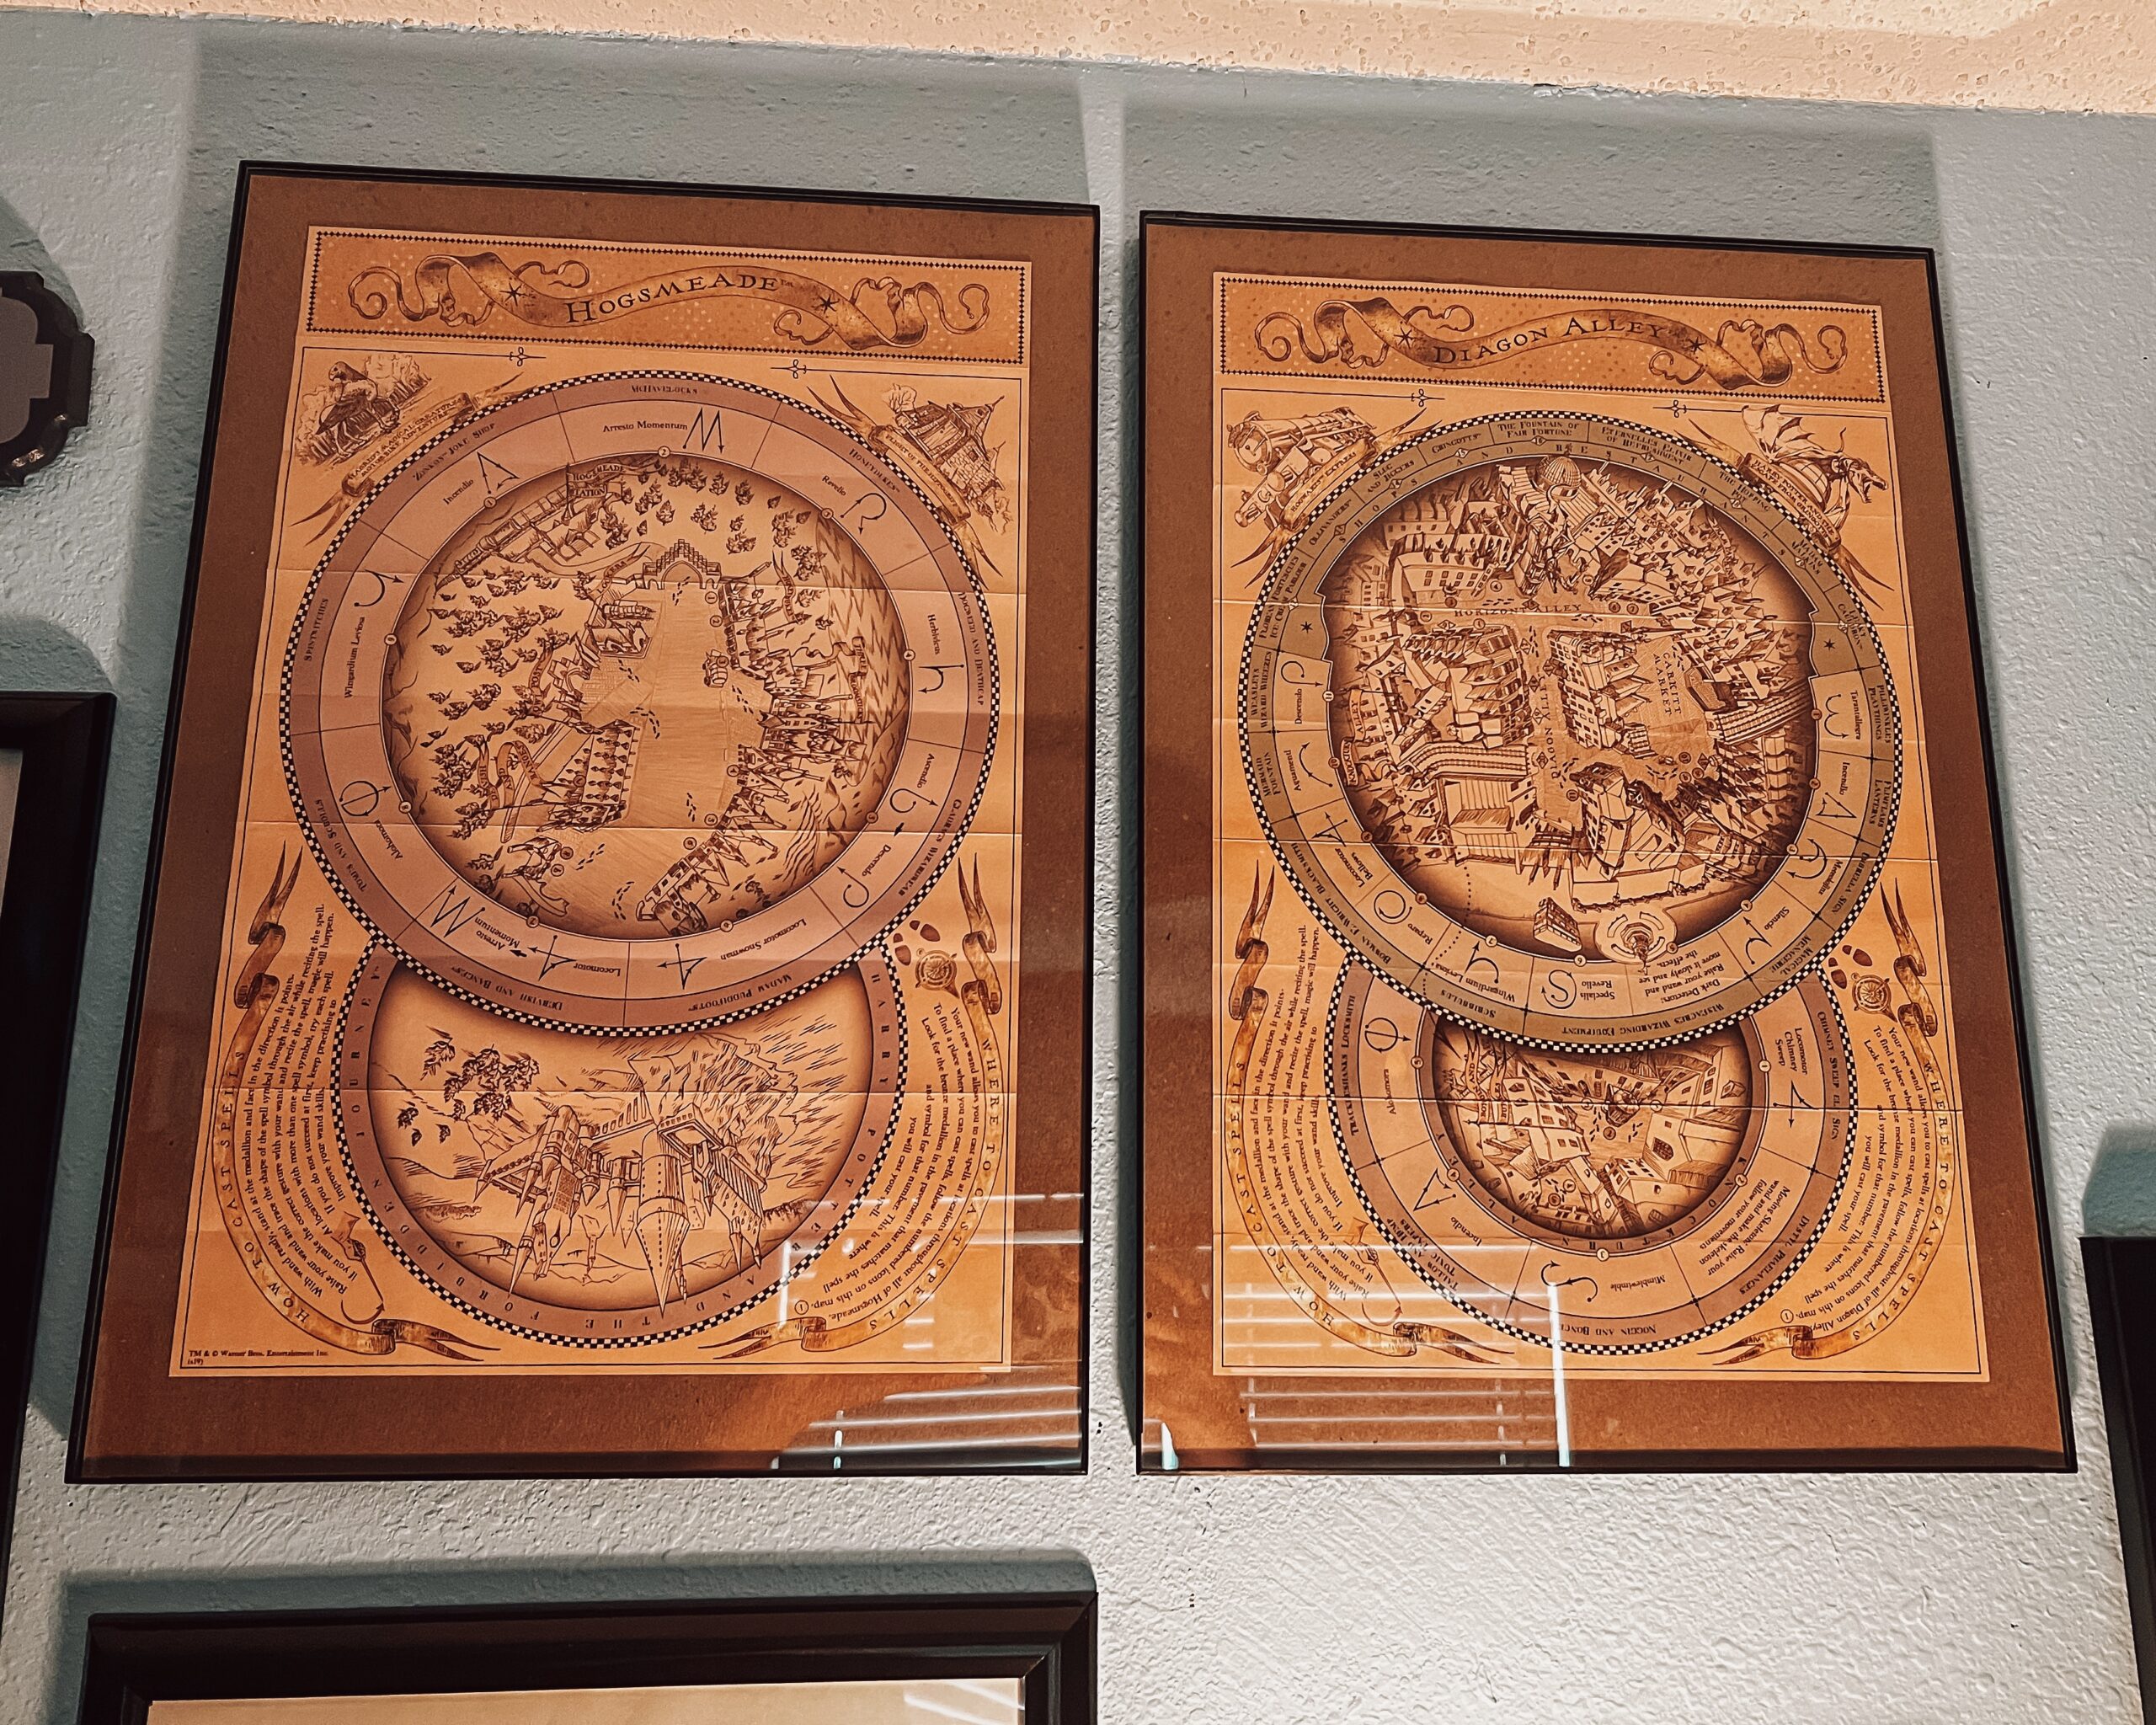
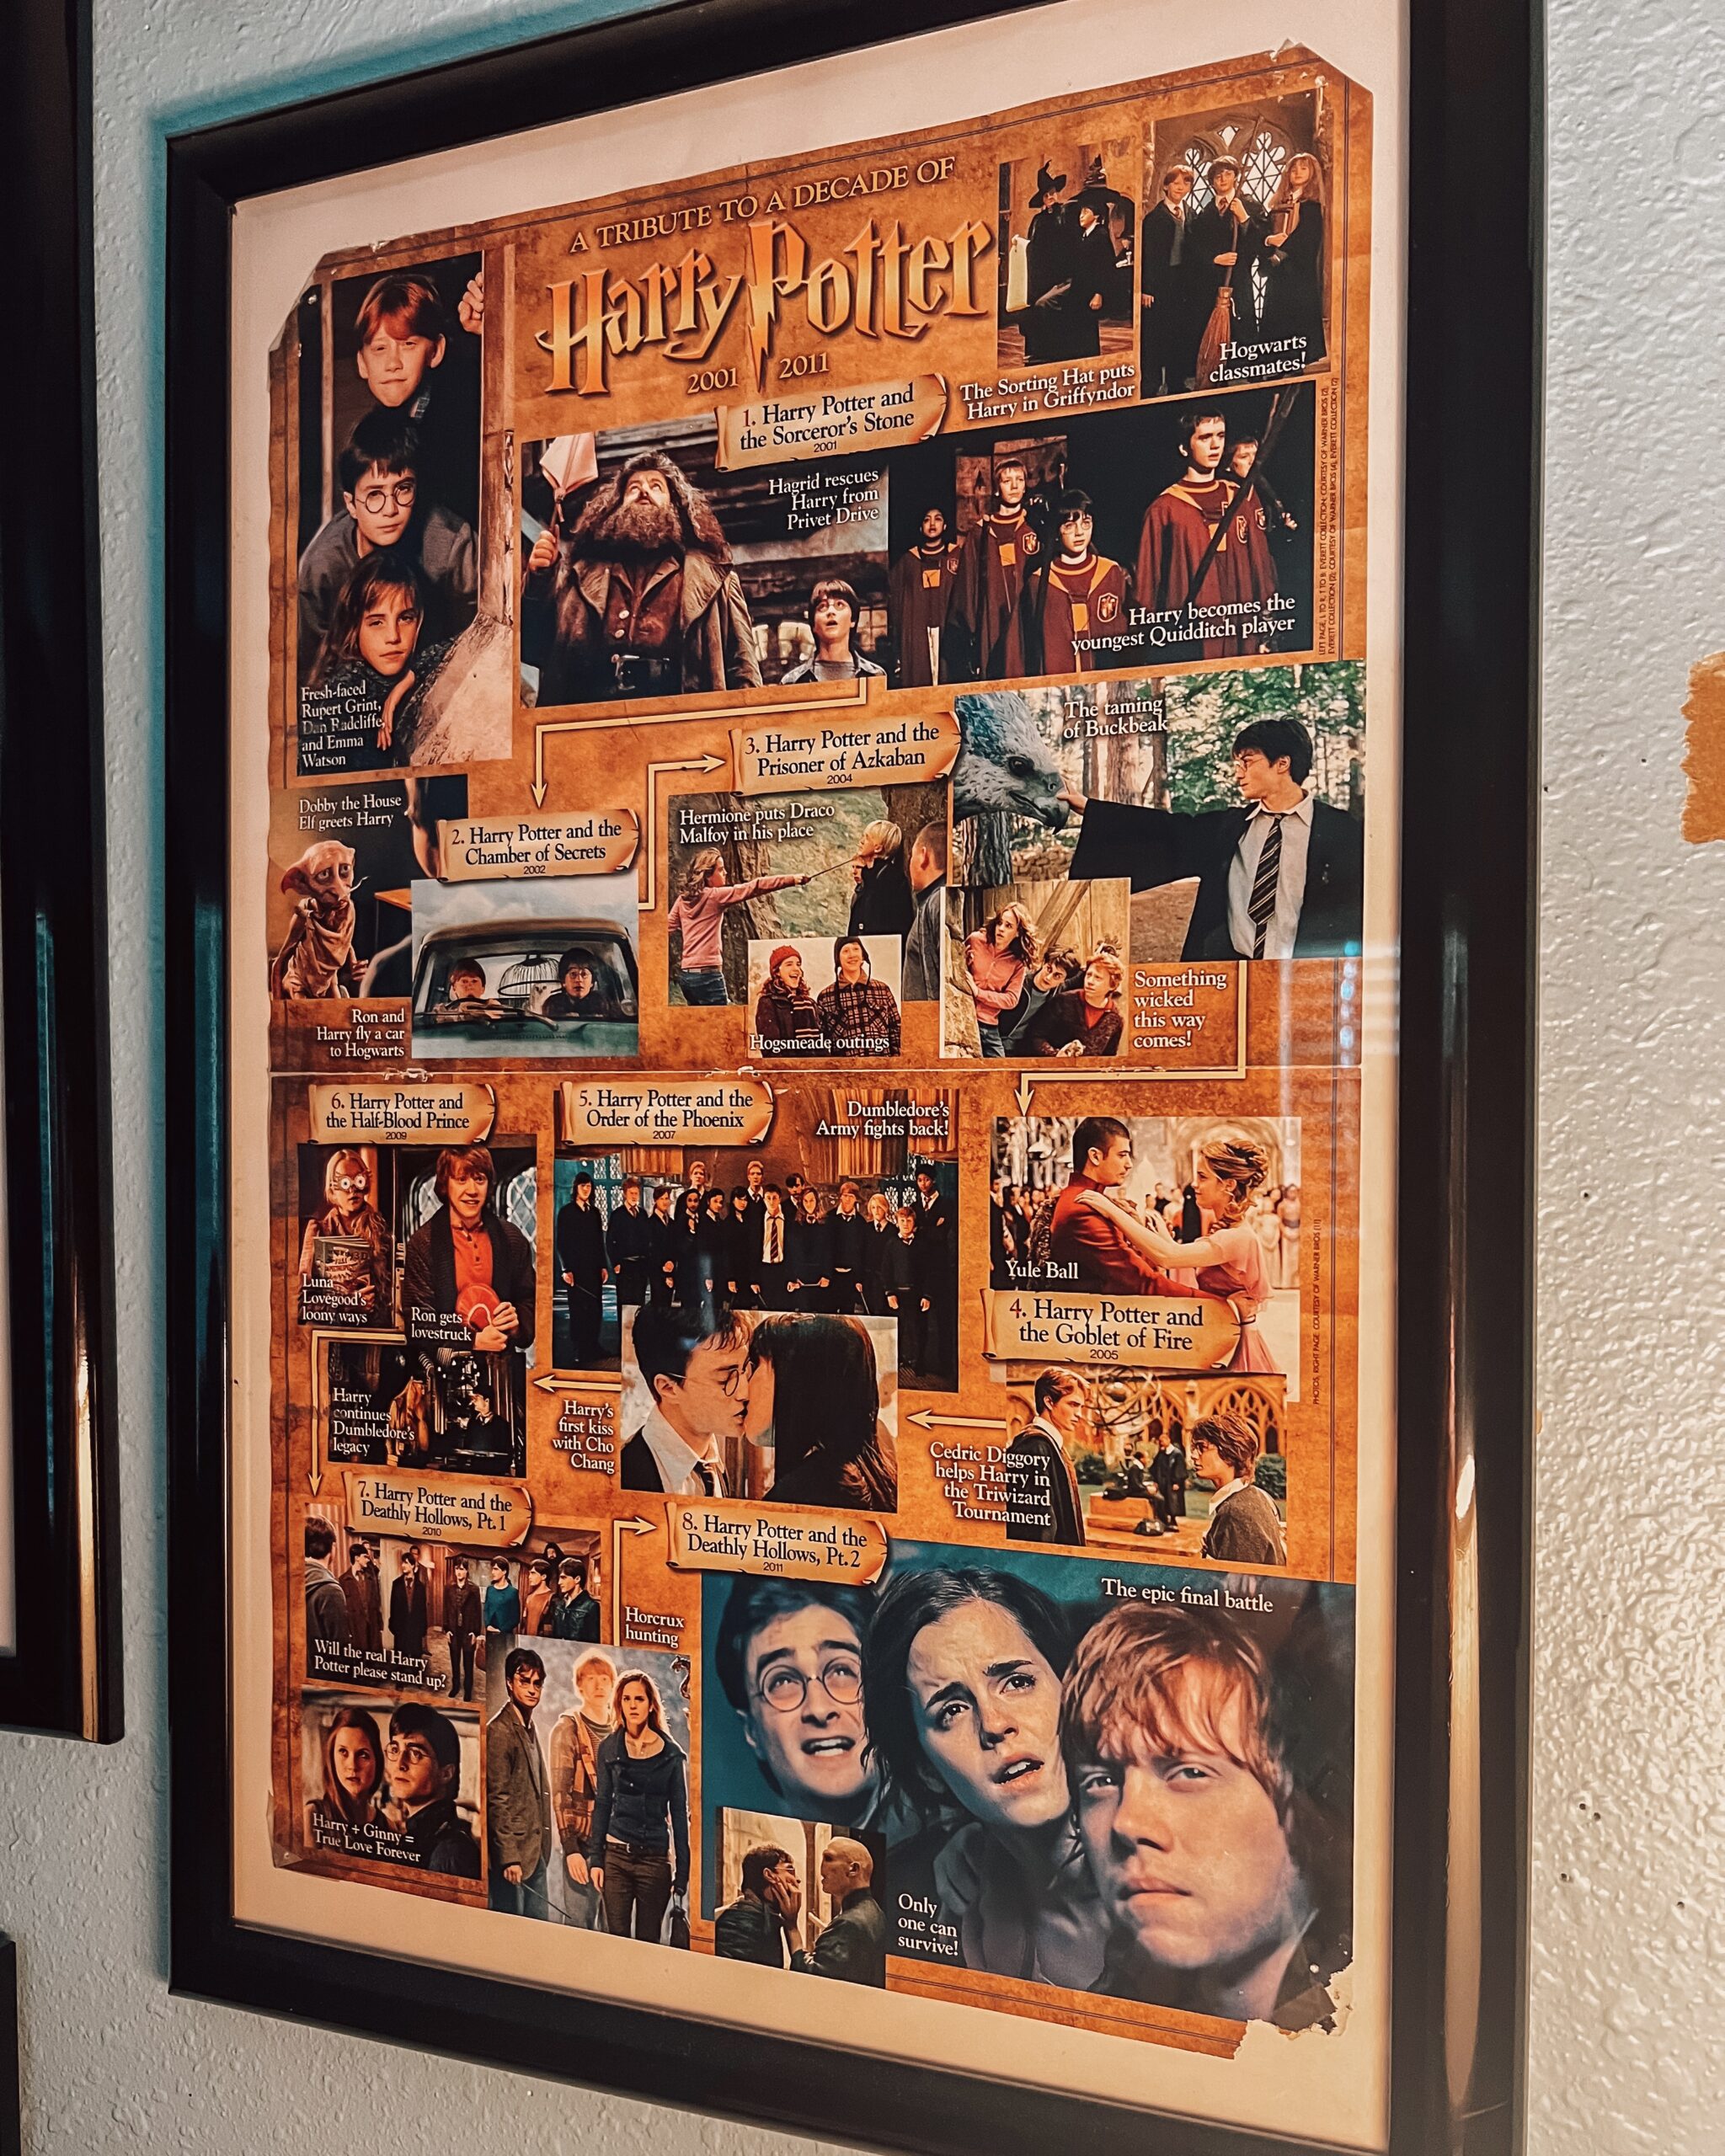
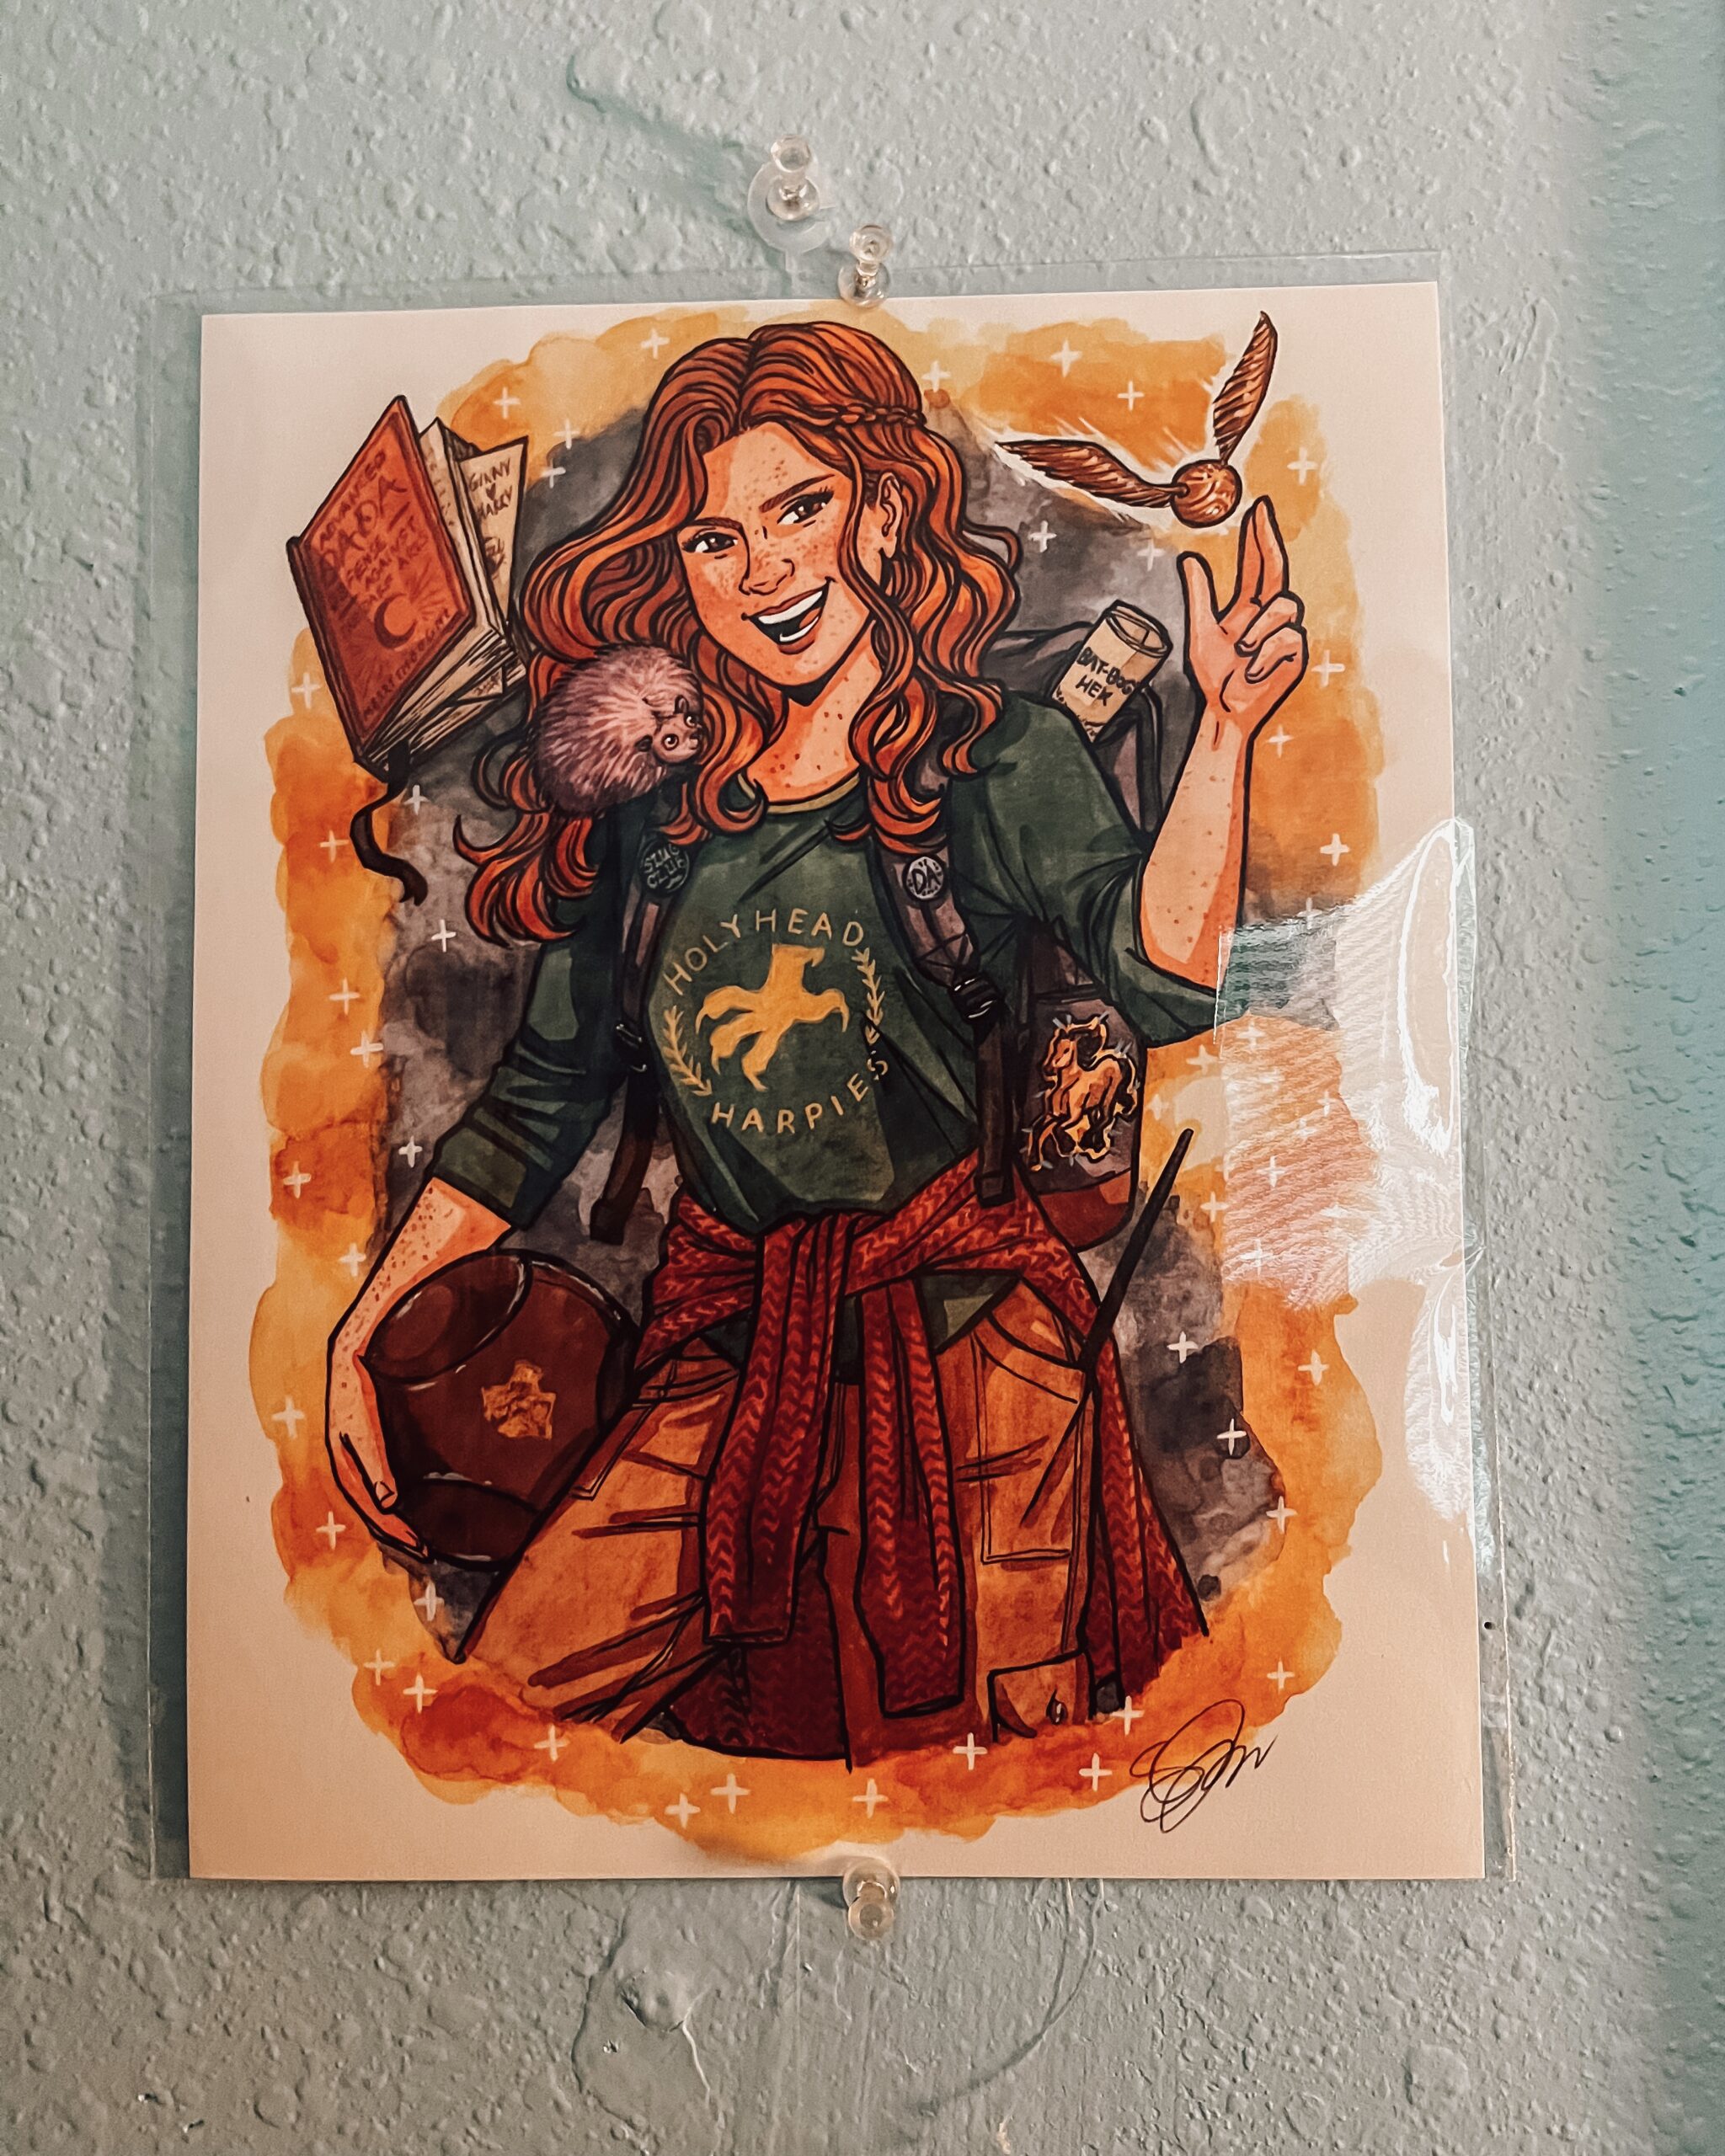
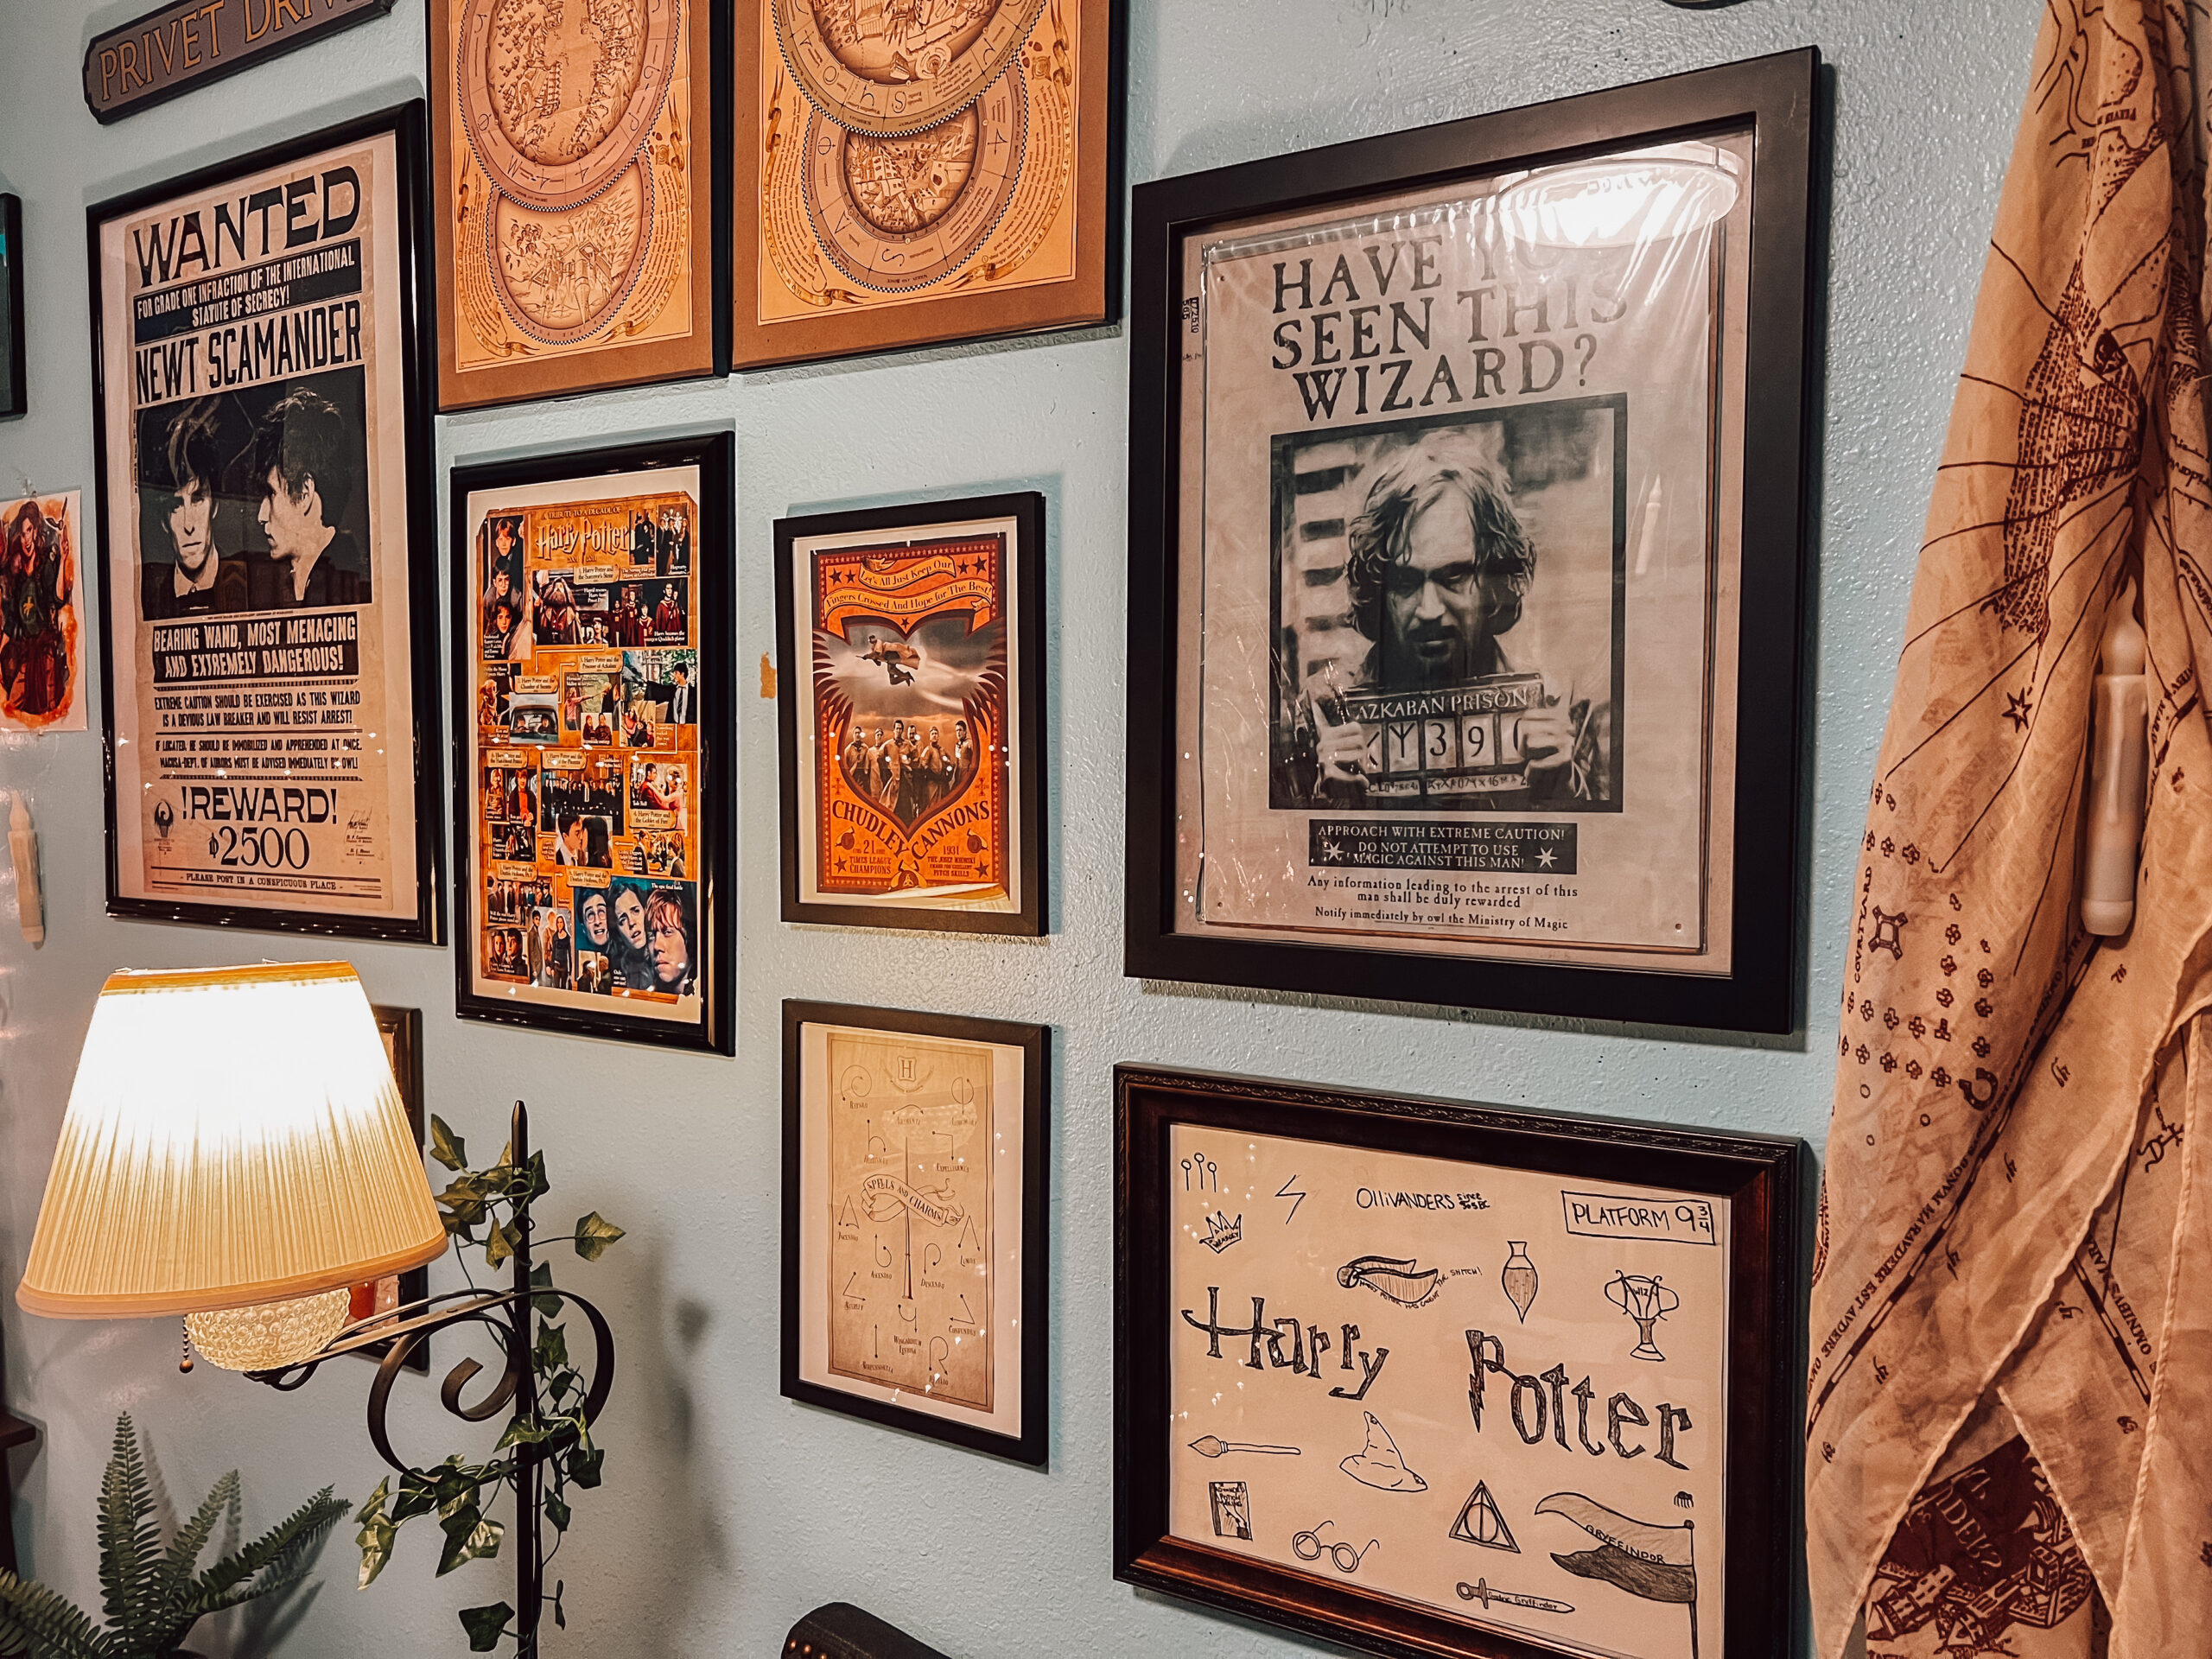
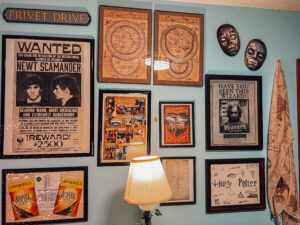
Ready to upgrade your room with a Harry Potter collage wall? We’ve got just the DIY for you. You can use your artwork, fan art, maps, posters, and souvenirs to make the perfect art wall worthy of the Hogwarts staircase walls. When creating this one, we used all of these and a few helpful tools to keep everything straight and even.
What You’ll Need:
- Your own artwork
- Maps
- Posters
- Fan art
- Souvenirs
- Matching frames
- Command strips
- Printer paper
- Scotch tape
Directions:
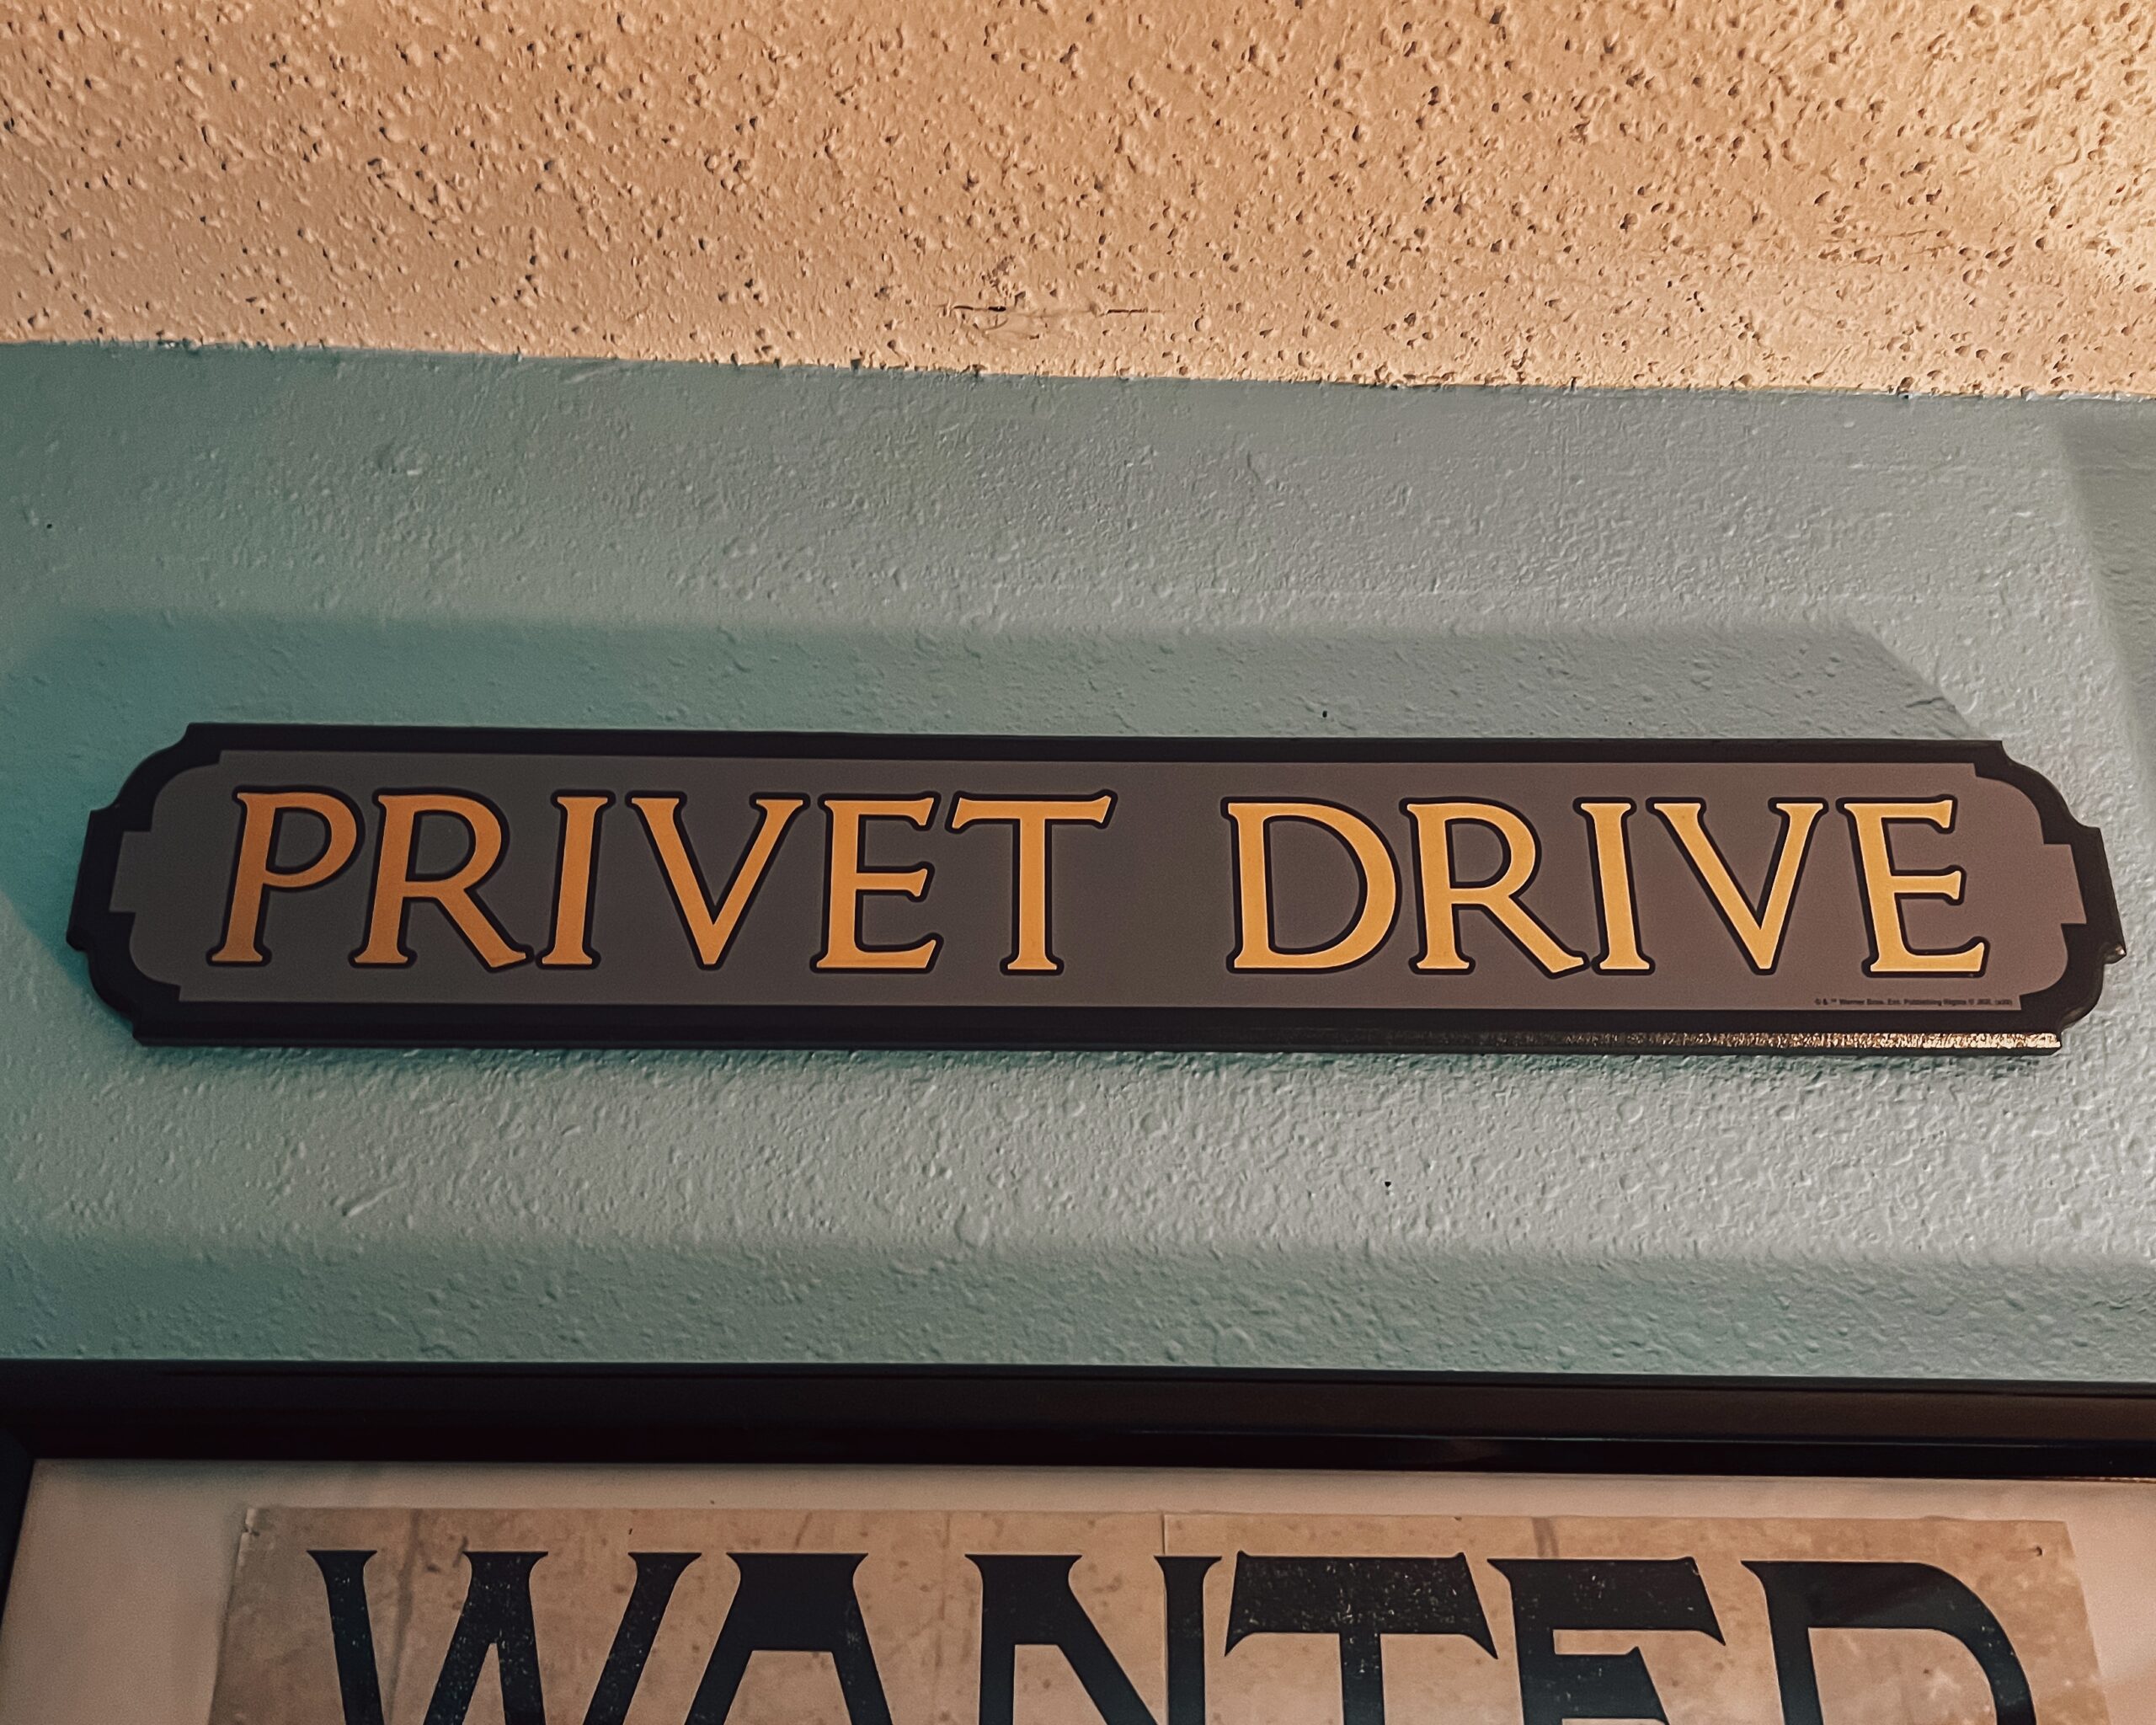
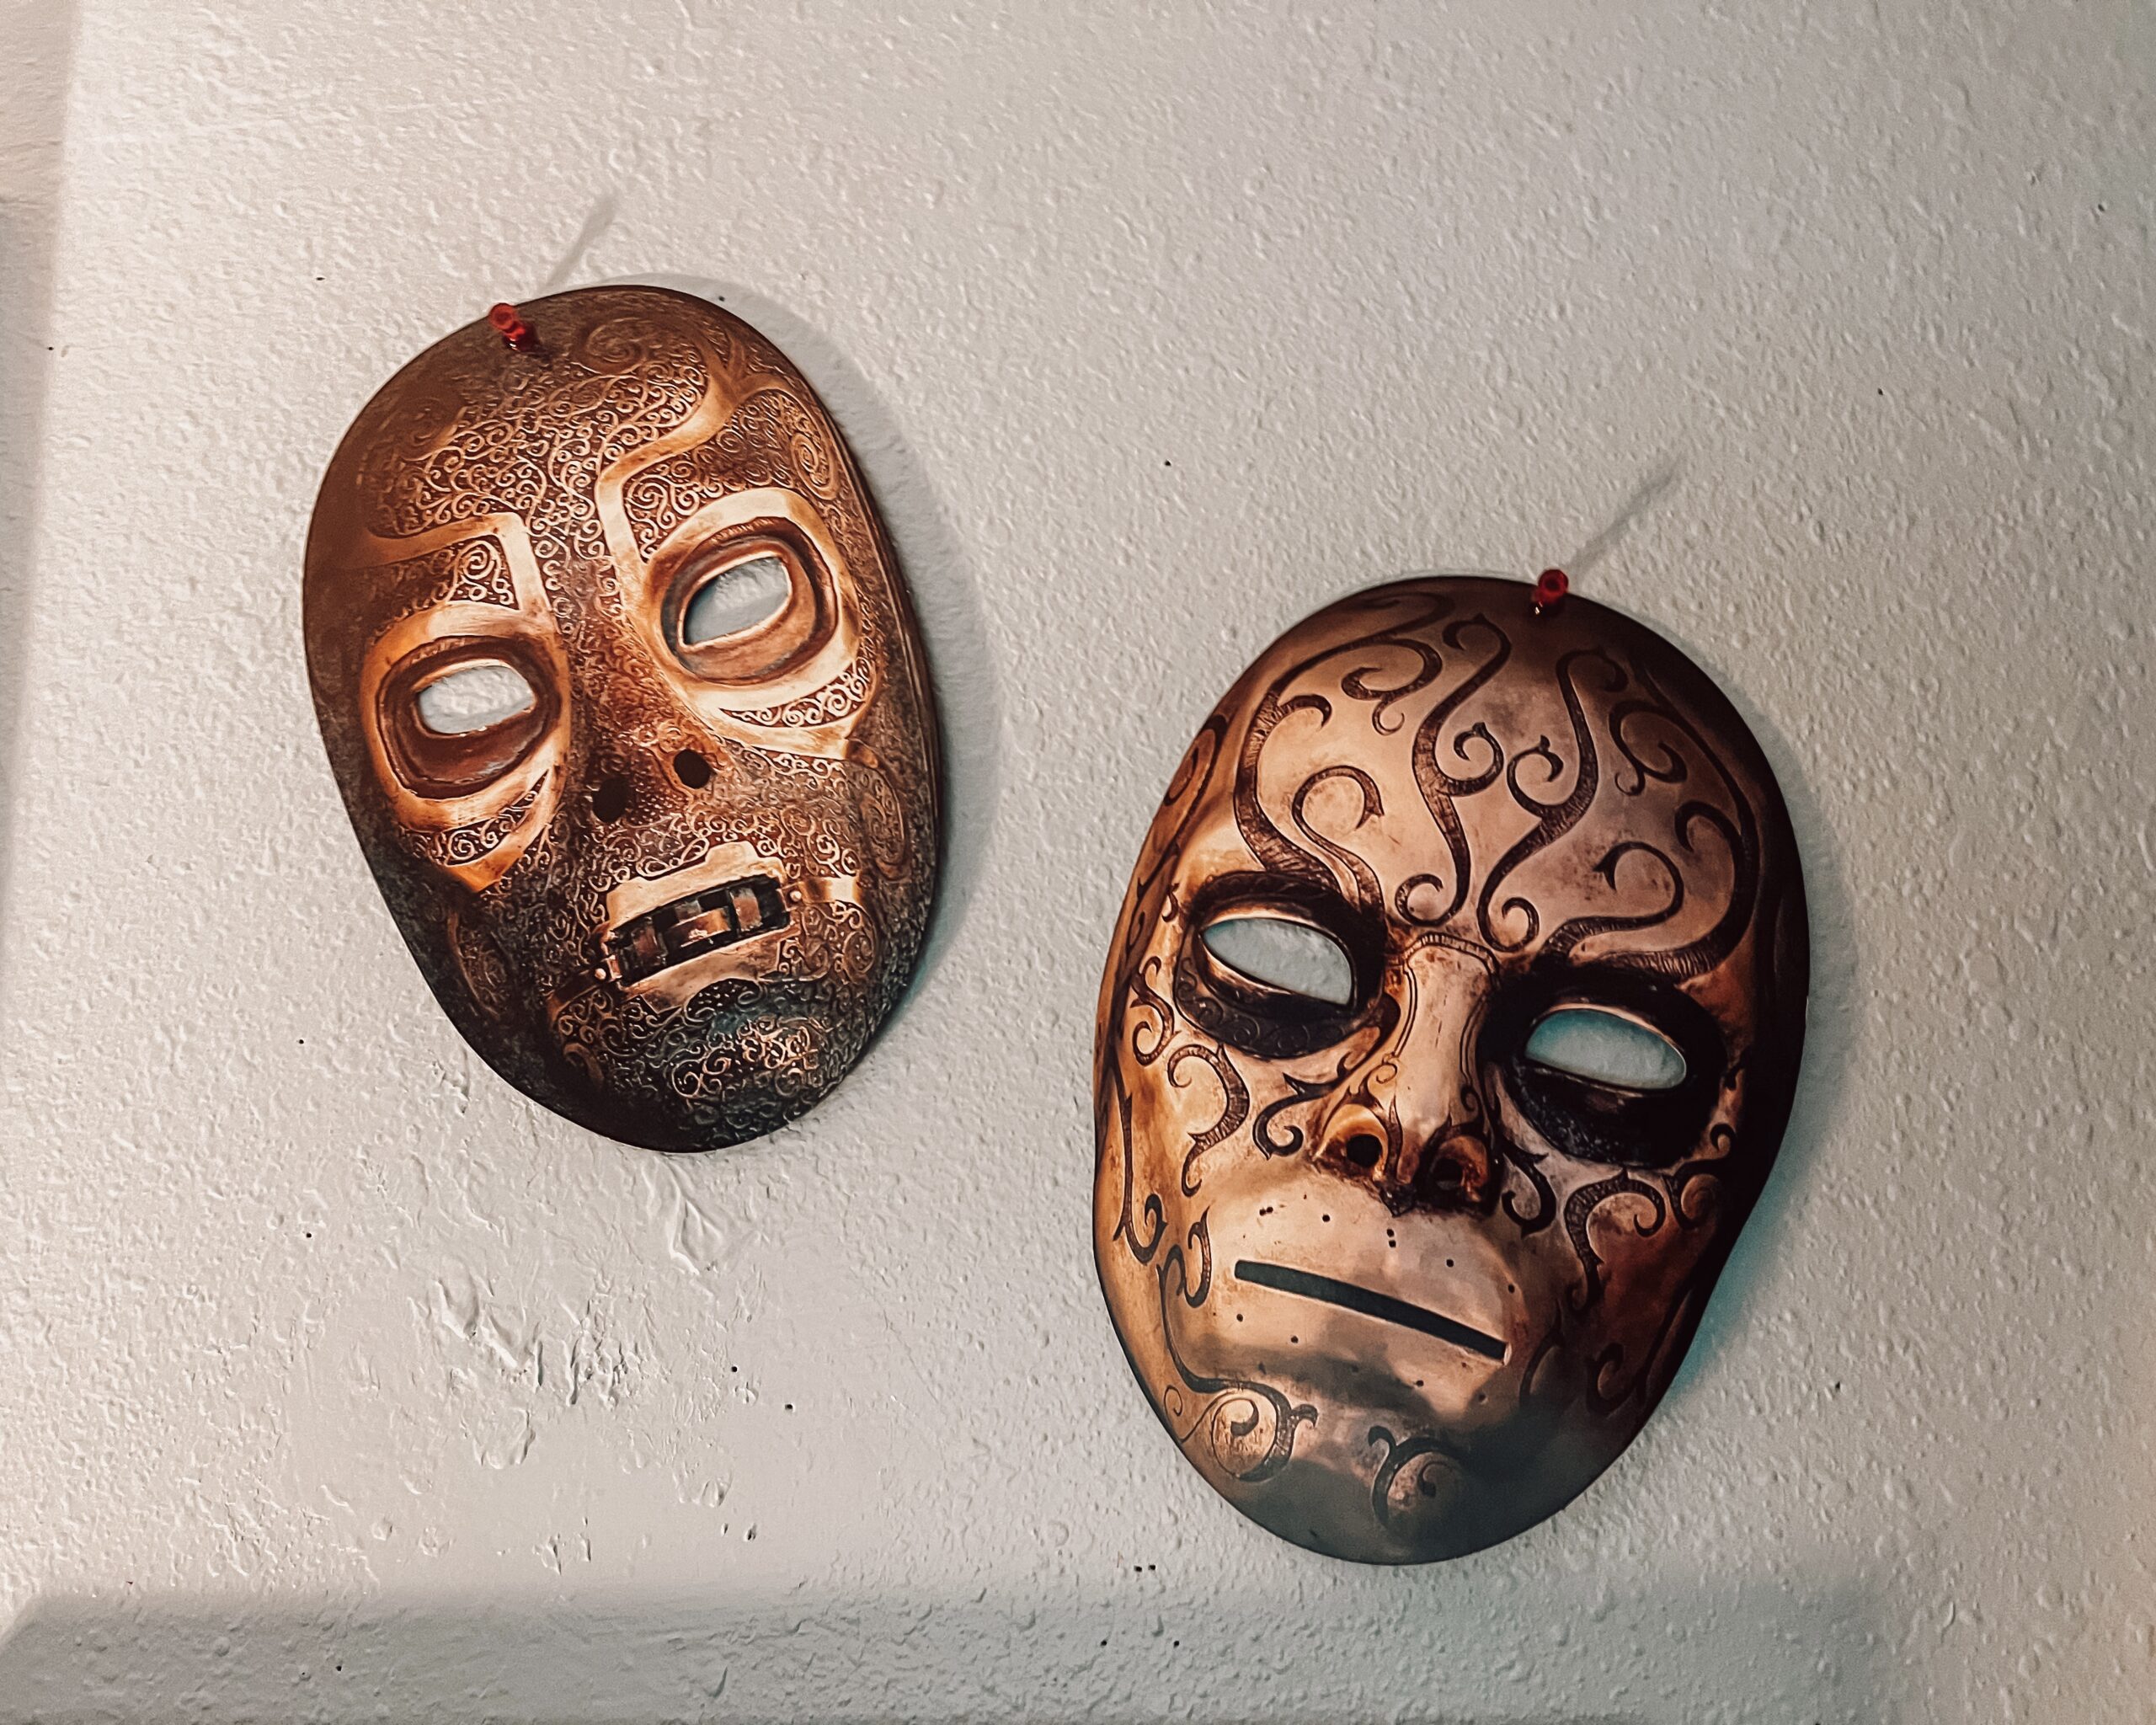
Step 1: Pick out the items you would like to hang. On this wall, we have posters, fan art, playbills from Harry Potter and the Cursed Child, maps from the Wizarding World of Harry Potter, some artwork, and items we have acquired from movie companion books and bookstores. From a Privet Drive sign to Death Eater masks to a Marauders scarf, this wall is unique to what we love about the Wizarding World, and your wall should be unique to you. Love fan art? Fill your wall with your favorite artists and characters. Love character posters? Frame them with pride. Choose the items you would love to display that will make you smile when you see them.
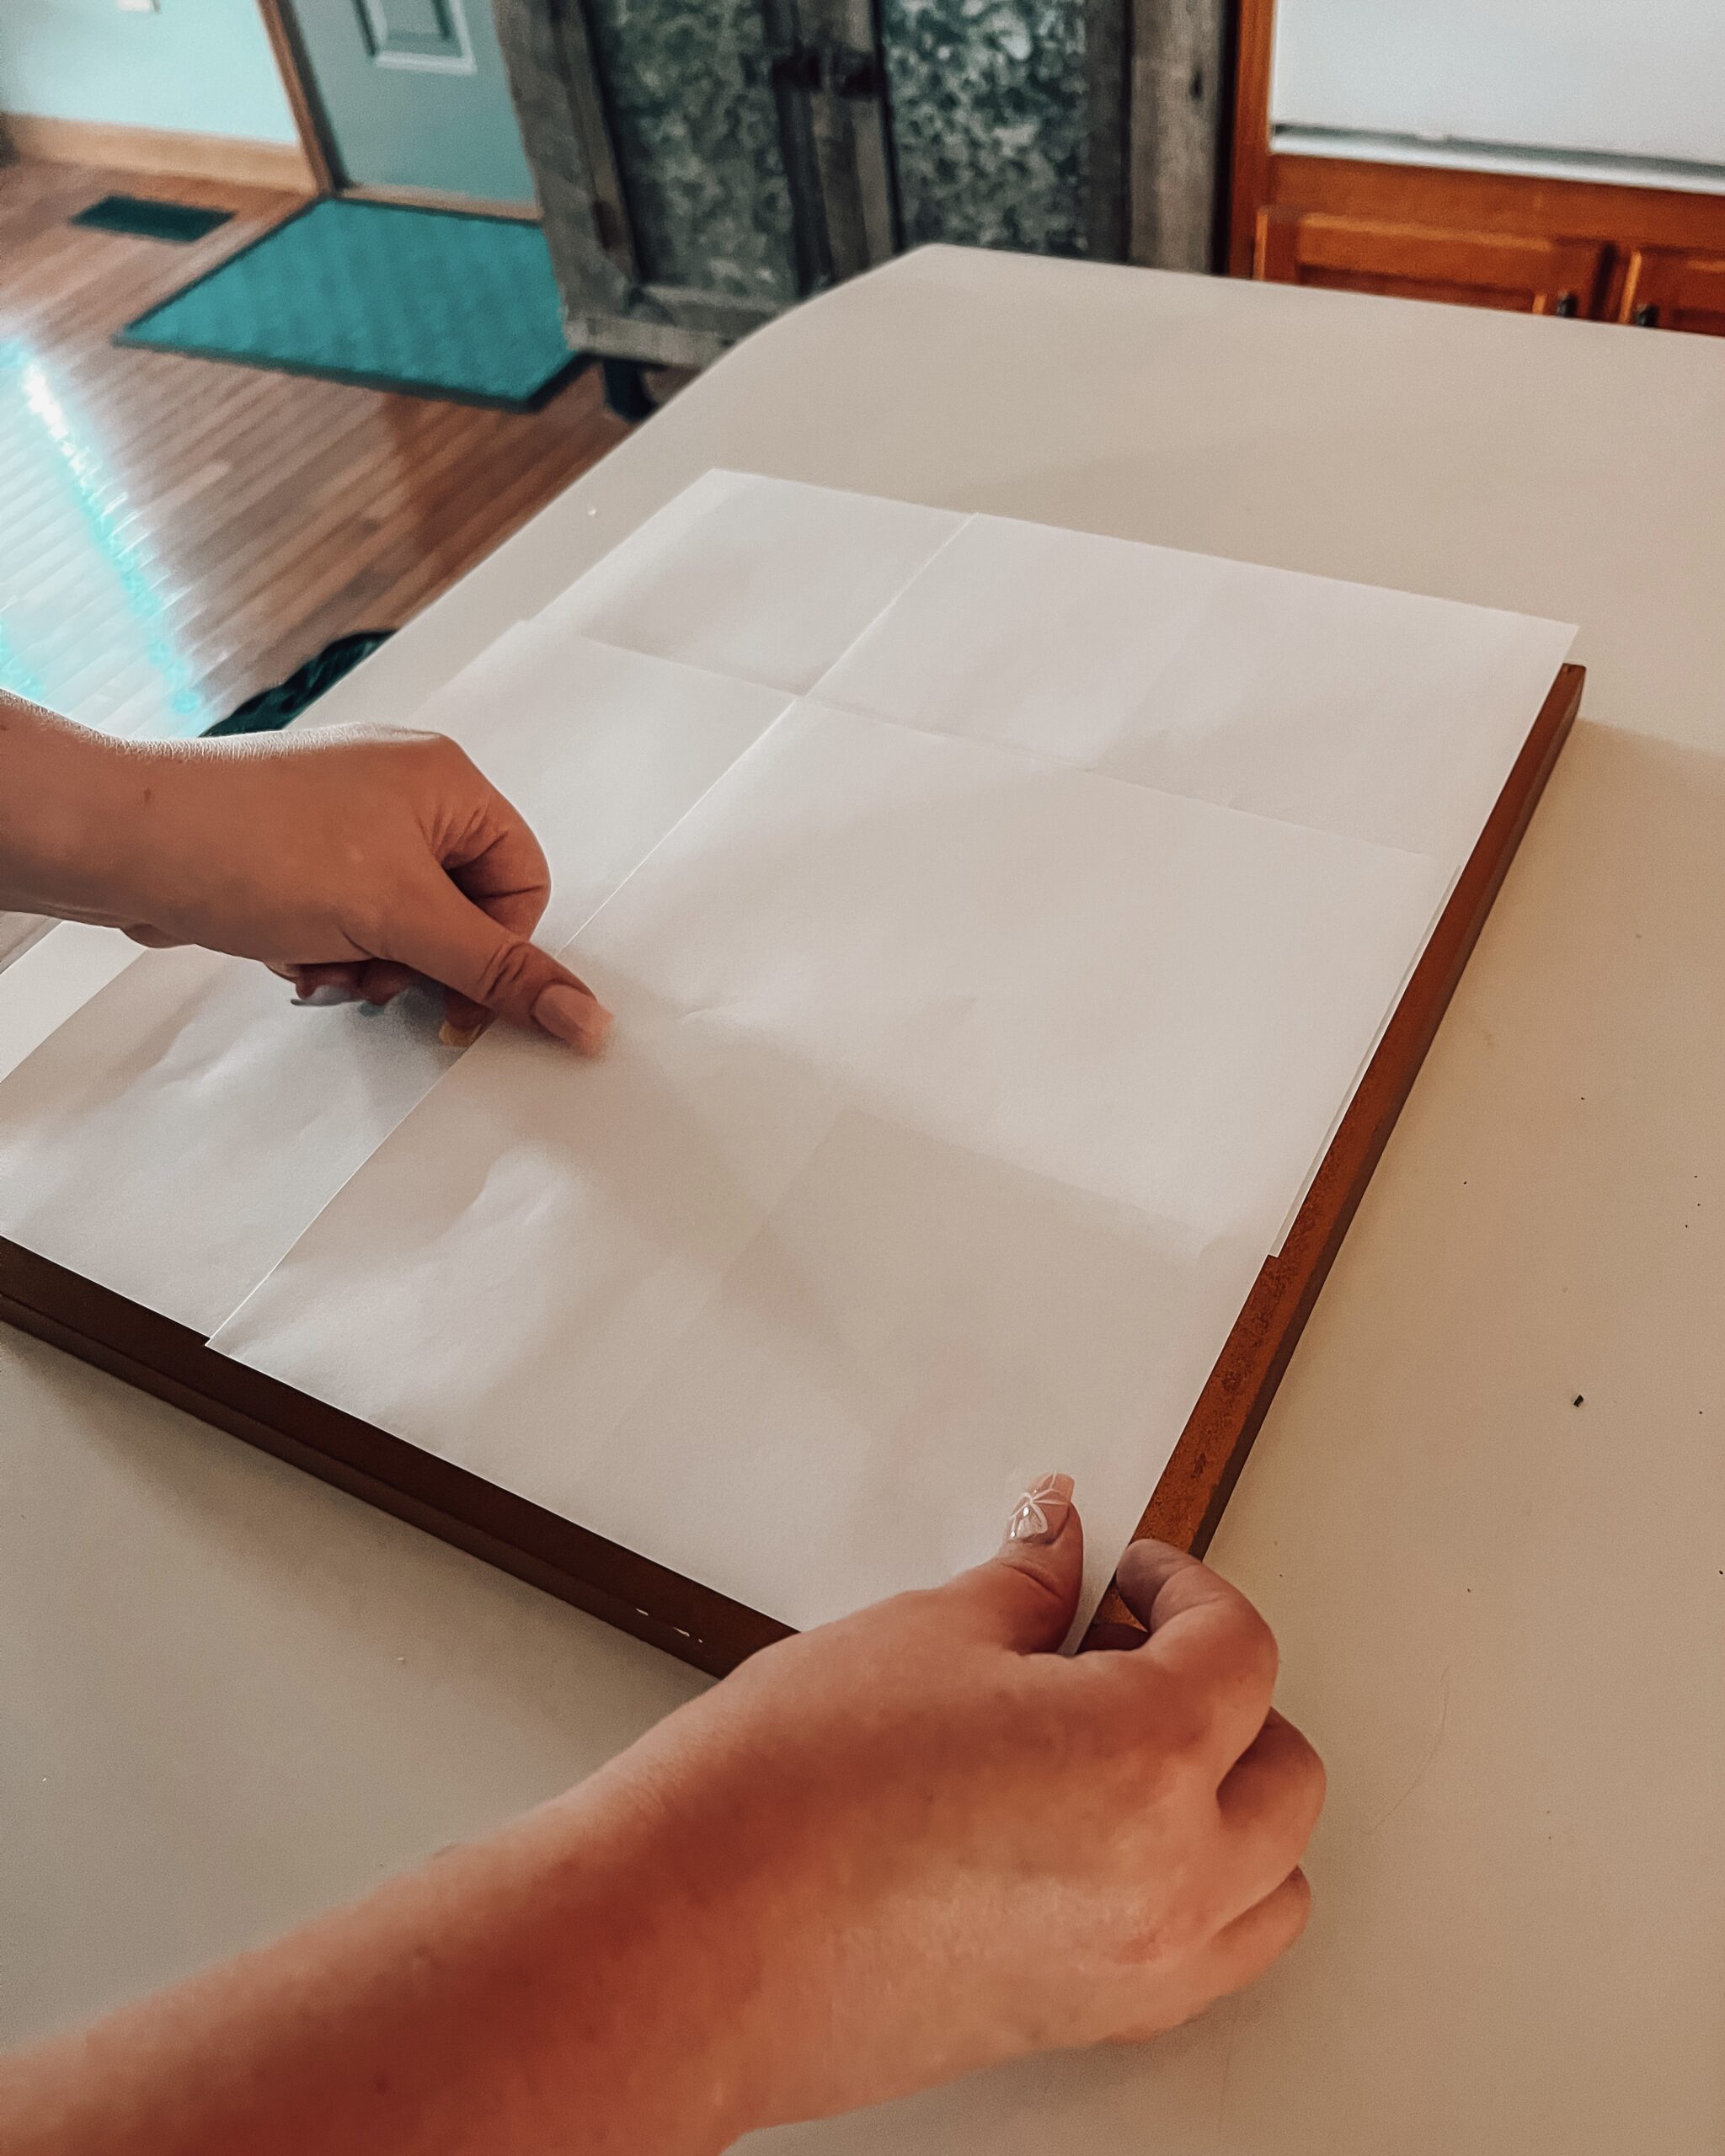
Step 2: Measure your items and head to the store to purchase some frames. When performing this part of the process, you can also think about the possibility of putting multiple things in one frame. For example, we have playbills from both parts of Cursed Child along with a paper that lists the cast in the same frame.
Make sure that when you’re picking out frames, they match in color or at least go together. Remember that they will all be hanging on the same wall, so the better your frames match, the more clean and concise your collage wall will look.
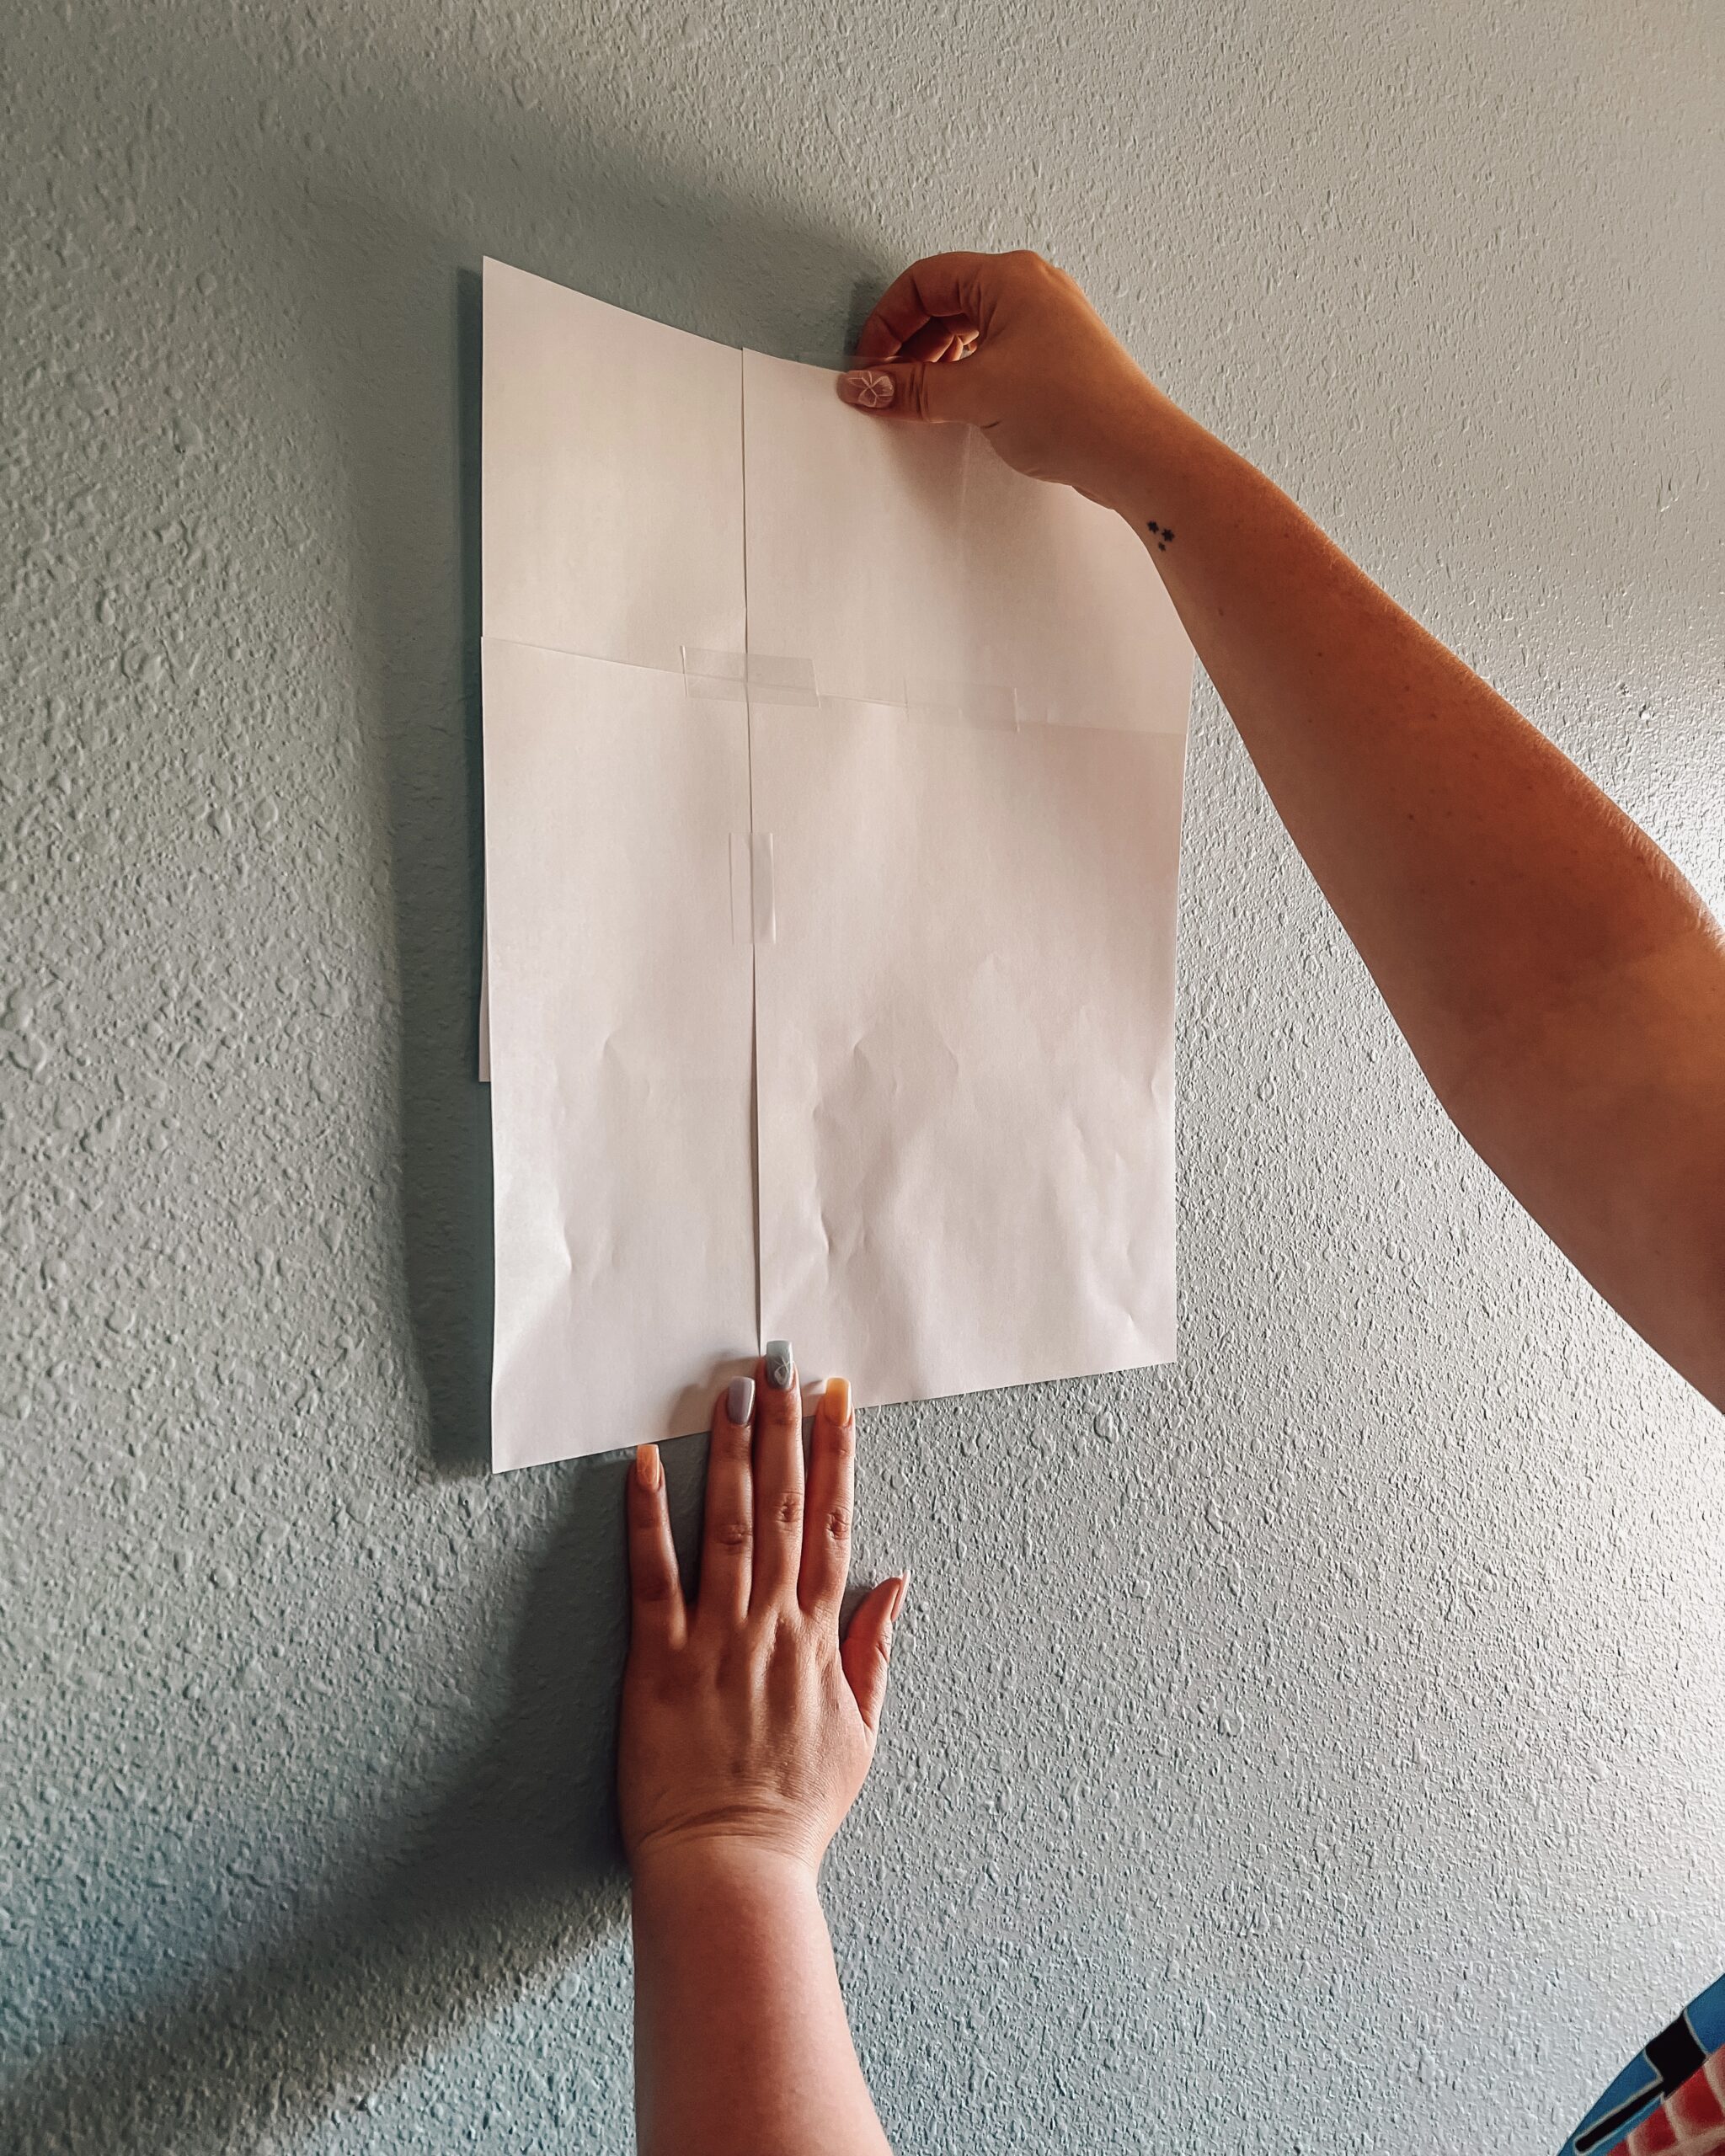
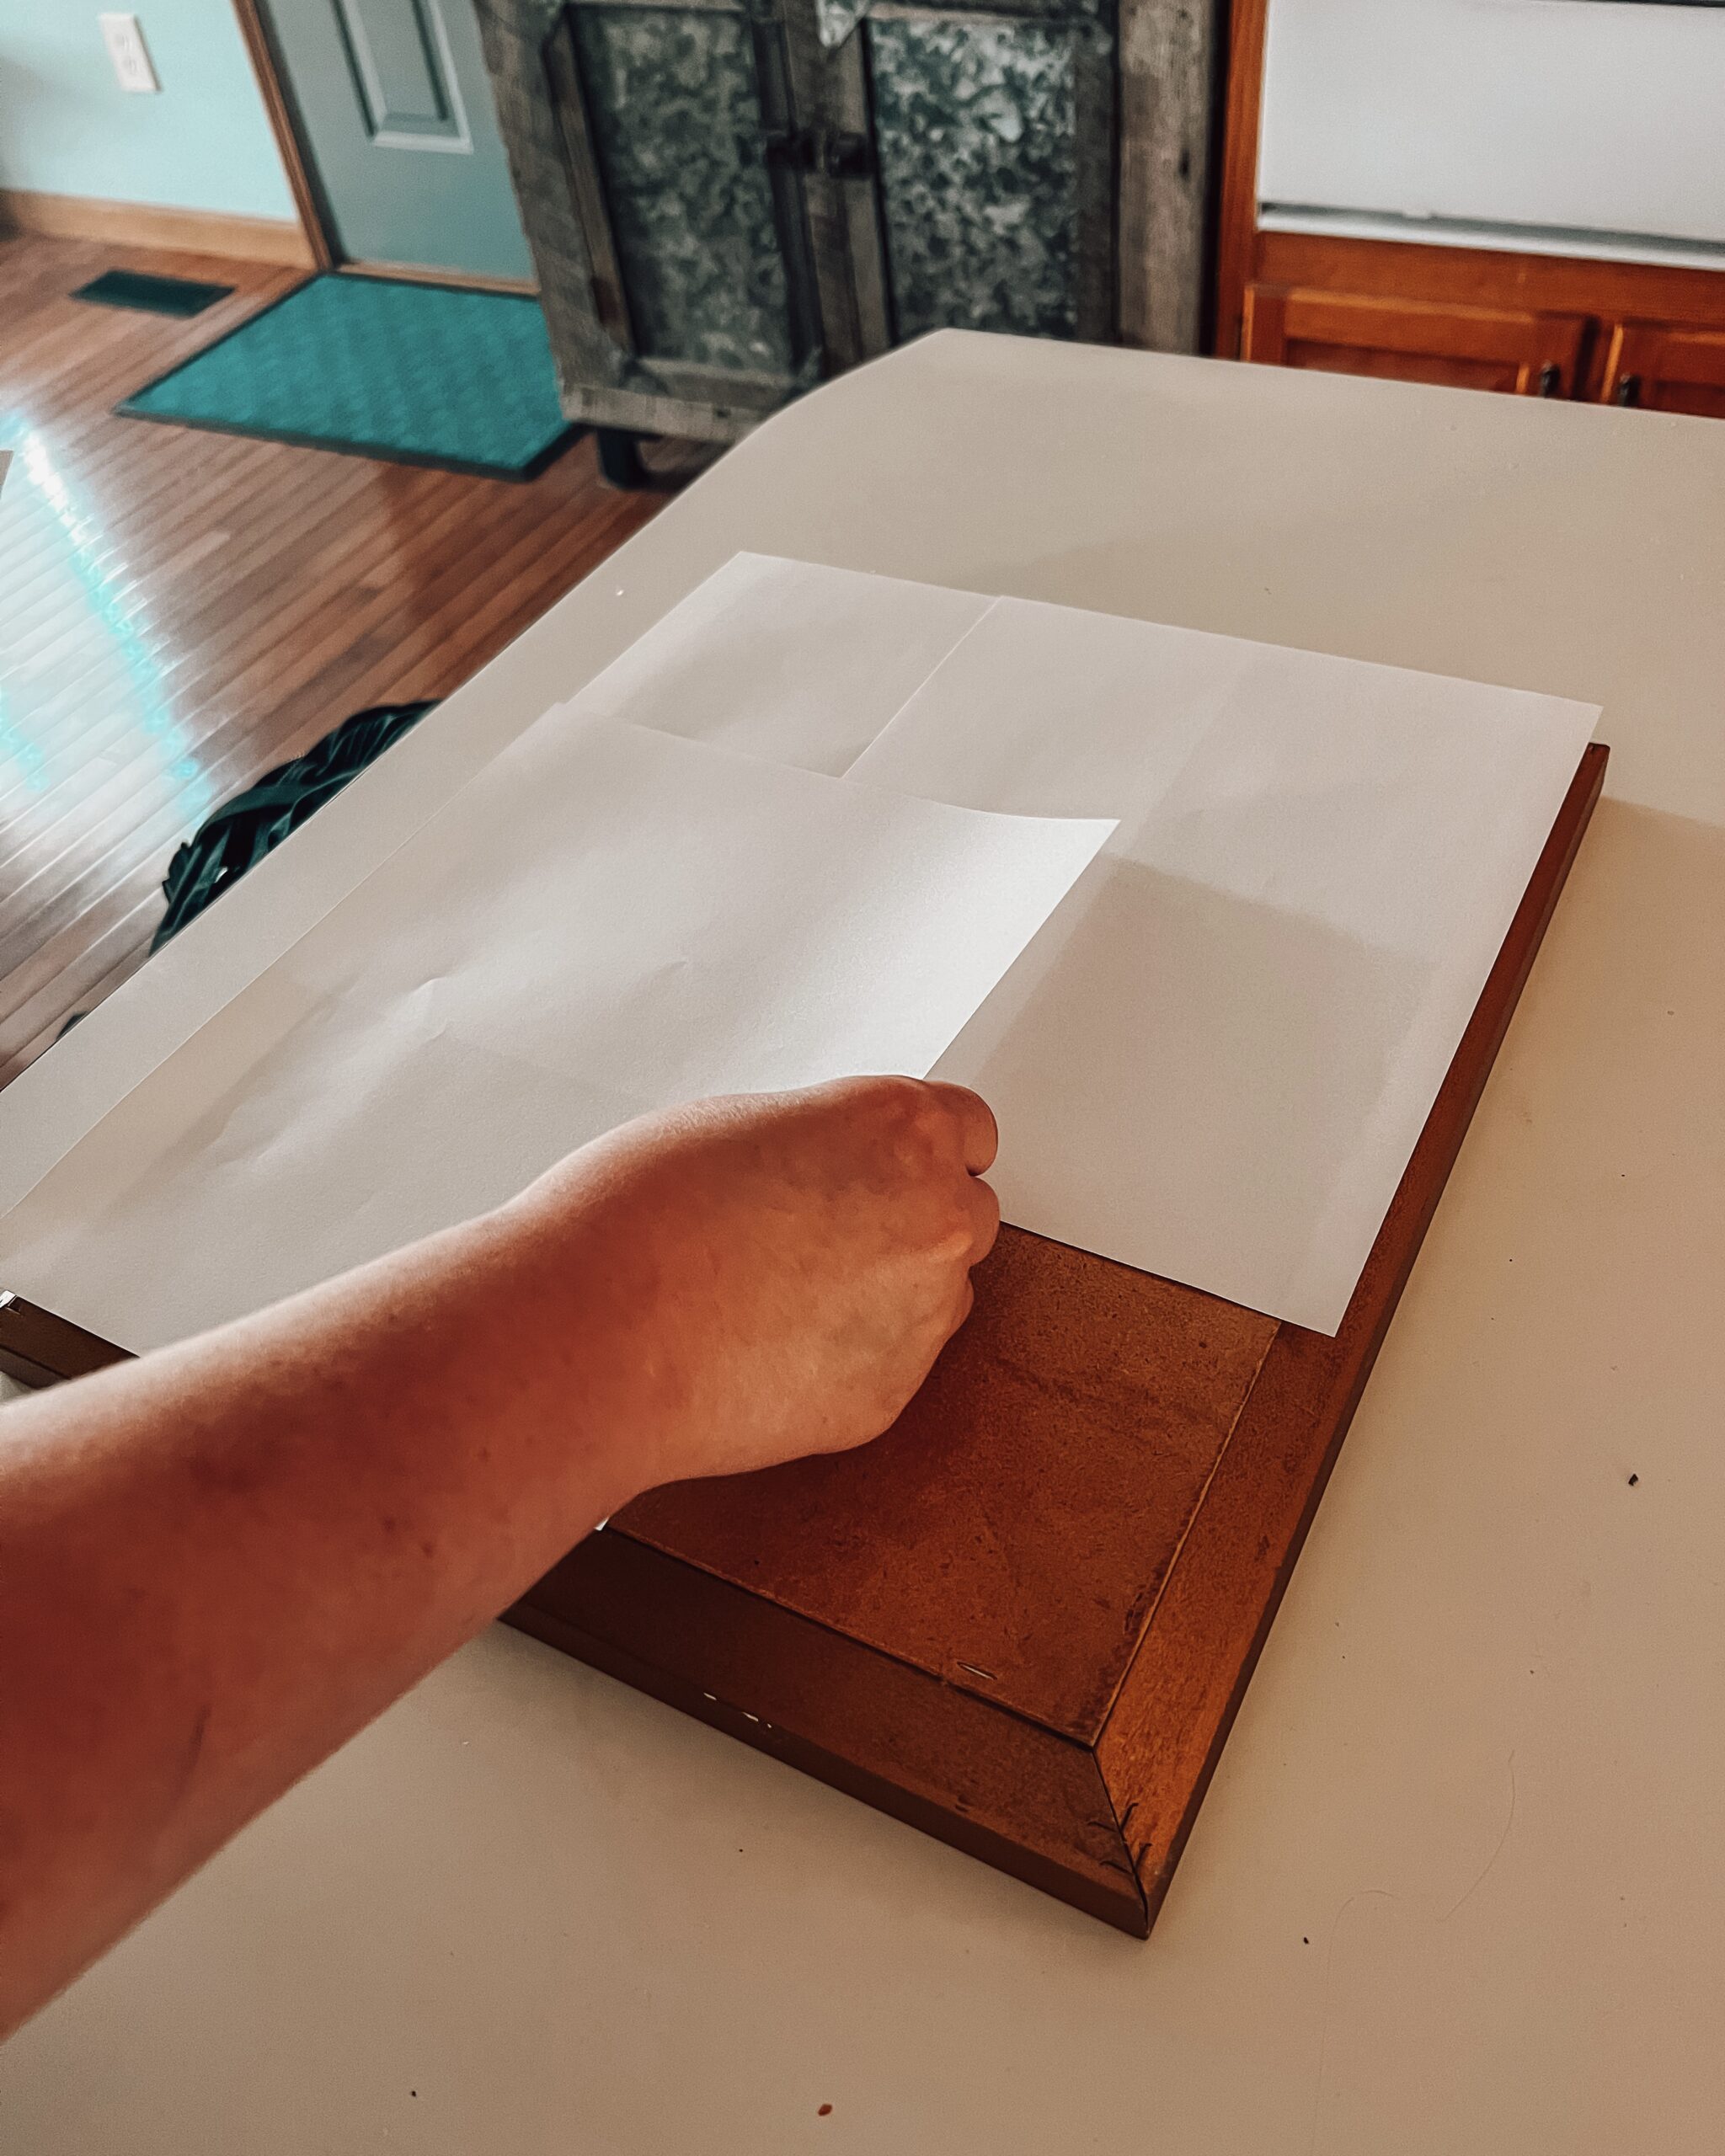
Step 3: Purchase some printer paper if you don’t already have some and outline your frames by layering the paper and taping the pieces together. Use more tape (or nails if you plan to hang your frames instead of using command strips) to place them on the wall. You can even label the cutouts to help you see where things will hang on the wall. This will help you to make sure everything will be placed evenly and that everything will fit where it needs to be.
Step 4: Place everything in the frames and replace the paper one item at a time. We used Command strips to hang our frames so we can replace the artwork in the future if we wish. If you prefer, though, feel free to use nails. To replace the paper then, you will only need to tear the paper from underneath the nail.

Step 5: Step back and look at your beautiful collage wall and make any last-minute adjustments you would like. We added some floating candles, masks, and a Privet Drive sign. Make the wall your own and admire the magical installation in your room.
What will you add to your collage wall? Let us know in the comments below!

