Building My Own Hogwarts
I’m not quite sure how it’s already March. But here we are. So happy National Craft Month! I thought this month would be a good opportunity to share something that I’ve been working on for a while. I’ve wanted to build my own Hogwarts castle out of LEGO bricks for many years now. I didn’t have the time or space to do it before, but now I do. It will take me quite a while to actually build the whole castle, so I’ve started with perhaps the most iconic room in all of the wizarding world: the Great Hall.
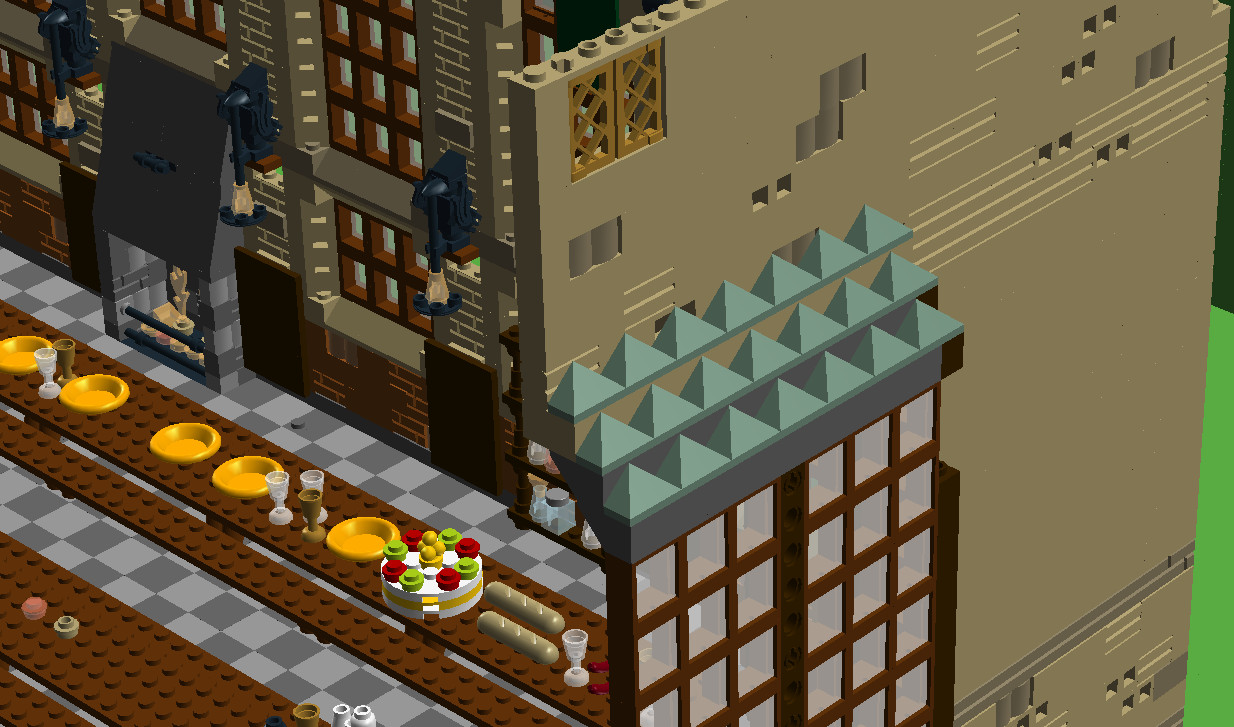
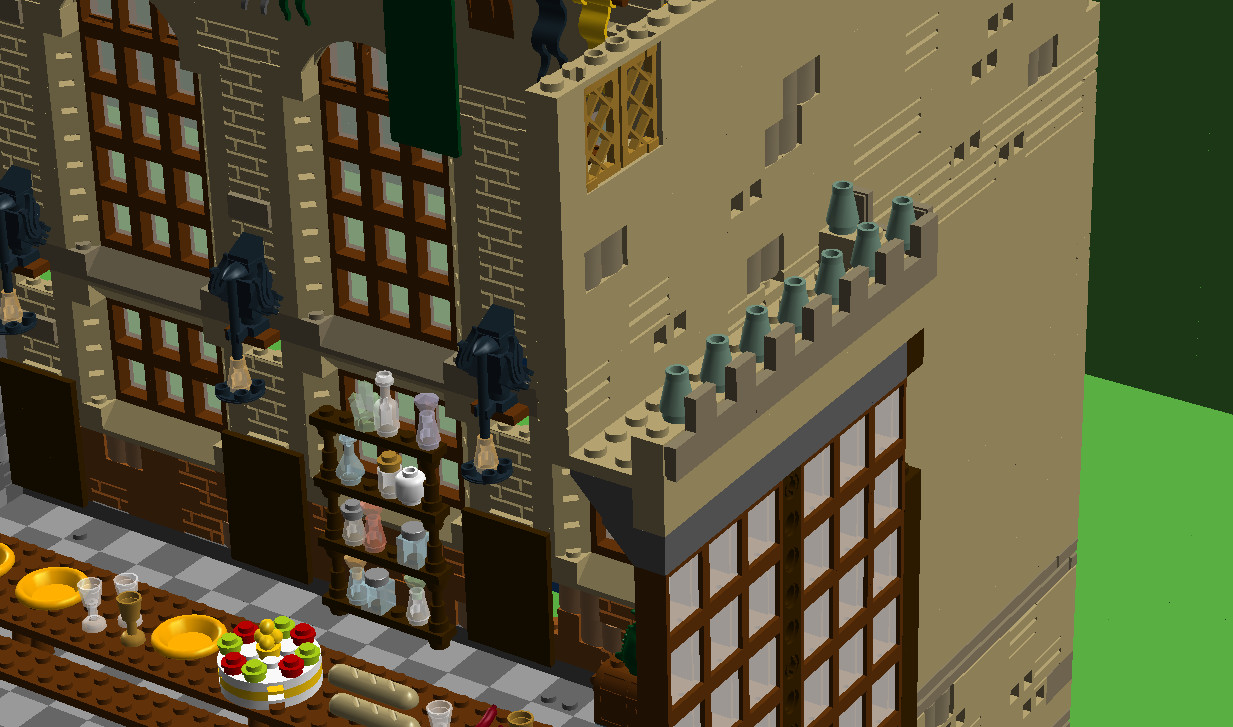
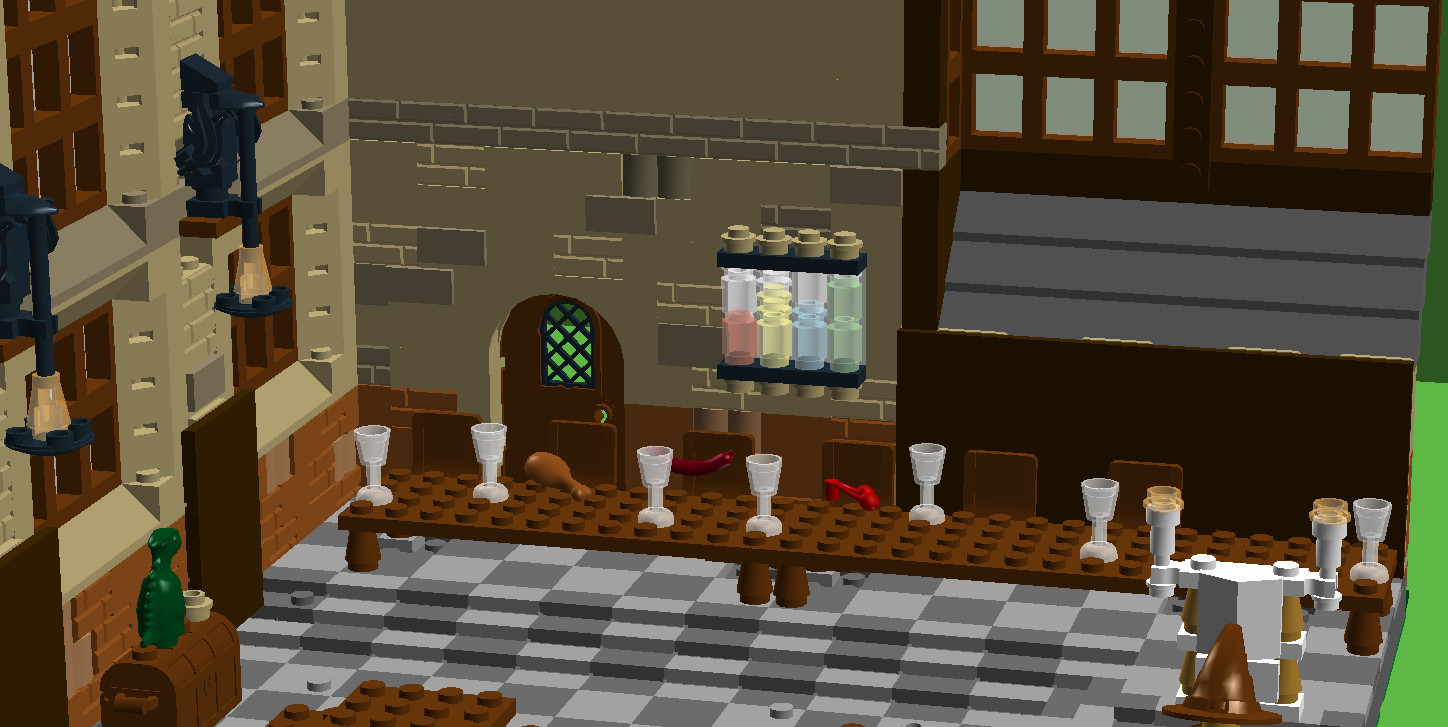
The first step of any great build like this is designing it. I personally like using LEGO’s computer program Digital Designer for such projects. (I’ve actually designed many wizarding world builds on the program in the past few months.) The room is based on the movie set with a couple of my own variations. I knew that I didn’t want to build the entire room – it would be way too big – so I designed about two-thirds of it. This means there are only two tables instead of four and just over half of the high table. The design process took several turns – and at one point, a complete redo – until I was happy with what I saw on my computer screen. The only change I have photos of is the exterior over the big window. It went from an angled roof to a balcony (as it is in the model at the Studio Tour).
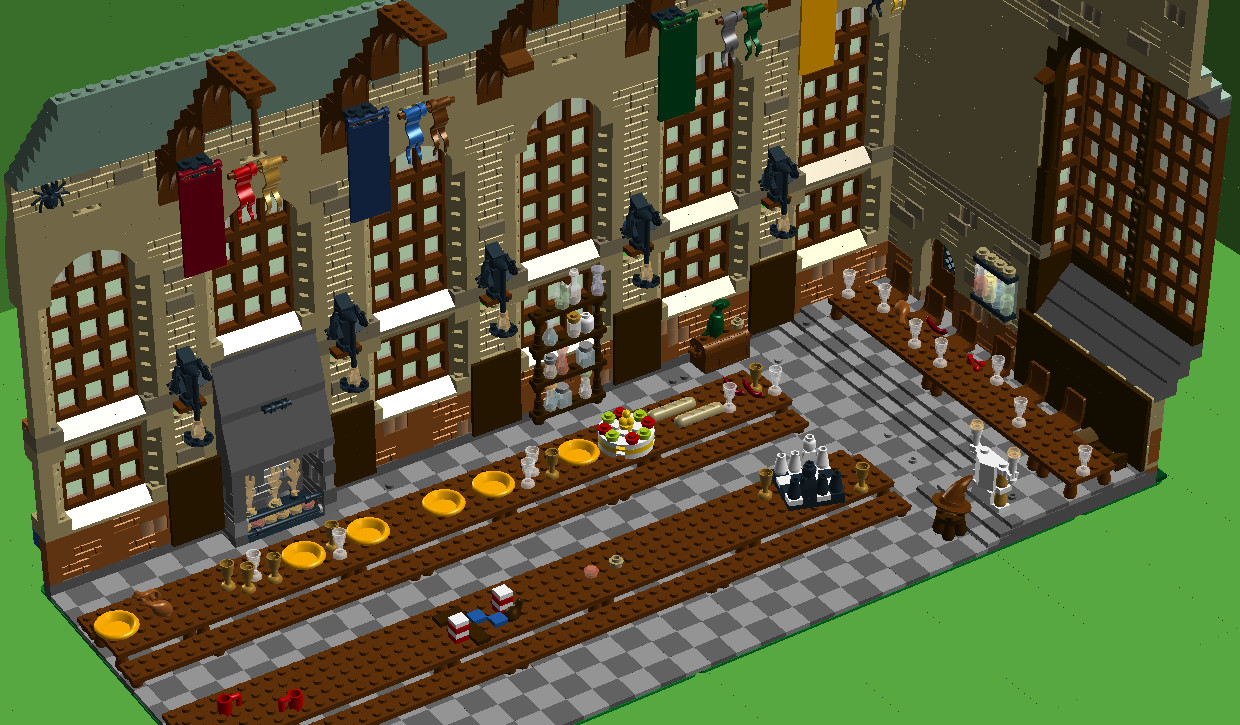
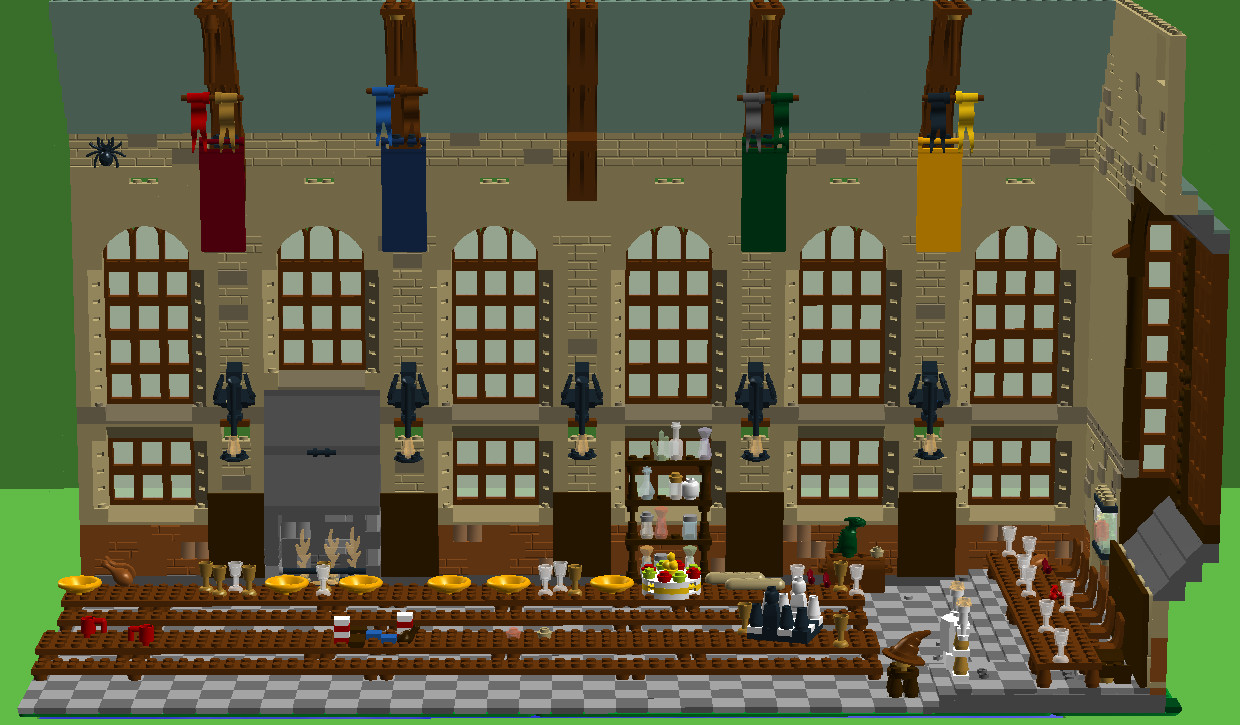
The digital images below are the final computer design.
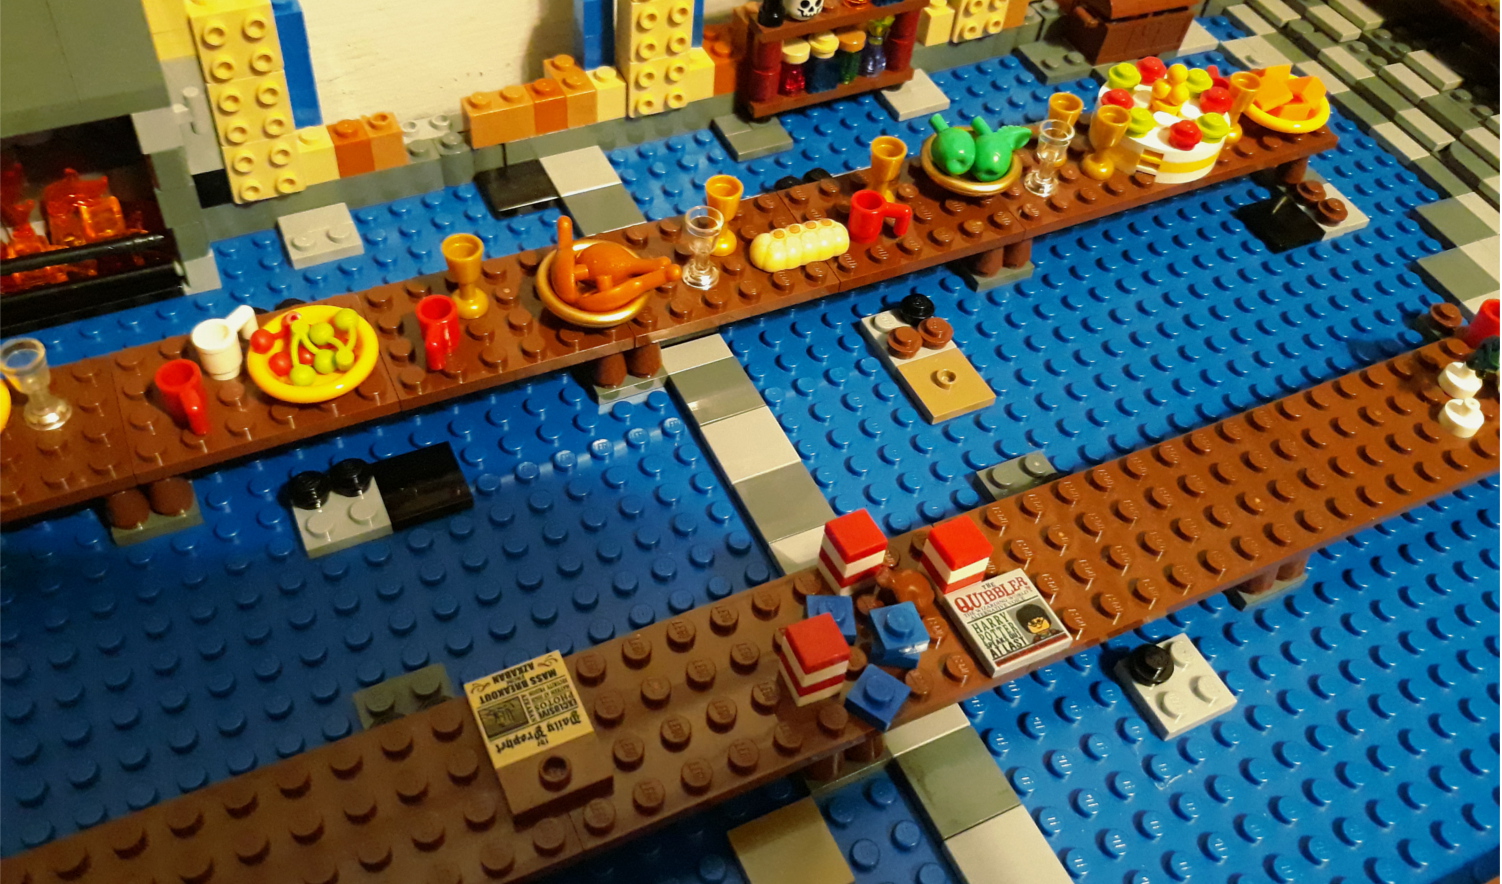
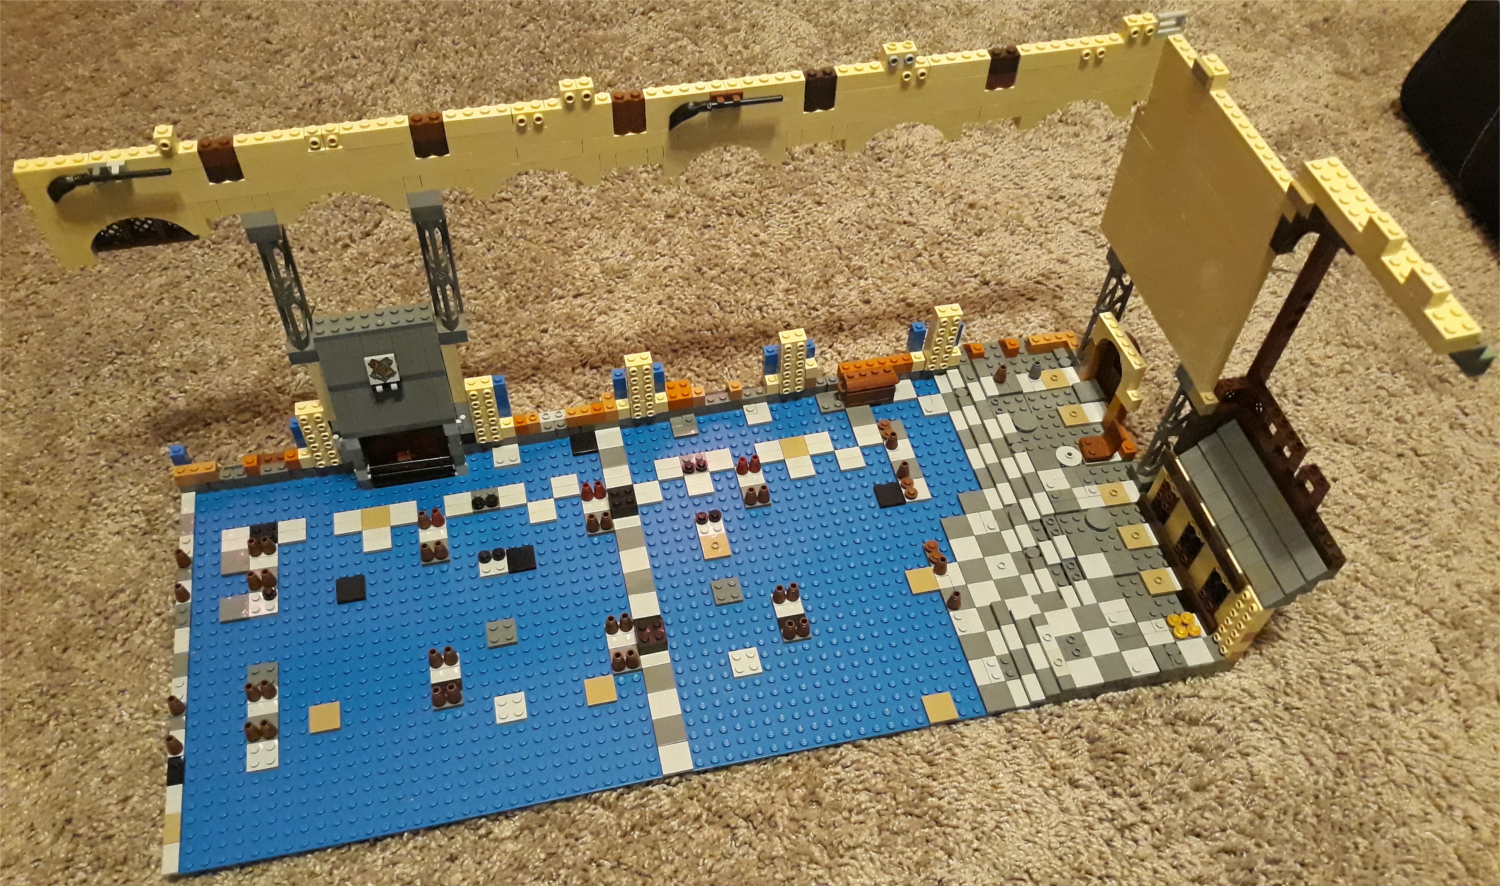
I started the real build next. I had enough pieces from the 2011 Harry Potter sets to get started. The first thing I did was the platform for the high table along with the fireplace and floor layout. This allowed me to lay down studs for the tables where I needed before anything else. Next, I built the window arches and the majority of the wall behind the high table. A few smaller details came next, including the House hourglasses (which I may actually remove). The tables were given a rough fit next to see if I liked the look of them.
I built, disassembled, and rebuilt this room several times. The lower, butterscotch-colored wall was a big part of that. A few other changes include the additions of brooms on the wall and of columns above the statues as well as the color of the statues and design of the podium. The entire thing is five bricks shorter than I originally designed it to be, and so I decided not to include the banners from the 2019 Advent Calendar, as seen in the digital version.
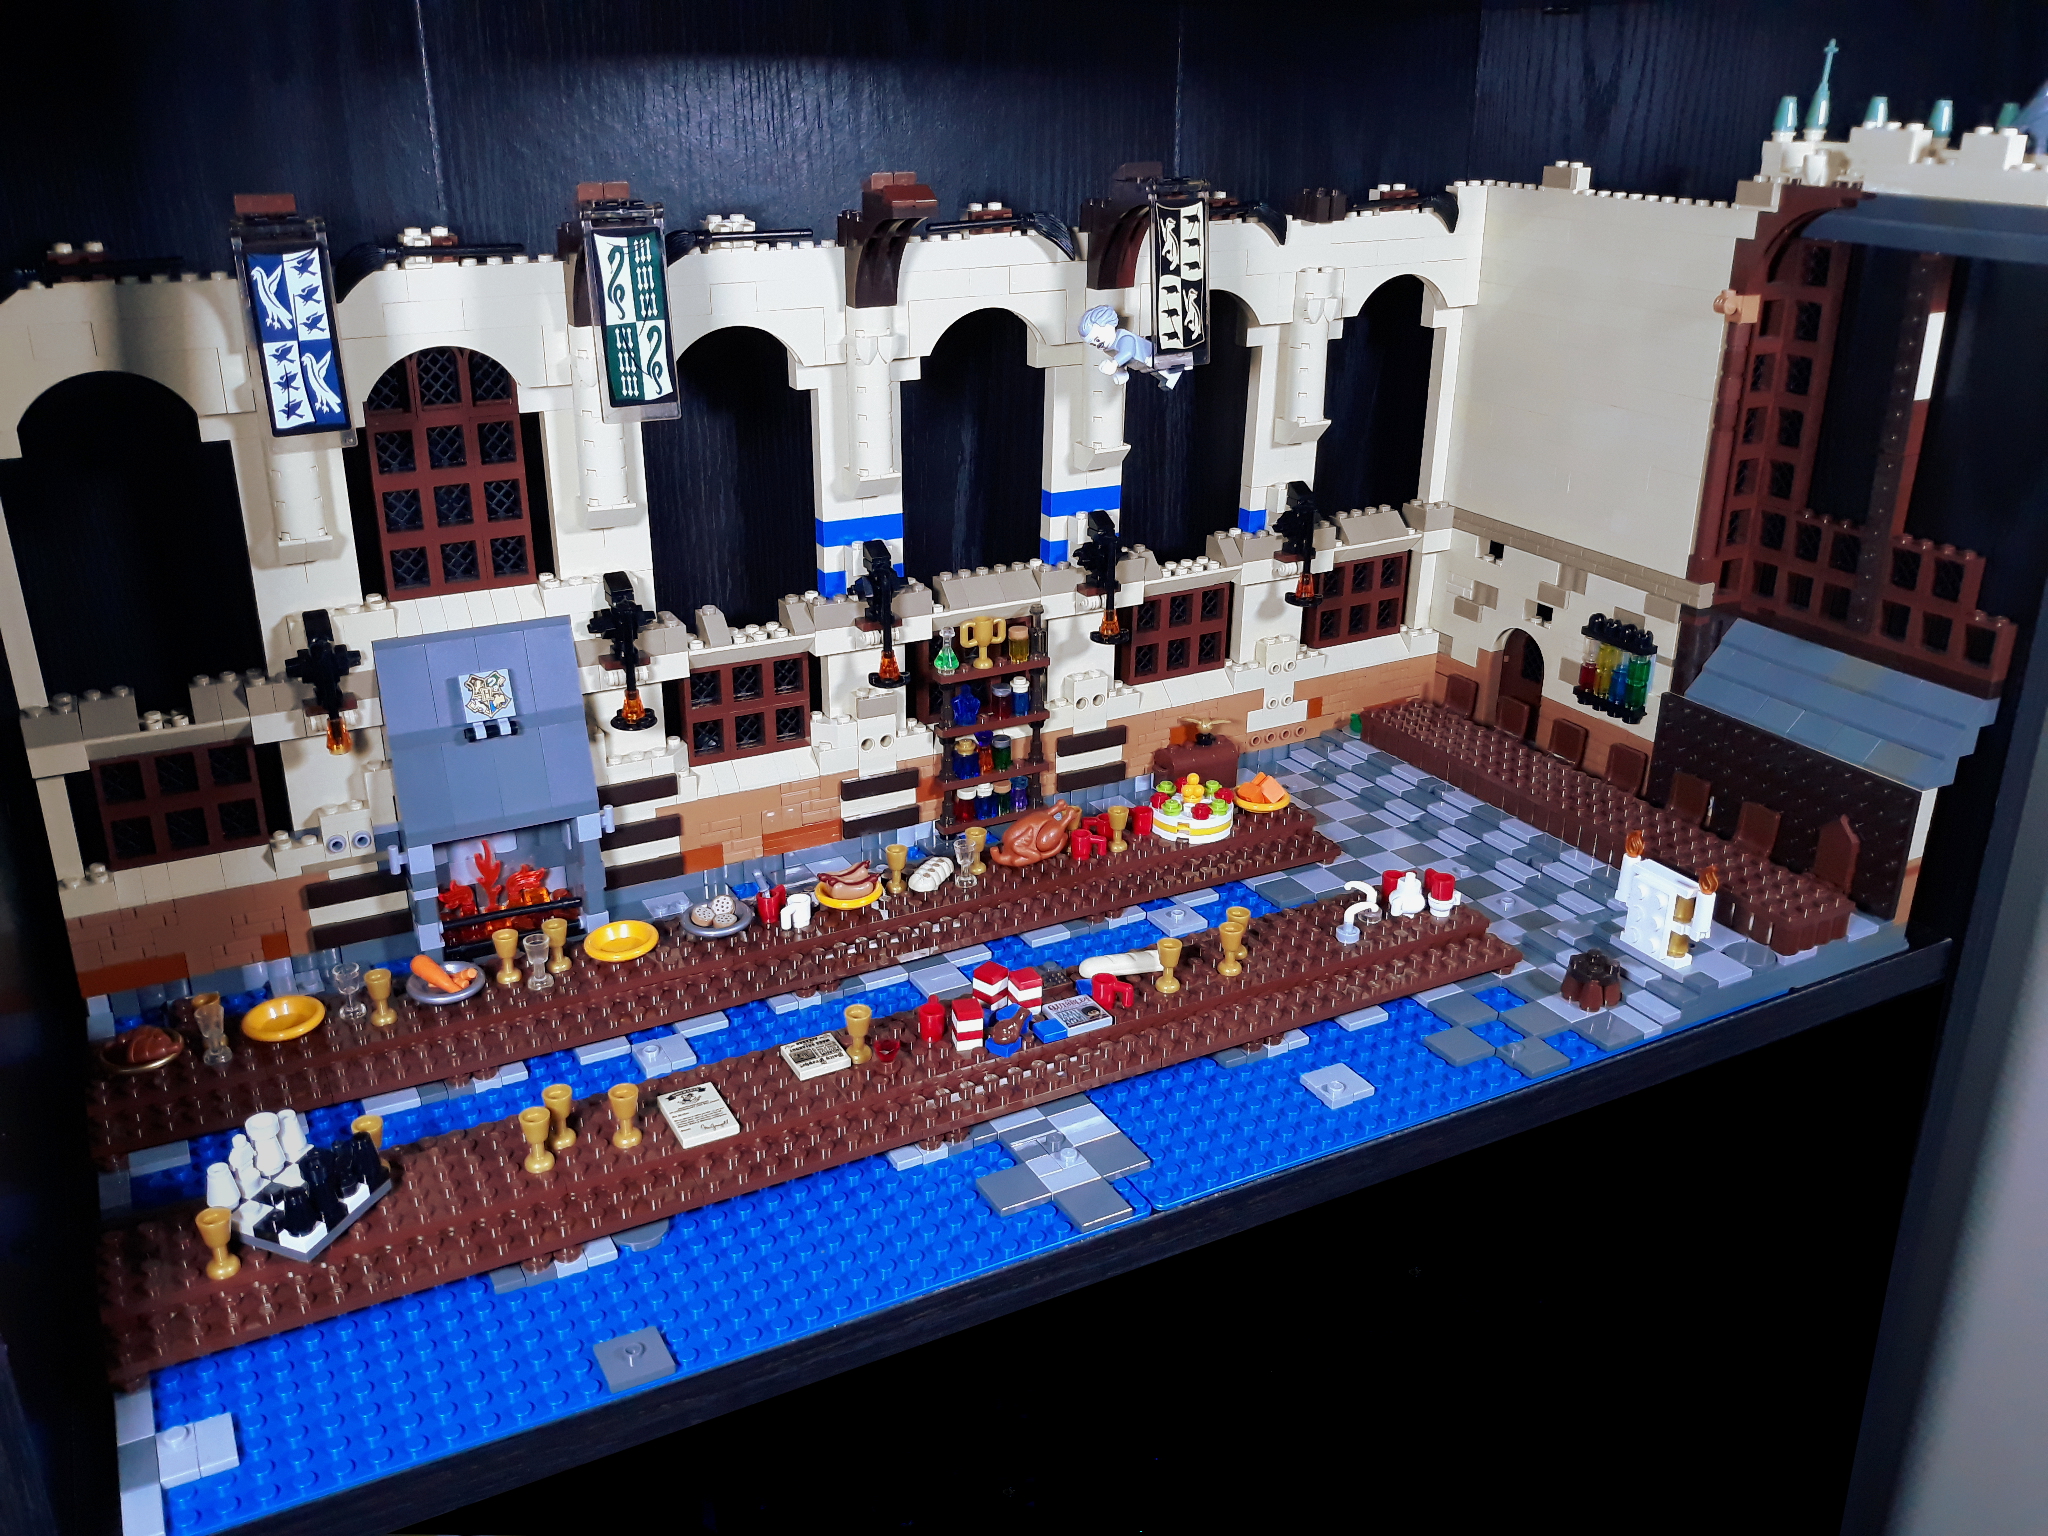
Progress of the build as of post date
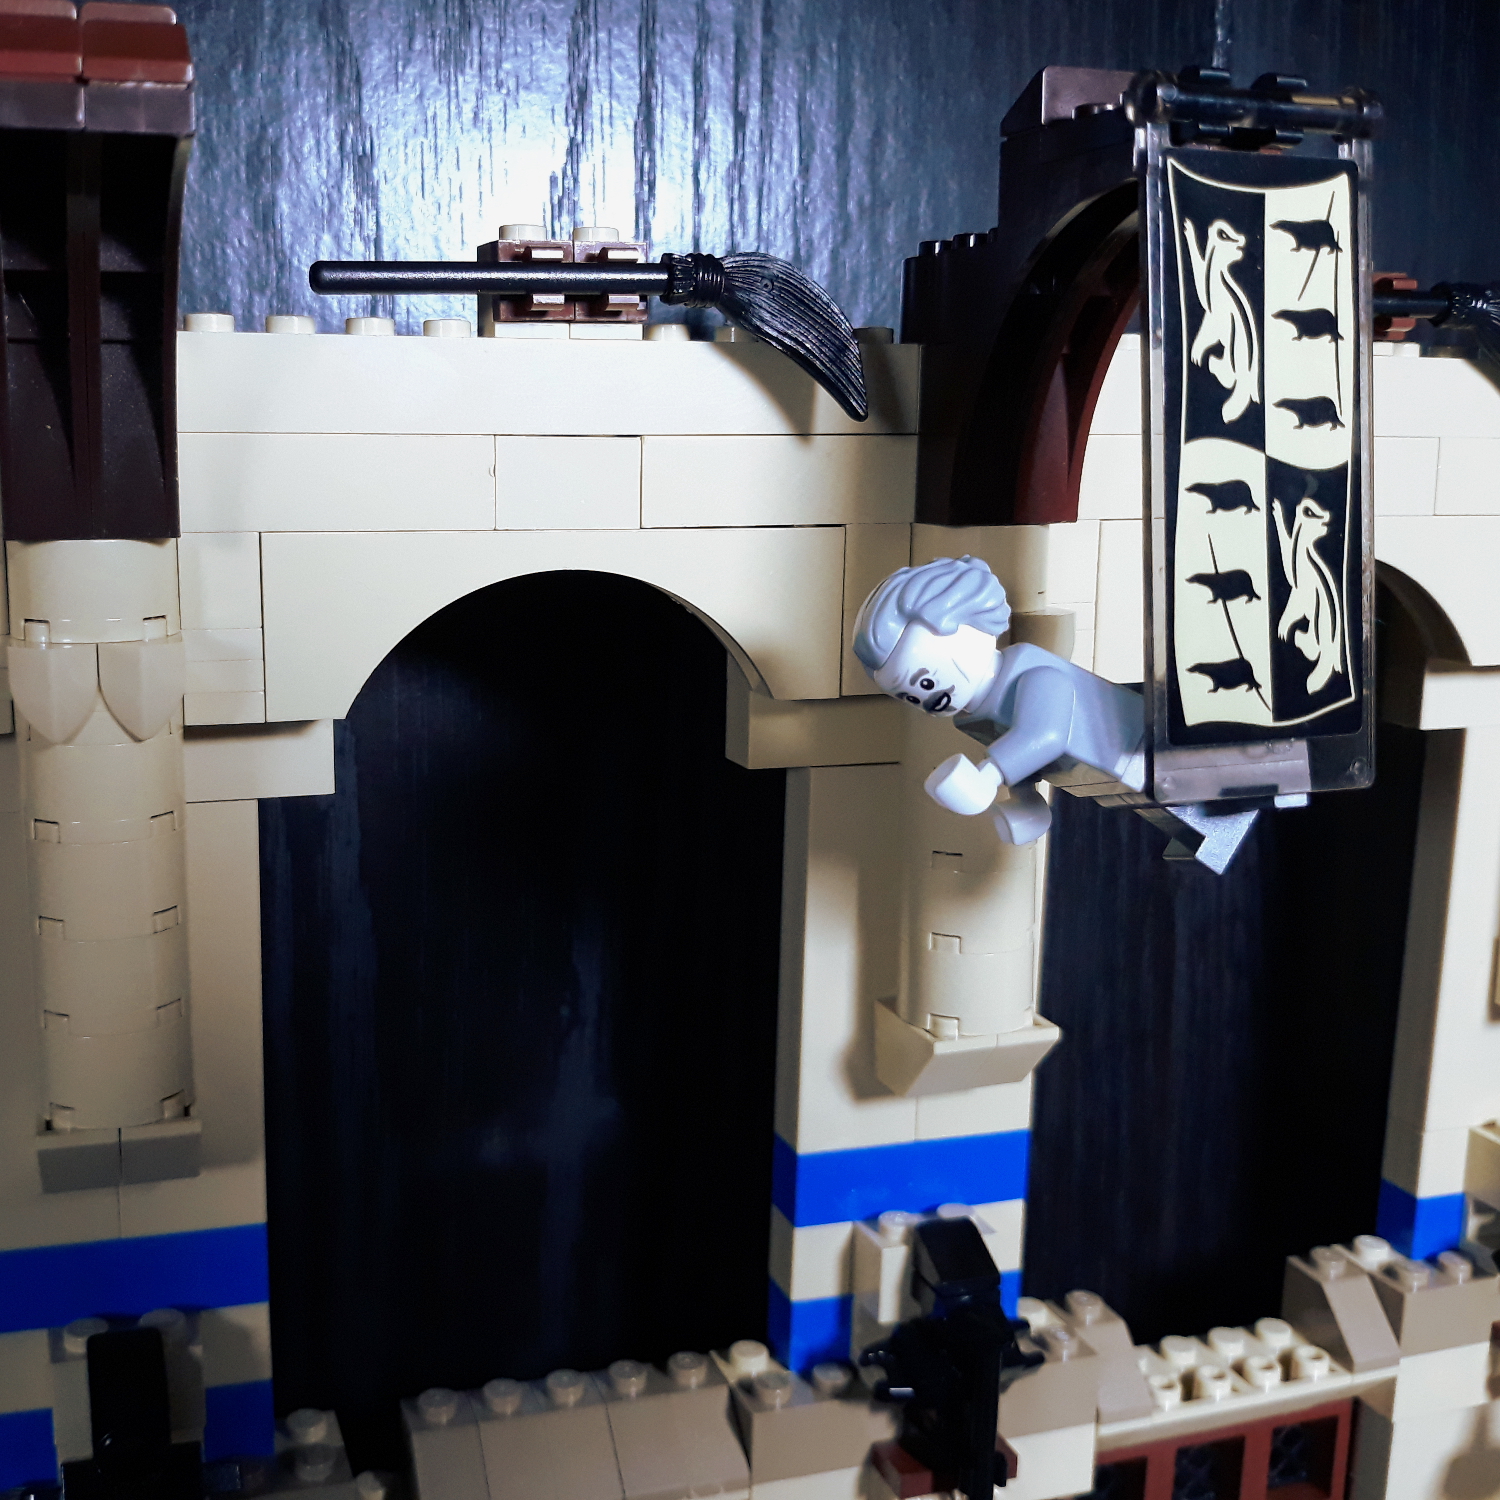
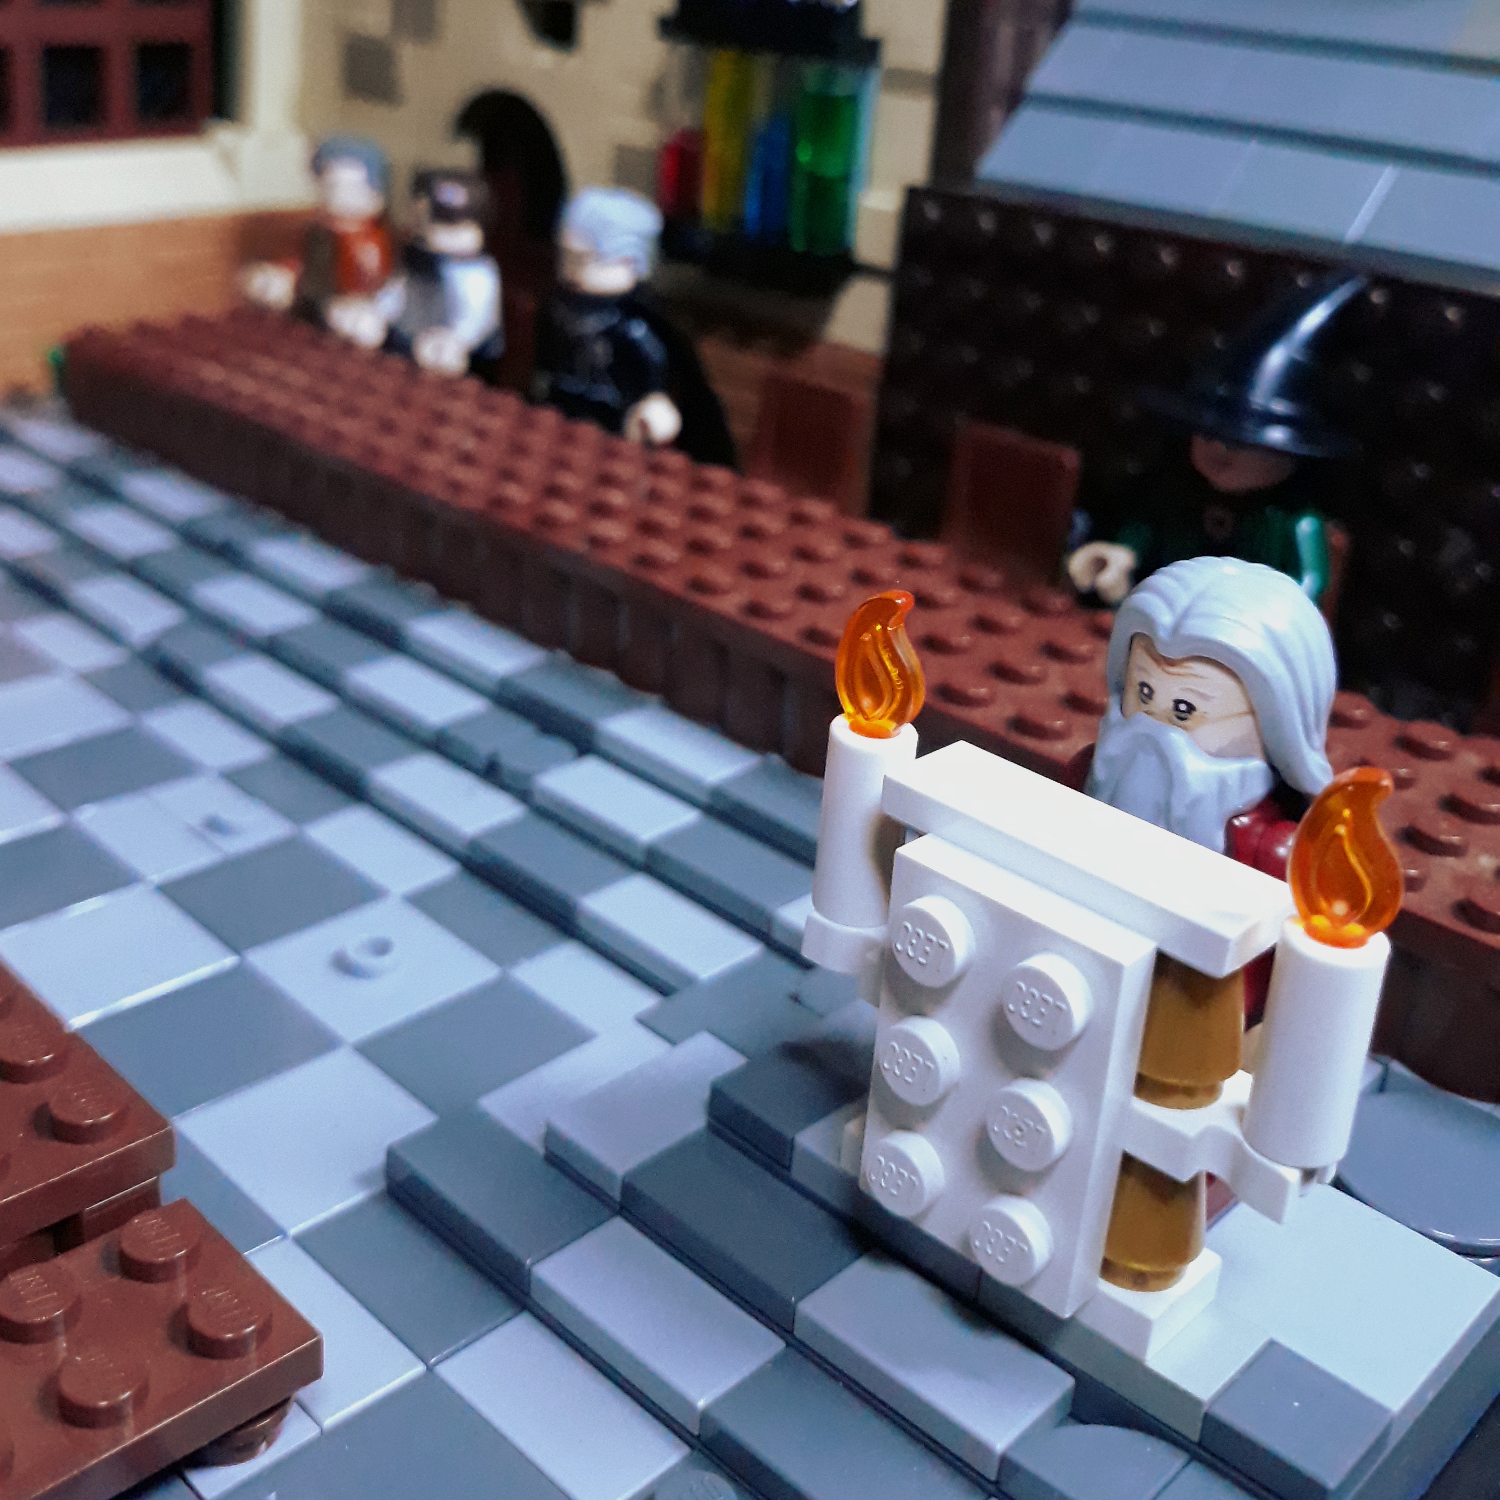
As I was designing, I decided that I wanted this to be a place I could display all my wizarding world LEGO Minifigures along with a couple of other details. Some characters will sit at the tables, others will stand, and a few will fly. Nearly Headless Nick flying behind the Hufflepuff banner is actually my favorite part of the build so far.
This build is still going to take me some time, but I am already happy with the look of it, and I know that I’ll be able to use it for a future project. Obviously, I need quite a few pieces still. (I did order some of them online recently.) In the meantime, I hope that my build has inspired someone to start their own.
—
UPDATE (March 21):
I have made more progress on my Great Hall. Those LEGO bricks that I mentioned previously were delivered! I was able to add those bricks which added definition to the side wall of the room, finished the floor, and added window panes to almost all the frames. Here’s a new photo of my Great Hall.
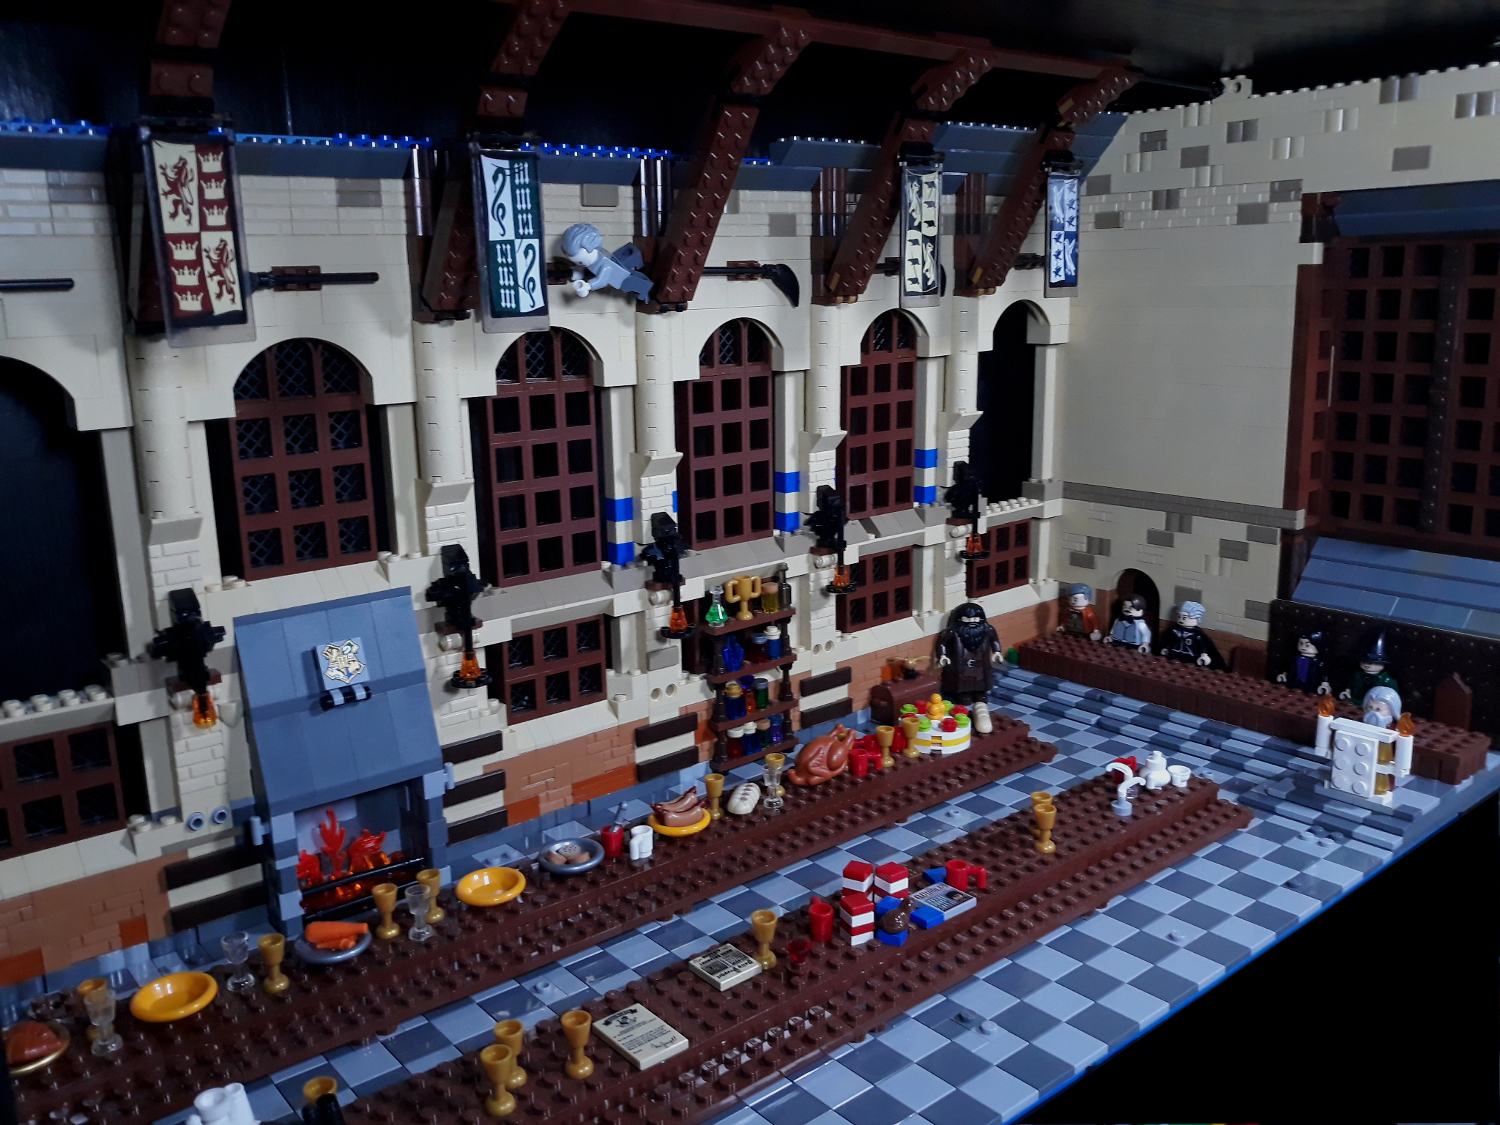
In addition, I have made more changes to the room. These changes actually required me to take the model apart almost completely (again). You’ll notice in the photo that I changed the design of the rafters to something less linear. I like this design much more because it supports the belief that this building is held up by magic, rather than architectural design. (Those rafters are barely able to hold their position.) In addition, I removed the hourglasses. They don’t belong there.

