“The Unofficial Hogwarts for the Holidays Cookbook”: Sweet Treats for Gifting
This year has many uncertainties. One of those for me is whether or not I’ll see my family this holiday season, so I got to thinking about what I can do to send my loved ones some seasonal joy. When I received my copy of Rita Mock-Pike’s The Unofficial Hogwarts for the Holidays Cookbook, the answer came to me quickly: Send people sweet treats that will ship well around the country. Last month, I wrote a review of this book and discussed the first four recipes I tried from it.
This month, my four recipe trials follow the theme of safe-to-send treats – unlike last month, where no theme in my chosen recipes could be found. I’ve also included suggestions on how to package them so that they will ship safely. (Note: Two of these recipes are chocolate. While I have never had an issue shipping chocolate, there’s always a chance that it will sit in a hot location and melt.)
Christmas Care Package Nut Brittle

Nut Brittle
This is the most shelf-stable of all today’s recipes. Nut brittle was one of Harry’s gifts during his third year at Hogwarts (PoA 222). The recipe doesn’t specify a type of nut to use in this candy, but it typically means peanut brittle here in the US, so I stuck with that classic.
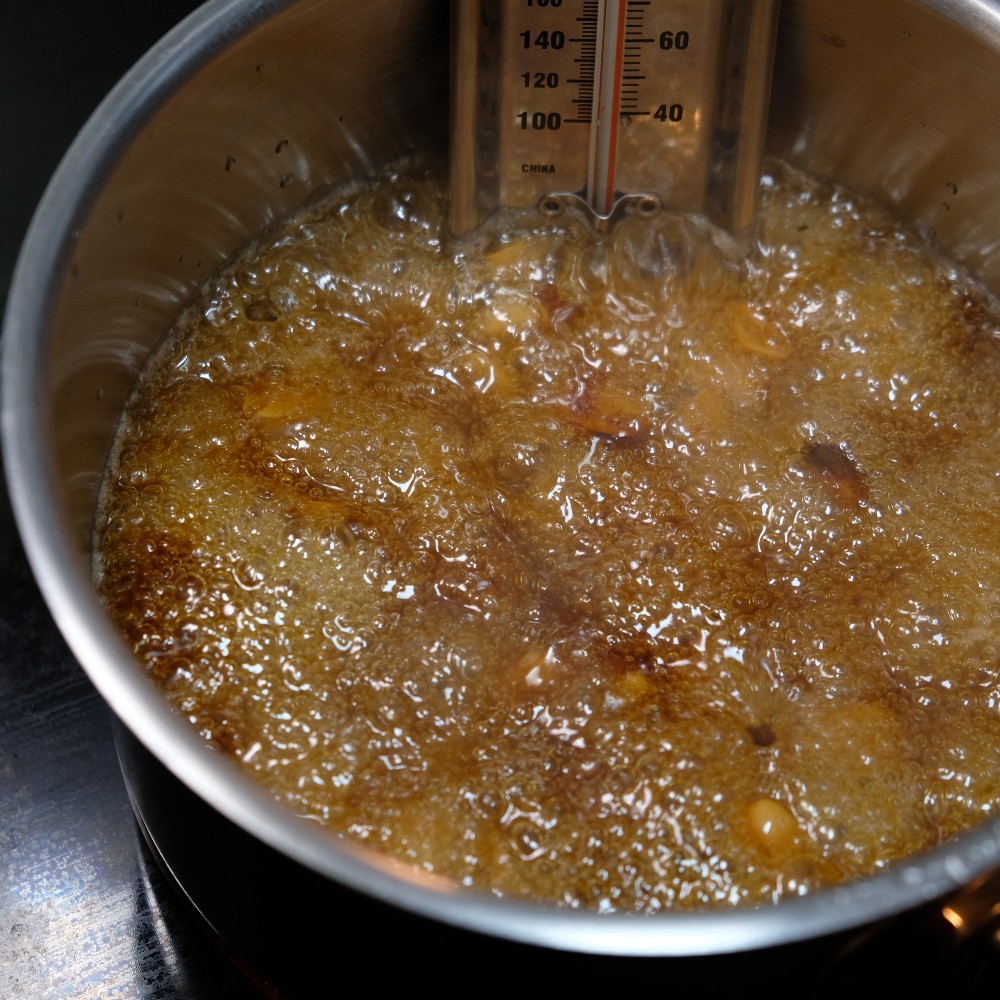
Overall, the procedure for nut brittle is very simple. In fact, it’s quite a common method for making a caramel coating like this. (I use a similar process to make caramel corn.) My strongest concern about the written method is in step number five, which says to stir the sugar constantly. One of the biggest rules of sugar work is not to stir a dissolved sugar mixture until it begins to caramelize. The agitation will form crystals, which you do not want. However, once the sugar gains some color, then it should be stirred constantly to prevent the nuts from settling in the pot and burning.
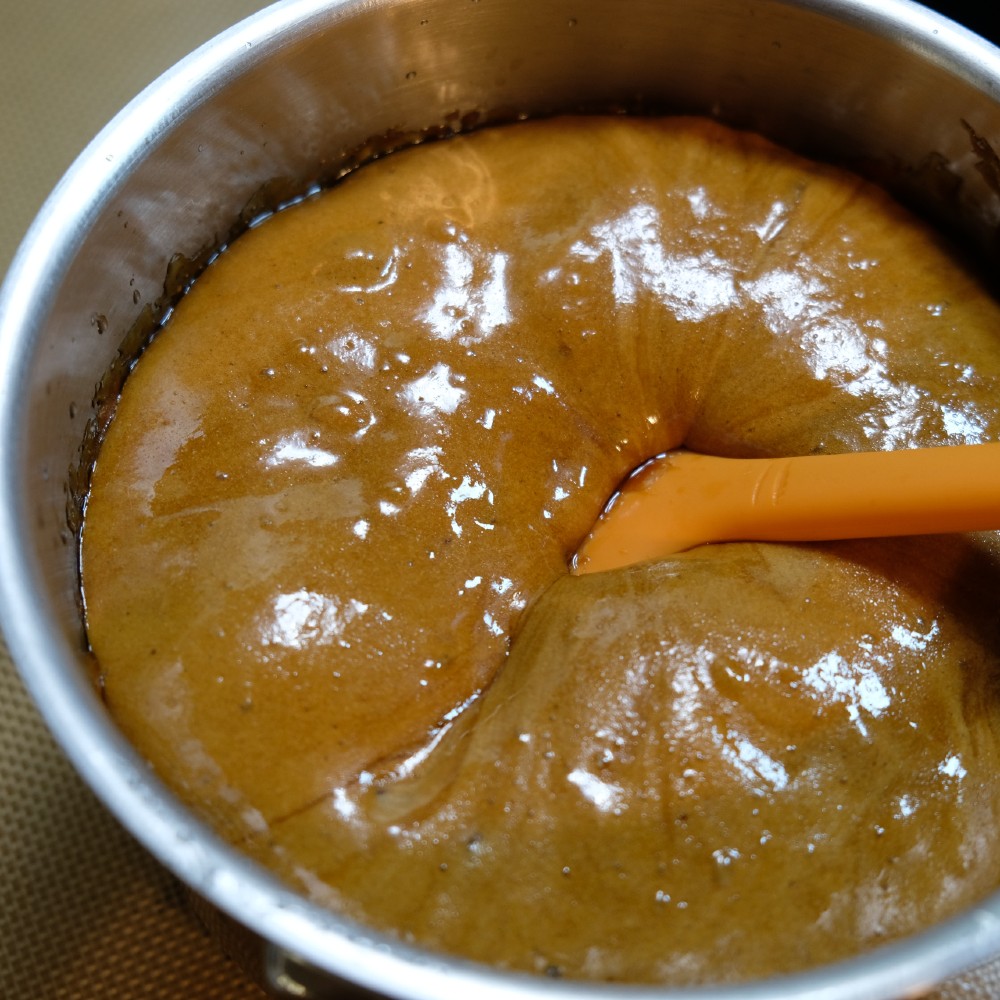
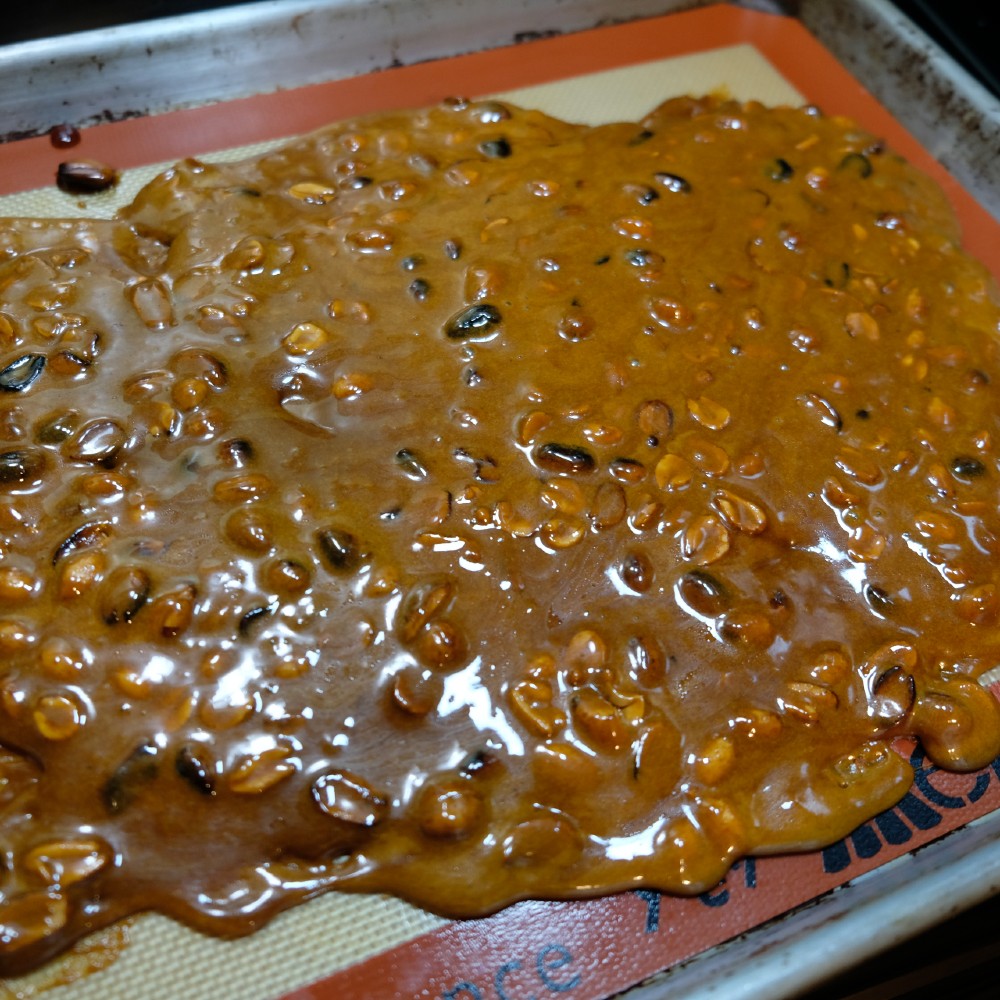
After this step, follow the directions closely to the end. The process from reaching 300 degrees to pouring onto a baking sheet is a quick one. The butter and vanilla will cause the caramel to boil rapidly, and the baking soda will cause a texture and color change. Stir this nonstop until activity subsides. Don’t be scared of the bubbling pot; that mixture must be stirred quickly, or it will seize.
After your brittle is done, I suggest packaging it in clear plastic bags. I found 4″ x 6″ x 2″ treat bags at my local hobby shop that work rather well. A tight, twisted close will help keep the treats fresh while they travel to their destination. Plus, a ribbon or gift tag will add personalization to your treats.
The recipe makes quite a good peanut brittle. It’s the right texture and has good flavor. I would probably add more peanuts the next time I make it, however. The amount in this batch isn’t bad, but if I’m going to make something called peanut brittle, I want it full of peanuts! My boss really enjoyed this treat but suggested pistachios next time for an Israeli twist. That may be a fun route to try for someone who can’t have (or just doesn’t like) peanuts. Cashews, pumpkin seeds, or sunflower seeds could all be good additions as well.
Chocolate Fudge

Chocolate Fudge
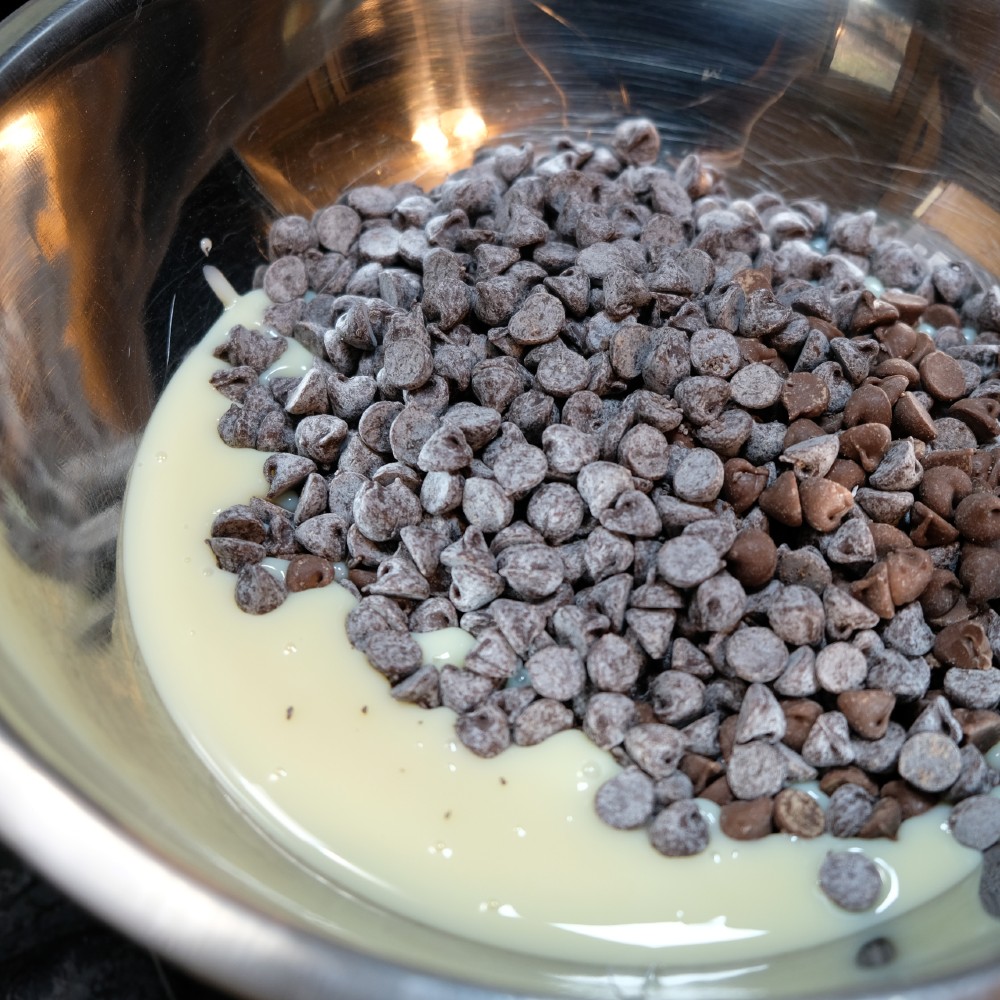
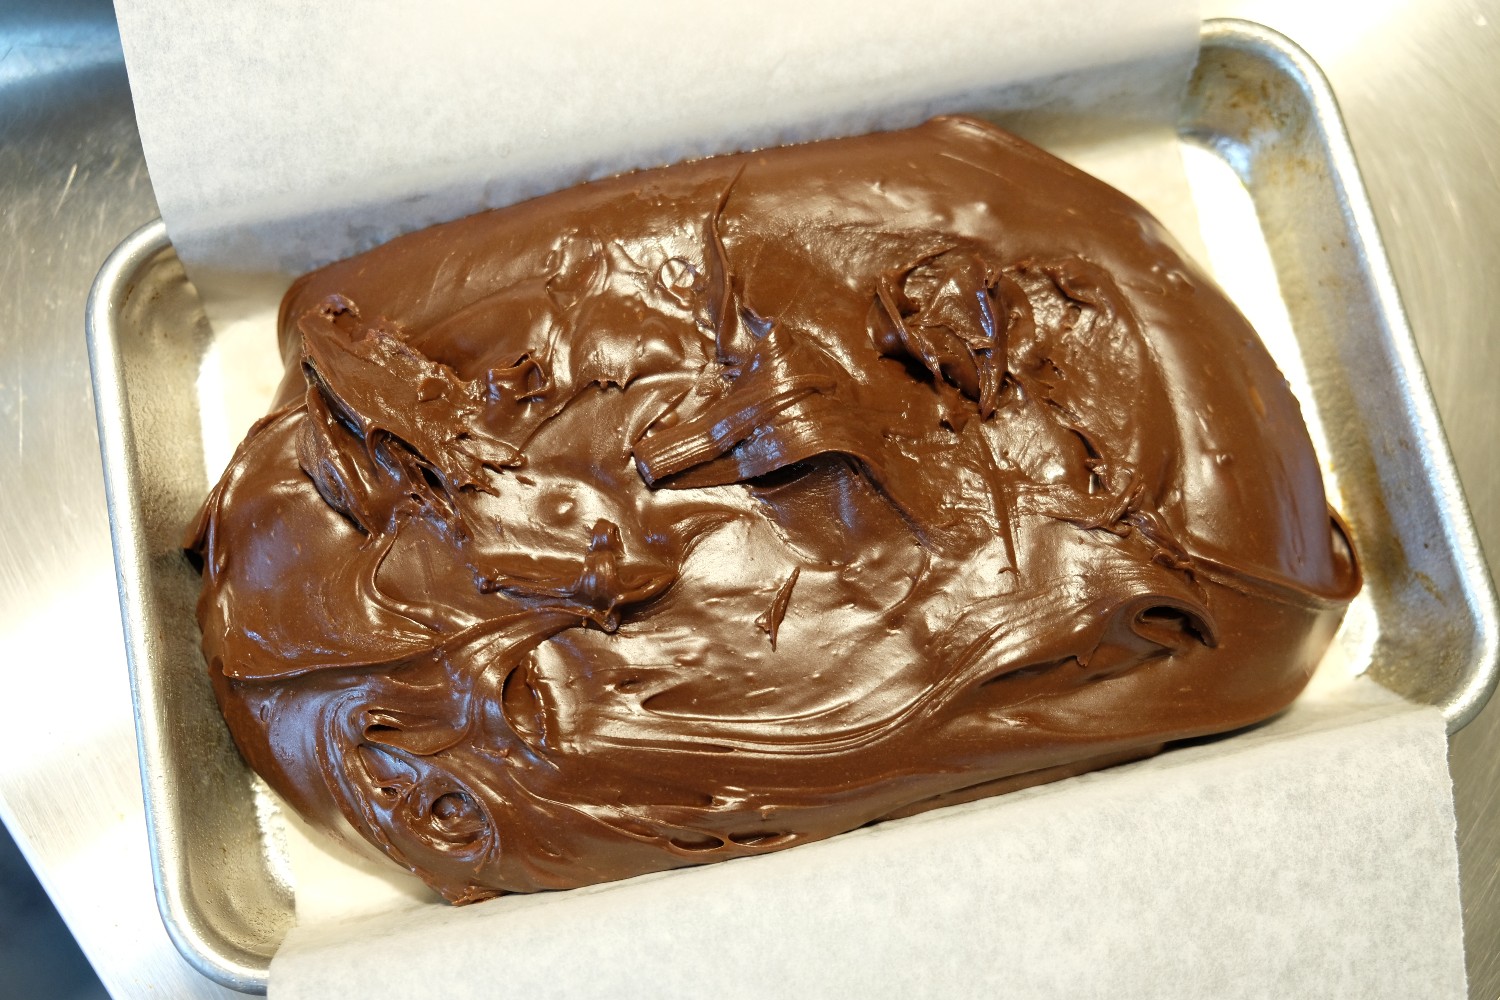
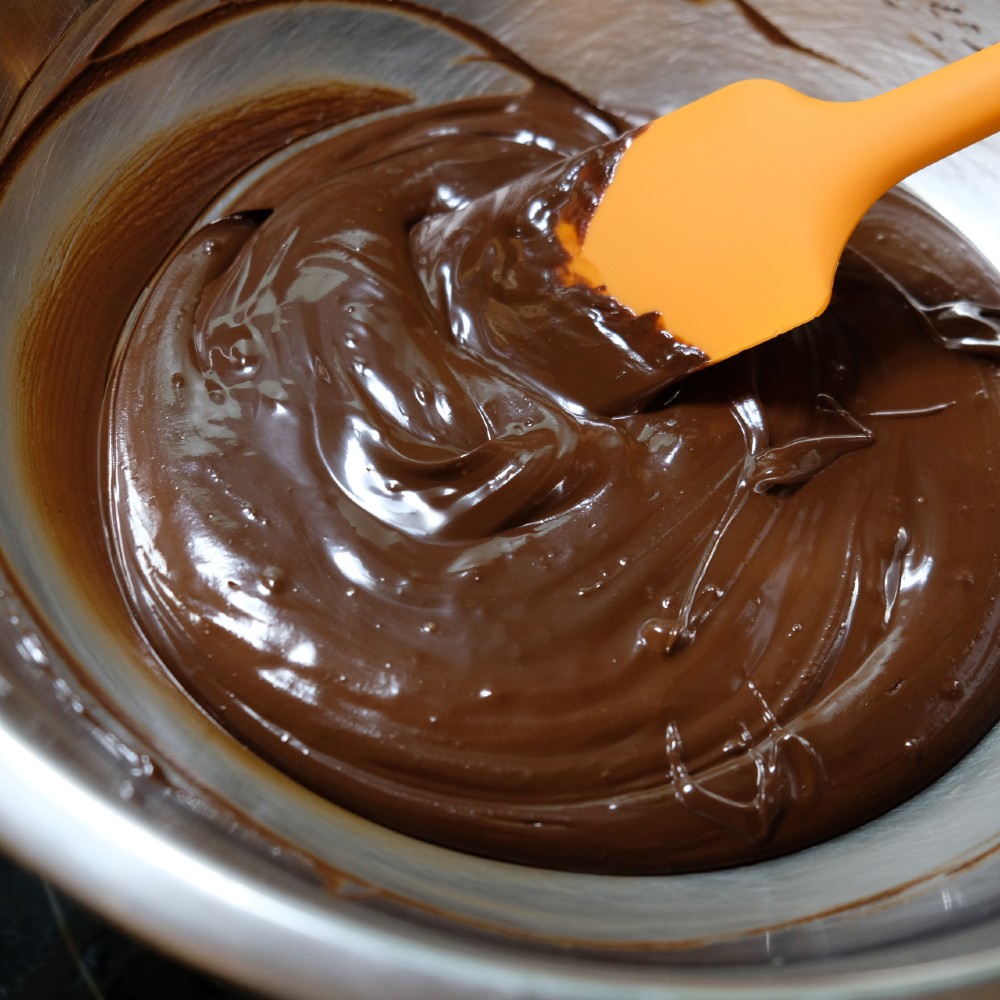
This recipe for chocolate fudge is so simple that I’ve already made it twice in the past month, and I have intentions to make it twice more before Thanksgiving. The one big change to the method that I find helpful is using a double-boiler to make the fudge. Stirring and scraping the bottom of the bowl is still needed every few minutes, but a double-boiler will help prevent burning the chocolate. I’ve also found that the milk (noted at the bottom of the page) is necessary for the chocolate I’ve been using. But different chocolates melt in different ways, so not all will need the milk.
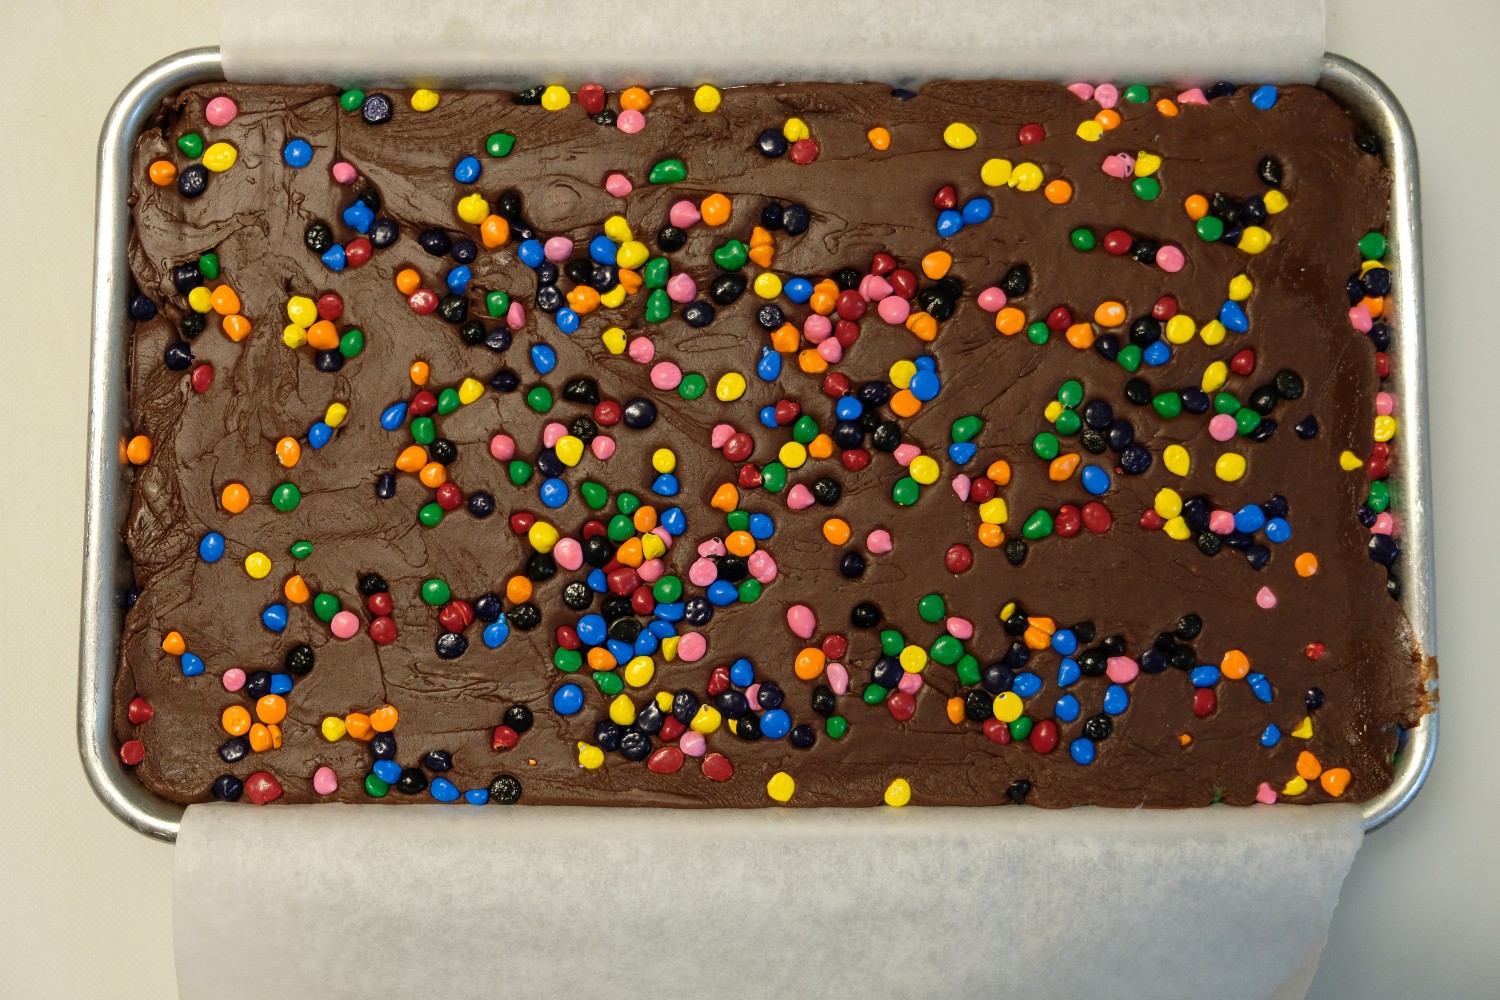
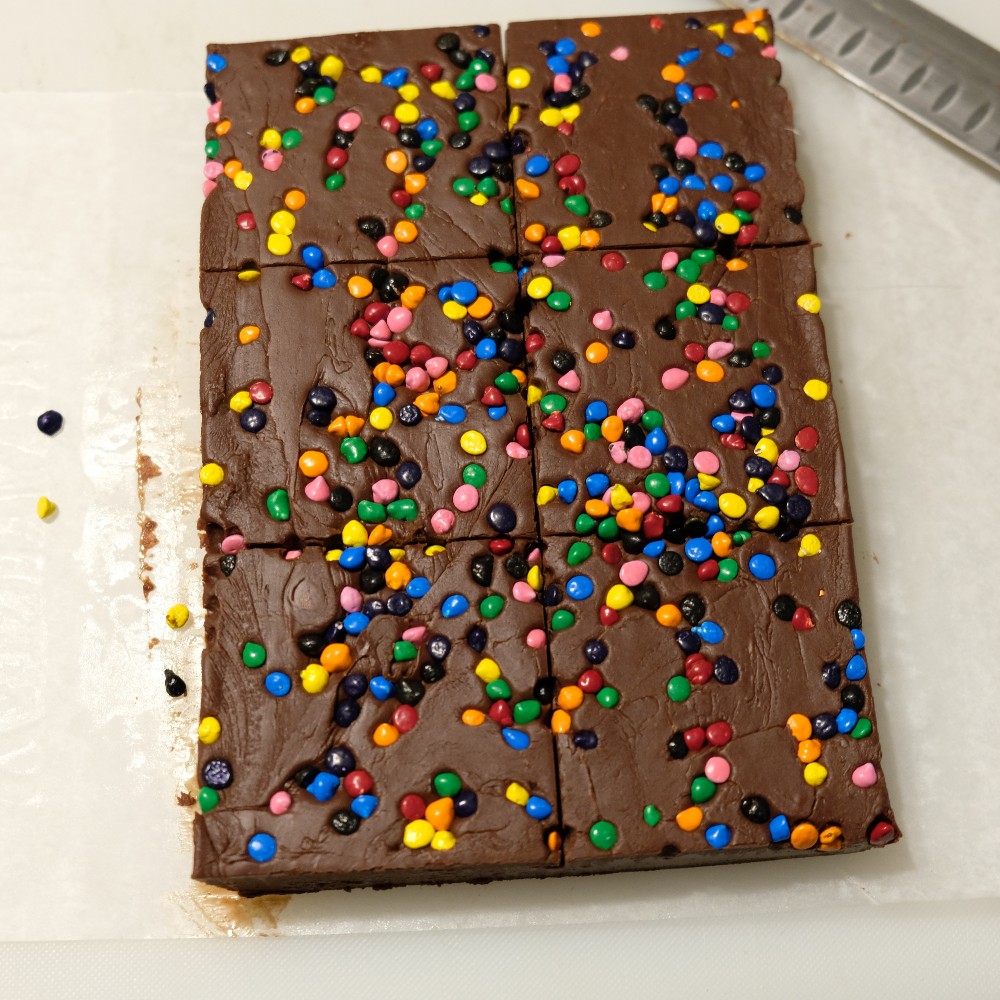
Last time, I made the fudge plain, since I don’t care for nuts in my candies. This time, I added candy dots for a bit of color and texture, which I think adds a fun element to the confection. You’ll also notice in the photos that I did not use an 8″ x 8″ baking dish (I don’t have one). Instead, I used a 1/8 baking sheet, which is about 5″ x 9″. I love these little pans, and I’m sure they can be found online or in a restaurant supply warehouse that’s open to the public. This pan does make a slightly thicker fudge, but I cut the pieces in large portions so the recipient can break it apart at will. Fudge doesn’t need an airtight package, so I decided to use small four-inch candy boxes that I had in storage. The bags I mentioned above would work well, too, especially with a fudge this colorful.
This fudge recipe is quite simple, and it lends itself well to adaptation. You could add almost anything to the fudge, from dried fruits to different nuts and even candy pieces, as I did. It’s also possible that using different types of chocolates or extracts will work to modify the flavor. Try using peppermint, almond, or orange extract in place of the vanilla to yield a totally different product. But if you don’t feel like experimenting, the recipe is still quite good as written.
Chocolate Frogs

Chocolate Frogs
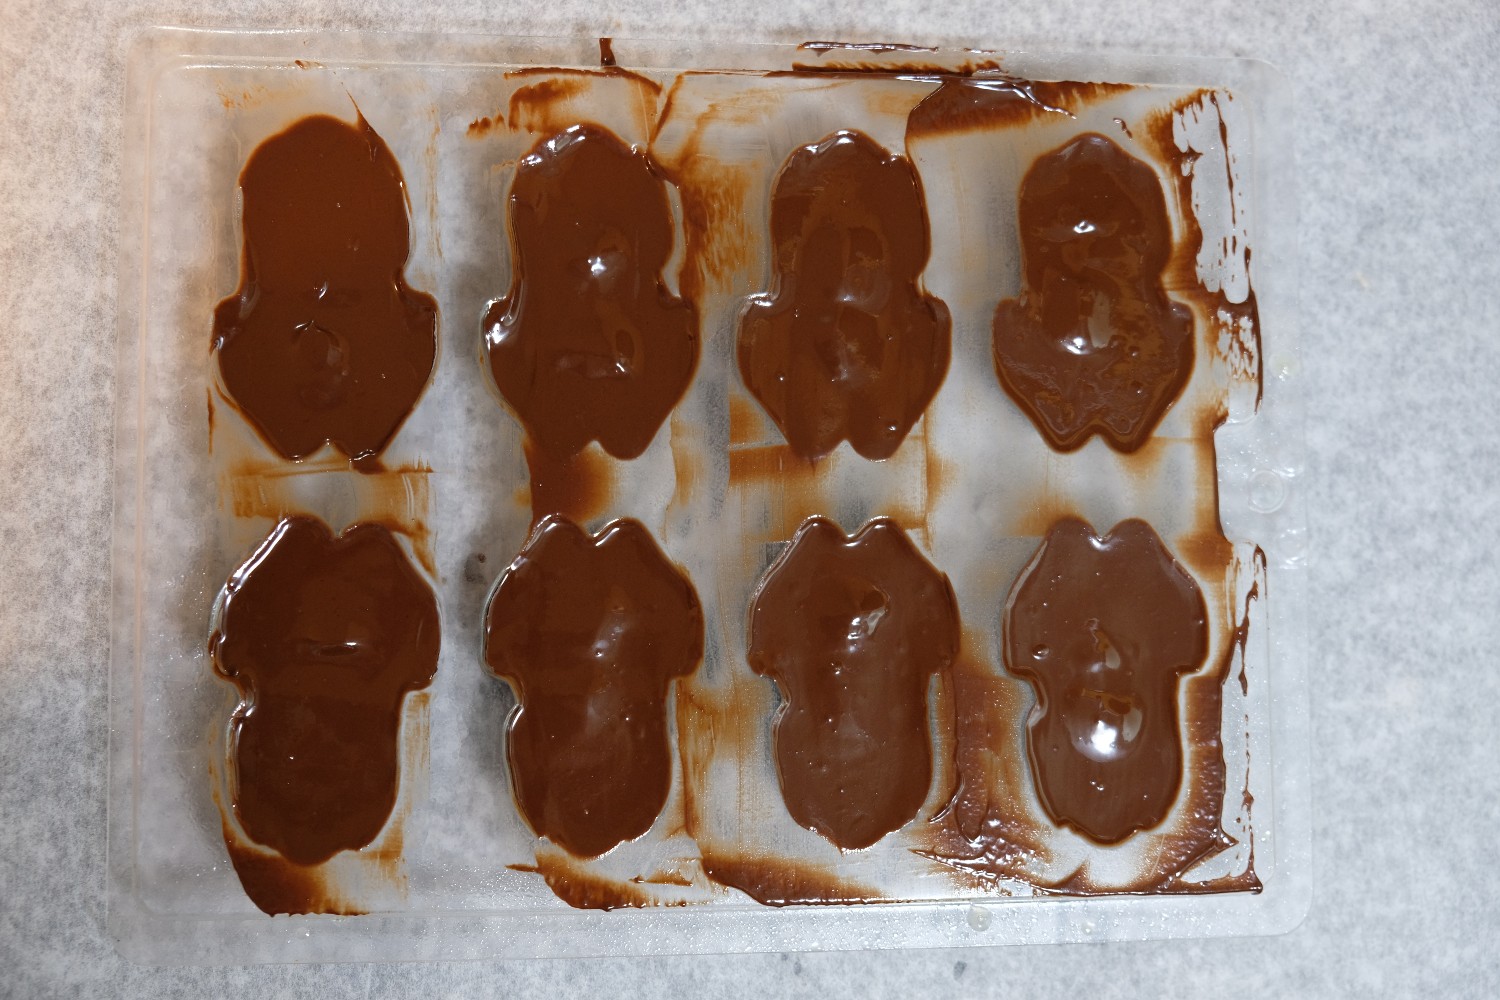
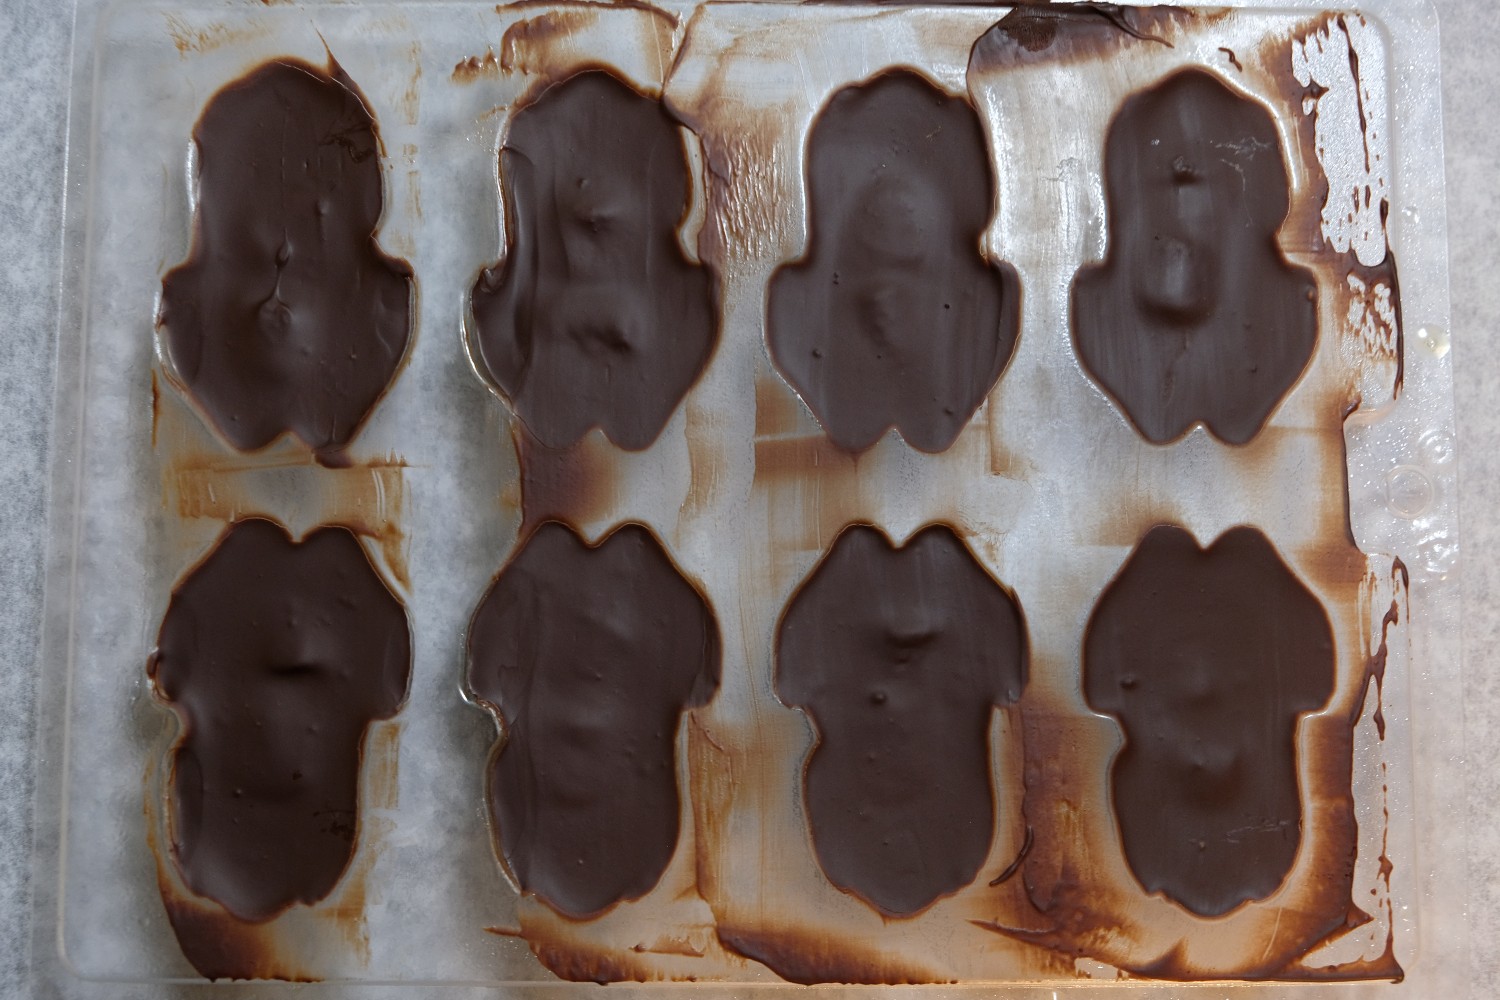
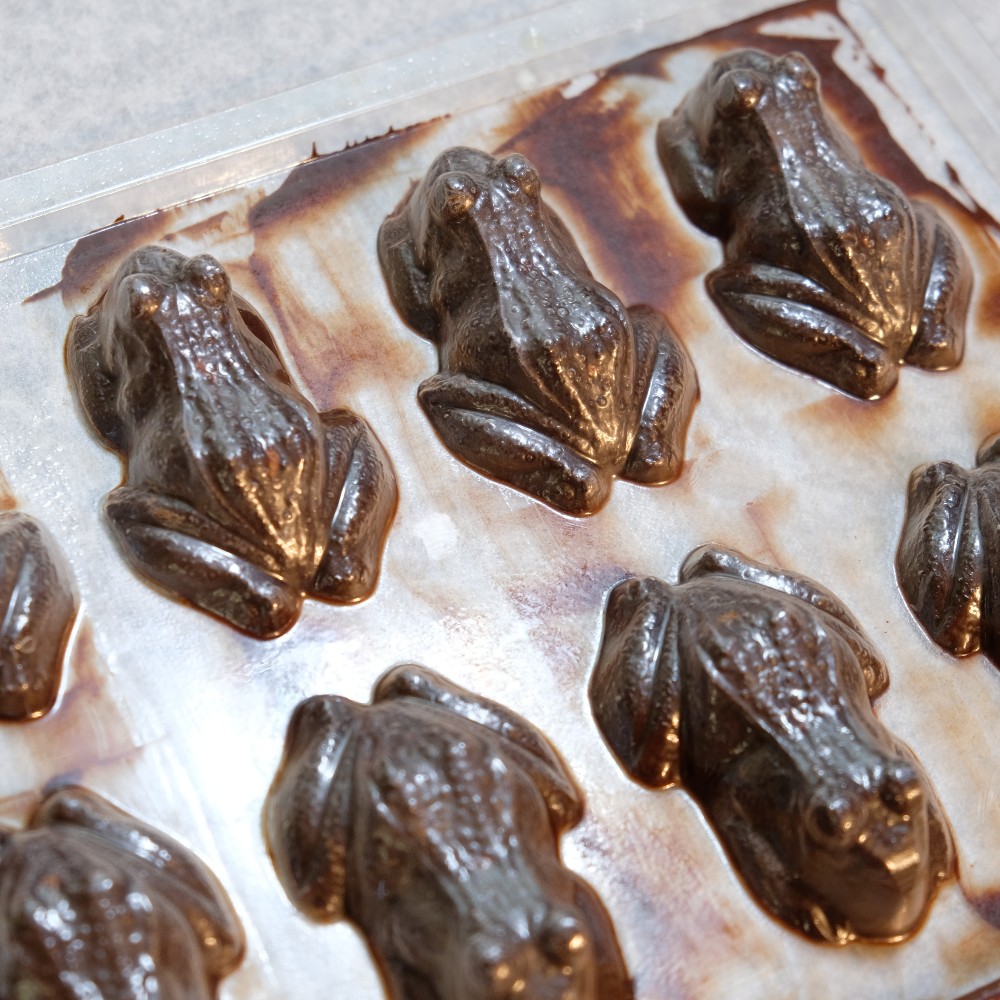
Chocolate Frogs are probably the first thing a Wizarding World fan would think of when they hear “magical candies,” so I am very glad that a recipe for them is included in Rita’s book! They are easy to eat and can be fun to package. Plus, it’s chocolate, and as Professor Lupin says, “It helps – it really helps.”
Luckily for me, I have tons of Chocolate Frogs in my kitchen now, because I had to make the recipe twice. I made a very silly mistake the first time and had to give it a second go. So tip number one with this recipe: Don’t use cold milk. I wasn’t thinking when I was melting the chocolate, and I added cold milk to the warm chocolate/butter mixture, which caused the whole thing to seize up and become grainy. I attempted to mold the frogs anyway, but they really didn’t come out well at all. On the second attempt, I actually was able to omit the milk completely because the chocolate was very fluid and didn’t need it. This was beneficial because the milk makes the frogs very soft – almost too soft for shipping – so they will be able to hold up better on their journey this way.
The other thing I did differently from the directions was using a piping bag instead of spooning the ganache into the molds. This is much easier, cleaner, and faster than using a spoon. Tips for using a piping bag can be found under our Tips & Tricks toggle if you’ve never used one before. Once your frogs are molded and chilled, carefully remove them and package in a bag or a box, or make your own Chocolate Frog boxes and cards. I chose to pack two of them per four-inch candy box.
Overall, this is a good recipe, and the frogs are a fun treat to send to fellow fans. Who doesn’t love chocolate in a fun shape, especially if it has something inside it like mini marshmallows or pecans? However, the addition of the milk can make the frogs too soft at room temperature, so I would omit it, if possible. My suggestion: If your chocolate isn’t fluid enough to pipe or spoon, add another small amount of butter to thin it. This will allow the frogs to still firm up well, and then they should ship without issue.
Pumpkin Pasties

Pumpkin Pasties
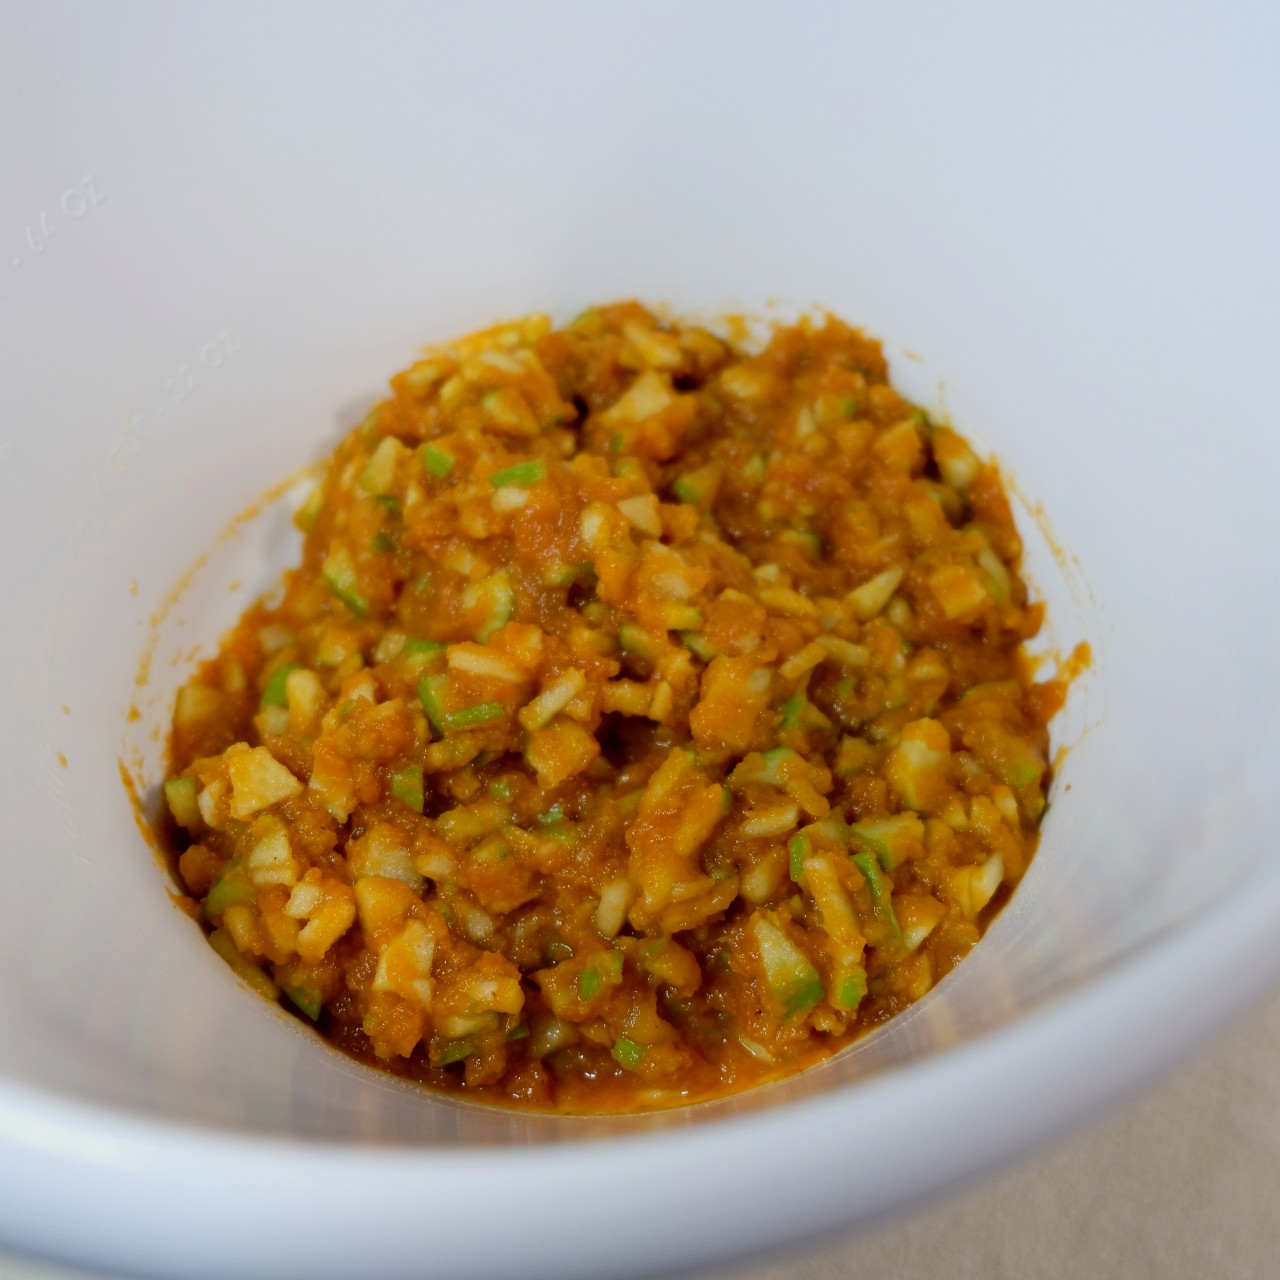
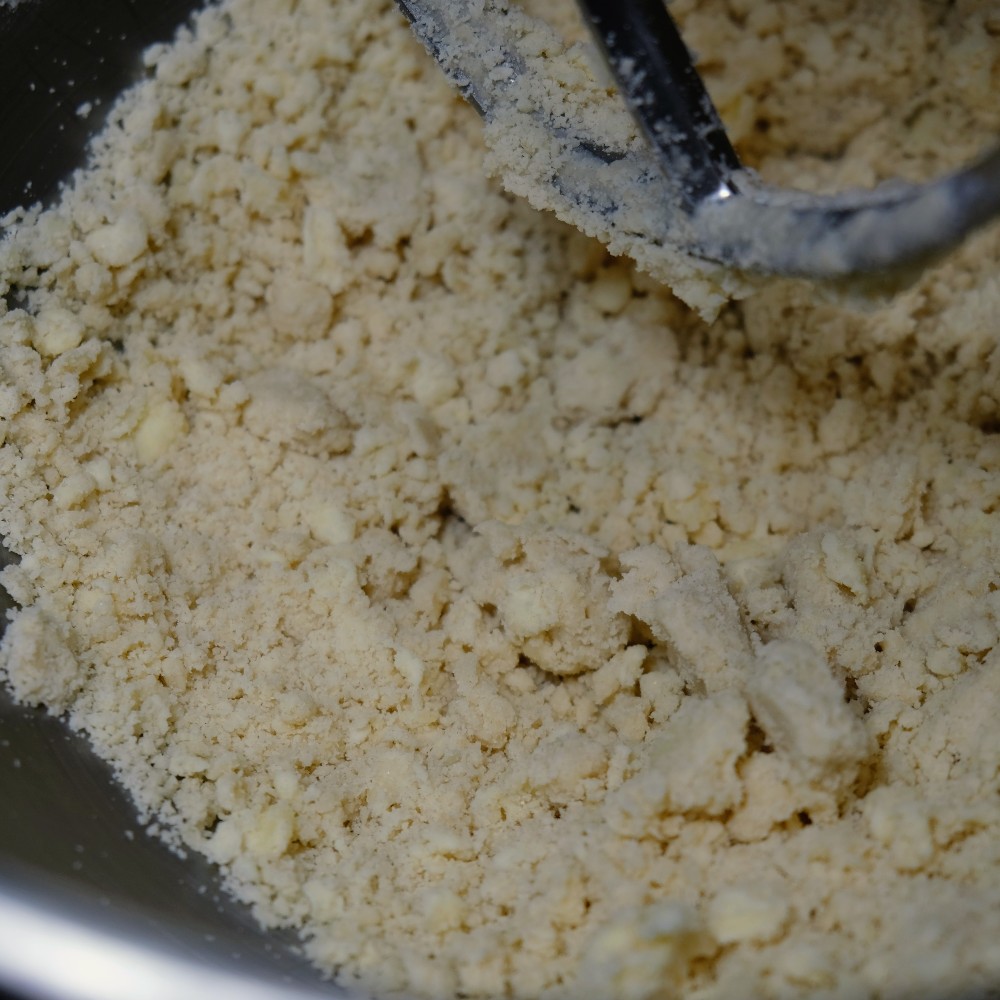
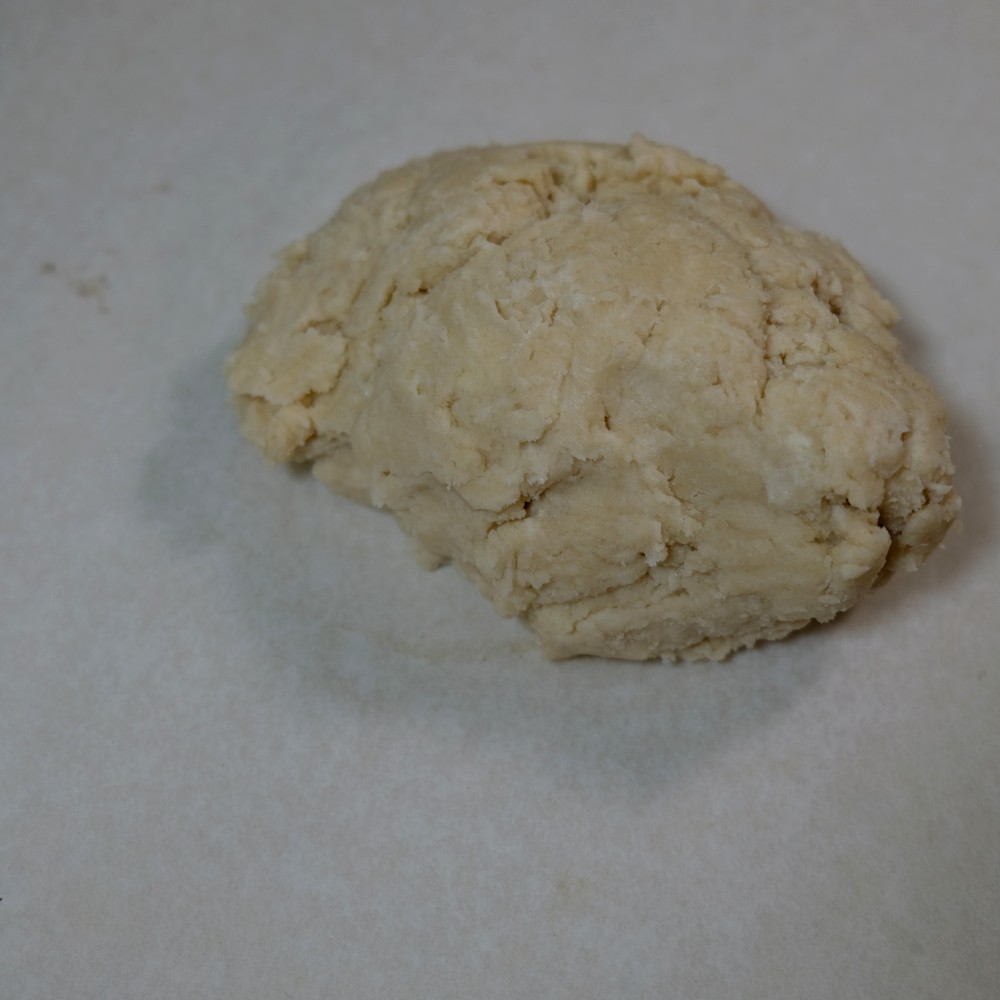
Pumpkin Pasties, though sometimes deadly, are the perfect snack for train rides. But they can also make great gifts. Rita’s recipe for pasties has some technical issues, but it isn’t a bad product by any means. The pie dough recipe works well, though I don’t have a food processor to test it word for word. I used my mixer instead, which is how I make pie dough anyway. The filling is very easy to put together – just mix. The issues come with the instructions for cutting and filling the pastries. The book says to:
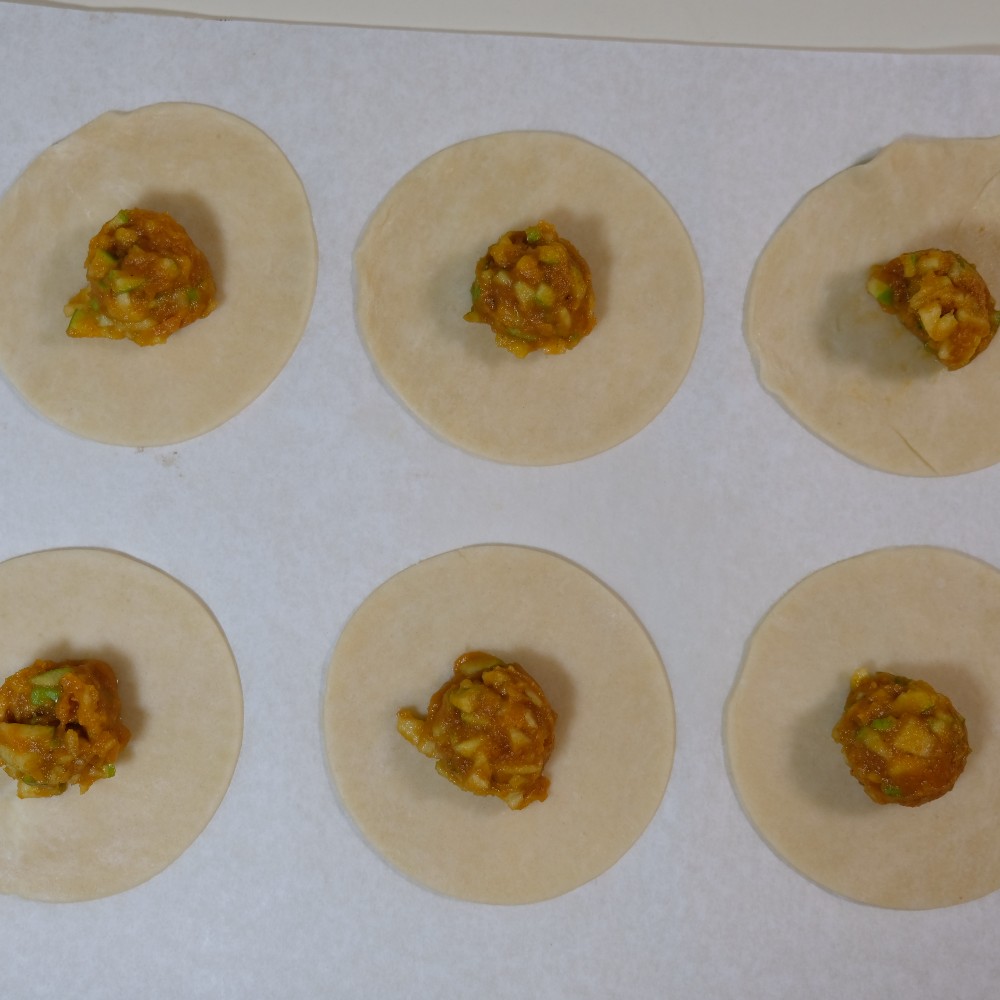
10. Use a saucer, small plate, or bowl to cut out 6-inch circles.
11. Put 1 to 2 teaspoons of filling into each circle, and fold the dough
over into half circles.”
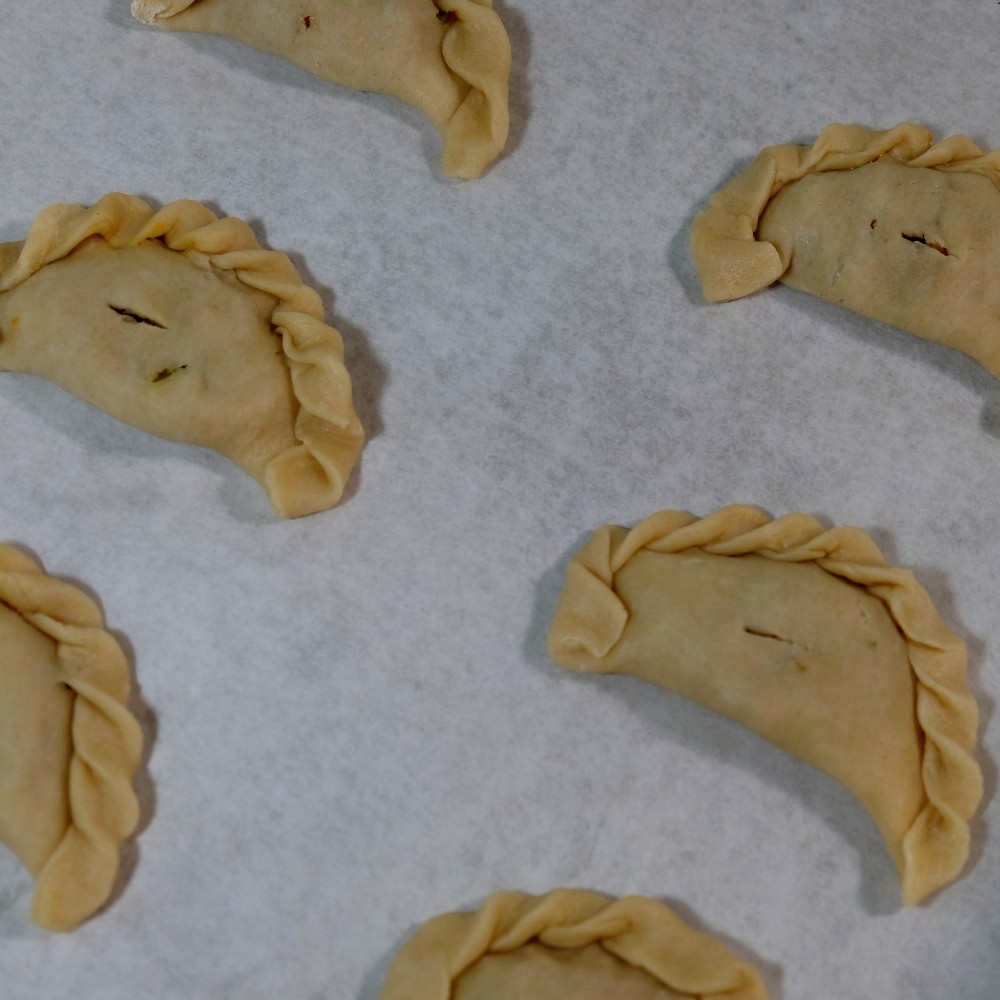
Six-inch circles are way too big for a dessert that is supposed to fit comfortably in one’s hand, and one to two teaspoons of filling is not nearly enough for that amount of dough. I assumed that “teaspoon” was a typo and used two tablespoons of filling in my method test (which is three times more than the recipe calls for). Otherwise, I made four-inch rounds filled with two teaspoons each of the pumpkin/apple filling and crimped them in a traditional Polish style. The six-inch test pastry was too big to crimp, so I used the fork method for sealing the edges. I’d suggest egg washing the pastry before baking: brushing with beaten egg (some bakers add salt, water, and/or milk to their egg wash). This will add shine and better color to the pasties.
The flavor of the Pumpkin Pasties is pretty good. The apple in the filling adds a bit of texture and sweetness, which is really nice. The spices work, but I’d suggest adding a pinch of salt to bump up those flavors – or you could even add more spices. (Cardamom is an amazing spice that goes really well with apple and clove.) The pie dough is surprisingly decent, but I do prefer an all-butter crust. The shortening leaves a greasy-mouth feeling after eating. If that’s not something you enjoy, feel free to replace the shortening with an equal amount of additional butter.
Making the pastries four inches instead of six, as I mentioned above, will yield around 10 to 12 pastries instead of the recipe’s six. I packed these two each in a 4″ x 6″ x 2″ treat bag. A tight twist will help keep them fresh during their trip!
I hope you get to try out these recipes and that you enjoy them as much as I have. If you haven’t picked up your copy of The Unofficial Hogwarts for the Holidays Cookbook, I’d suggest you do. There are many great recipes inside that celebrate all sorts of Hogwarts holidays. Don’t forget to keep an eye on MuggleNet for more creative ways to use the book this holiday season!
A copy of The Unofficial Hogwarts for the Holidays Cookbook was provided by Ulysses Press. All opinions belong to the reviewer.


